Category: Rider Hub

  • Virginia Motorcycle Group Rides: 5 Rules for Safe Touring

    Virginia Motorcycle Group Rides: 5 Rules for Safe Touring

    Virginia Motorcycle Group Rides and Events: 5 Rules for Safe Touring

    Riding with a community of fellow enthusiasts is one of the most rewarding aspects of motorcycle culture in Virginia. From weekend charity runs across Central Virginia to major regional rallies along the coast, group rides offer camaraderie and shared adventure.

    However, participating in Virginia motorcycle group rides and events requires disciplined formation riding, clear communication, and organized route pacing to ensure every rider arrives safely at the destination.

    Quick Group Riding Safety Protocol:

    • Staggered Formation: Maintain 2-second cushions on highway stretches.
    • Single File: Switch to single file on narrow mountain curves.
    • Lead & Sweep Riders: Designated experienced riders at front and rear.
    • Pre-Ride Briefing: Review routes, gas stops, and emergency signals.
    • Ride Your Own Ride: Never push beyond your personal comfort zone.

    Understanding Staggered Formation Logistics

    Riding in a staggered pattern gives each motorcycle maximum reaction space while occupying a single lane efficiently. The lead rider takes the left third of the lane, while the second rider follows 1 second behind in the right third.

    Group Staggered Lane Position Diagram:

    [ Left Lane Position (Lead Rider) ]

    └───> 1-Second Gap ───> [ Right Lane Position (Rider 2) ]

    └───> 1-Second Gap ───> [ Left Lane Position (Rider 3) ]

    5 Essential Rules for Organized Group Touring

    1. Complete a Comprehensive Pre-Ride Meeting
      Before launching, the lead rider should brief the group on planned fuel stops, total distance, pace, and hand signals for road hazards or turning maneuvers.
    2. Maintain Proper Following Distances
      Keep a 2-second gap between your motorcycle and the rider directly ahead in your lane position. Increase this gap during wet weather or on gravel-strewn backroads.
    3. Execute Seamless Single-File Transitions
      When approaching tight mountain curves like Route 211 or entering narrow bridge passes, smoothly transition from staggered formation to single-file with ample spacing.
    4. Respect the Role of the Sweep Rider
      The rear “sweep” or “tail-gunner” rider monitors the group from behind, assists with any mechanical breakdowns, and helps manage lane changes on busy interstates.
    5. Never Target-Fixate or Pace-Match
      Always ride at a speed matching your personal skills. If the group pace exceeds your comfort level, drop back safely or inform the sweep rider at the next scheduled stop.

    Conclusion: Strength in Community and Safety

    Organized group riding strengthens Virginia’s vibrant motorcycle community. By adhering to formation rules, communicating clearly, and prioritizing safety above all, group tours become memorable highlights of the riding season.

    Communicate clearly. Keep your space. Enjoy the community.

    Disclaimer: This article is provided for informational, inspirational, and educational purposes only. Group ride organizers must comply with state traffic laws, parade permits, and insurance regulations. Check local event guidelines before participating.

    References & Sources

    • Motorcycle Safety Foundation (MSF) — Group Riding Safety Manual — msf-usa.org
    • Virginia Department of Motor Vehicles (DMV) — Motorcycle Community & Safety Rules — dmv.virginia.gov
    • American Motorcyclist Association (AMA) — Sanctioned Event Guidelines — americanmotorcyclist.com
  • Motorcycle Pre Ride Inspection Checklist

    Motorcycle Pre Ride Inspection Checklist

    Motorcycle Pre Ride Inspection ChecklistThere is a distinct ritual that separates casual riders from true motorcyclists.

    It happens in the quiet moments before the engine roars to life, while the garage is still still. It is the practice of looking closely at the machine.

    A motorcycle is a beautifully engineered collection of moving parts operating under intense stress and speed.

    Ignoring its condition before hitting the open highway isn’t just oversight—it’s a dangerous gamble.

    Developing a consistent motorcycle pre ride inspection checklist ensures that minor mechanical quirks are caught in the driveway, rather than transforming into catastrophic failures mid-corner.

    The Core Steps of Pre-Flight SafetyYou do not need to be a certified mechanic to perform a highly effective pre-ride safety scan.

    By dividing your inspection into a few logical zones, you can verify your bike’s roadworthiness in less than five minutes.

    Begin with your tires and wheels.

    Check for correct air pressure using a reliable gauge, and look closely for embedded nails, gravel, or sidewall cracks. Next, test your controls; ensure the throttle snaps back smoothly when released, and verify that both the front lever and rear brake pedal offer firm, consistent resistance. From there, move your eyes to the electrical system.

    Turn on the ignition and cycle through your high beams, low beams, turn signals, and brake lights. A burned-out bulb dramatically reduces your visibility to car drivers.

    Finally, look beneath the engine block for fresh puddles of oil or coolant, and check your fluid reservoirs to ensure your engine oil and brake fluids are at optimal operating levels.

    The Psychological Edge of a Safe BikeBeyond the obvious physical protection, walking through a quick safety checklist provides an immense psychological benefit.

    When you know for a absolute fact that your brake pads are thick, your chain is correctly tensioned, and your fluids are topped off, your mind clears.

    You stop worrying about the mechanics of the machine and start focusing entirely on the environment around you.

    This heightened state of situational awareness is what ultimately keeps a rider safe when navigating heavy traffic or challenging mountain passes.

    Conclusion:

    Make Safety a HabitYour motorcycle pre ride inspection checklist should become as natural as putting on your helmet. It is a fundamental habit that honors the machine and respects the unpredictable nature of the road.

    Invest those few minutes before every launch, take care of your ride, and enjoy the pure, unadulterated freedom of a flawless journey.

    Inspect the machine.

    Trust the build.

    Ride safe.

    [Disclaimer:this article is provided for informational, inspirational, and educational purposes only. A pre-ride inspection is a preventative safety routine and does not replace regular professional mechanical maintenance or scheduled factory servicing. Always consult your specific motorcycle manufacturer owner’s manual for exact fluid specifications, torque values, and recommended tire pressures before making adjustments.]

    References & Sources

    * Motorcycle Safety Foundation (MSF) — T-CLOCS Pre-Ride Inspection Checklist Guide — msf-usa.org

    * American Motorcyclist Association (AMA) — Essential Motorcycle Maintenance Habits — americanmotorcyclist.com

    * National Highway Traffic Safety Administration (NHTSA) — Preventative Vehicle Safety and Inspection Reports — nhtsa.gov

  • Motorcycle Riding Gear Essentials: Armor for the Asphalt

    Motorcycle Riding Gear Essentials: Armor for the Asphalt

    Motorcycle Riding Gear Essentials

    Every seasoned rider remembers their first real wake-up call on the road. It usually isn’t a major accident, but a sudden close call—a loose patch of gravel in a sharp turn, or a sudden gust of wind that tests your balance. In those split seconds, you realize that the only thing protecting you from the brutal reality of the asphalt is what you are wearing.

    Investing in premium motorcycle riding gear essentials isn’t about looking intimidating; it is a literal insurance policy for your skin and bones.

    The Anatomy of Modern Protection

    Modern safety apparel has evolved far beyond heavy, stiff leather jackets.

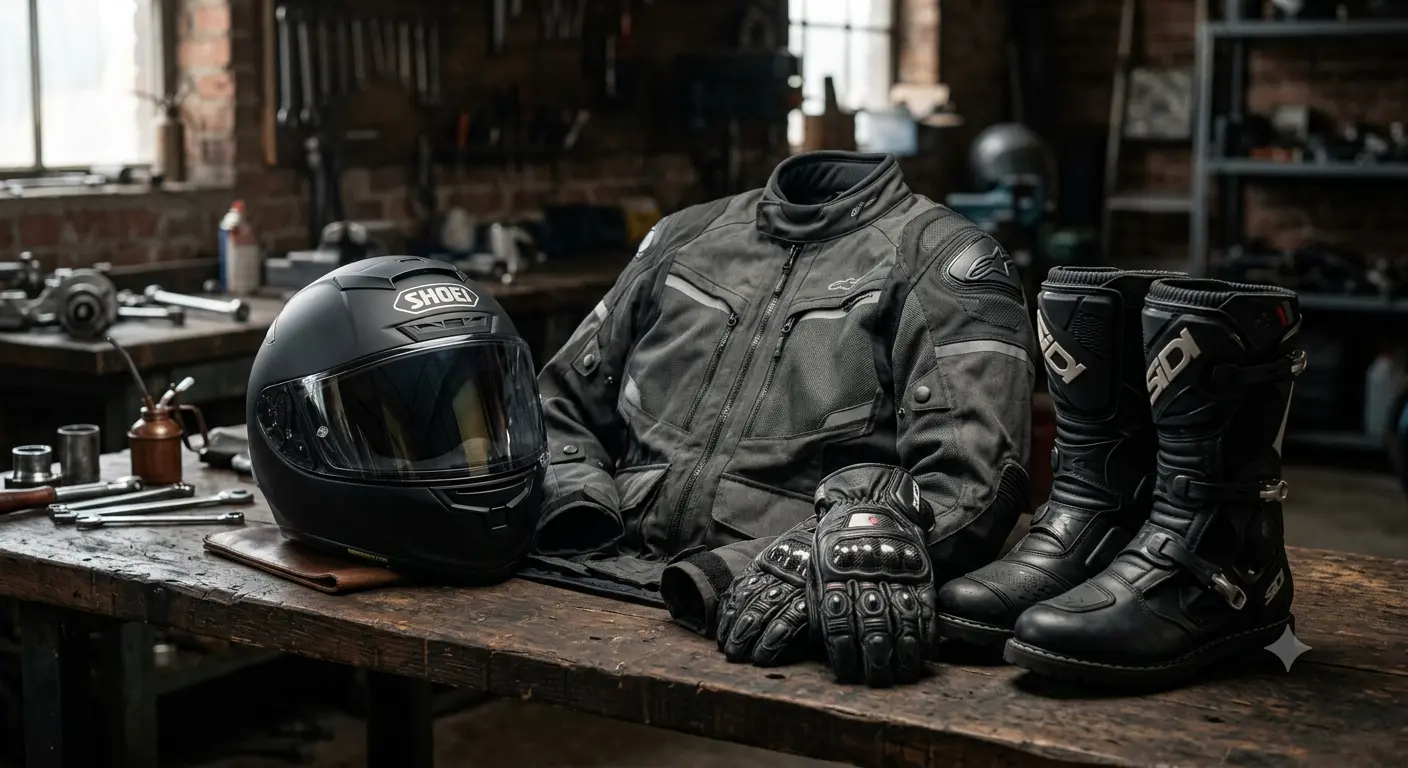
    Today, advanced fabrics combine military-grade abrasion resistance with lightweight, breathable comfort. Building a flawless protective profile requires a complete system that shields your body from the helmet down to your boots.It all starts with a premium full-face helmet, designed to offer total cranial and jaw defense with certified impact stamps.

    Below the neck, an armored textile or reinforced leather jacket steps in to protect your spine, shoulders, and elbows.

    Your hands require tactical gloves fitted with knuckle shields and palm sliders, while your feet stay anchored in heavy-duty riding boots equipped with reinforced steel shanks to prevent ankle crush injuries.

    Choosing Armor Over Fashion

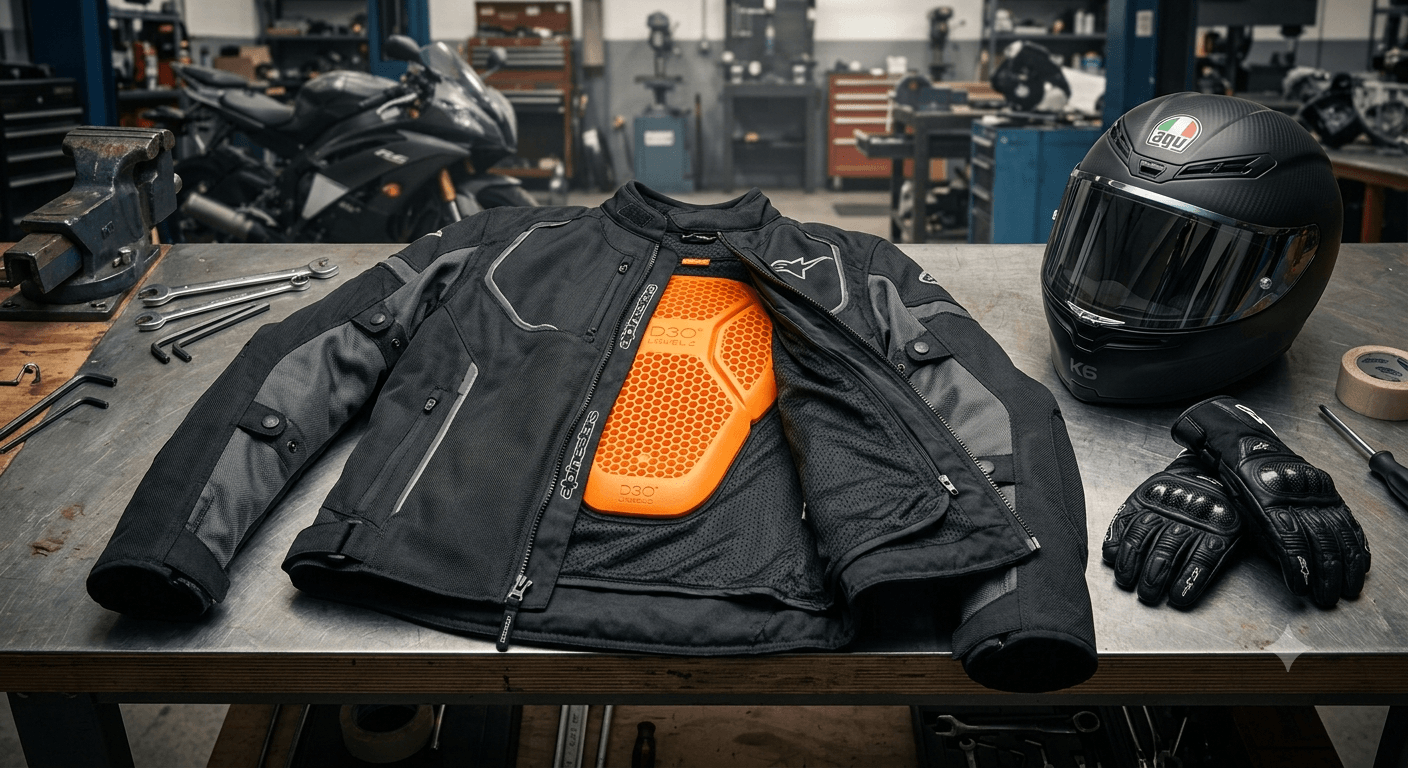
    When shopping for gear, prioritize impact-absorbing armor inserts certified by European standards (CE Level 1 or Level 2).

    These pads remain soft and flexible during normal riding conditions but instantly harden upon impact to disperse energy away from your joints.

    Additionally, never underestimate the power of wind and weather protection.

    A rider who is shivering from freezing mountain air or overheating under a baking summer sun loses concentration.

    High-quality gear regulates your body temperature, allowing you to focus entirely on the traffic dynamics around you.

    Conclusion:

    Dress for the Slide, Not the RideAt the end of the day, motorcycle riding gear essentials are an extension of your machine’s chassis. Skipping gear because of a short commute or warm weather is a gamble where the asphalt always wins.

    Equip yourself properly, respect the environment, and enjoy the pure freedom of the ride knowing you are fully prepared for any scenario.

    Respect the physics.

    Pack the armor.

    Ride prepared.

    {Disclaimer: This article is provided for informational, inspirational, and educational purposes only. Safety standards, fitments, and regional legal helmet requirements vary widely across global jurisdictions. Always select safety gear that matches your specific riding style, verify official manufacturing safety stamps, and ensure a snug, correct physical fit before operating any two-wheeled vehicle.}

    References & Sources

    * Motorcycle Safety Foundation (MSF) — Personal Protective Equipment Guide — msf-usa.org

    * American Motorcyclist Association (AMA) — Street Riding Gear Safety Analysis — americanmotorcyclist.com

    * National Highway Traffic Safety Administration (NHTSA) — Helmet Efficacy Studies — nhtsa.gov

  • Motorcycle Road Trip Freedom: The Ultimate Escape Guide

    Motorcycle Road Trip Freedom: The Ultimate Escape Guide

    Motorcycle Road Trip FreedomThe modern world is loud, digital, and hyper-connected. Inside the steel cage of a traditional automobile, you are merely a passive observer watching the scenery pass by through a pane of glass. But when you strap on a helmet and swing your leg over a motorcycle, the relationship with the environment changes completely. You don’t just travel through the landscape; you become an active, breathing part of it.

    Chasing the Golden HorizonEvery rider understands the exact moment the magic happens. It is that precise second when the city skyline fades in your rearview mirrors, and the traffic lights give way to endless stretches of open asphalt.

    Suddenly, you are hyper-aware of the world.

    You feel the sudden drop in temperature as you sweep down into a shaded mountain valley.

    You smell the crisp pine trees, the damp earth after a light rain, and the warm air rising from summer fields.

    On a motorcycle, speed isn’t a number on a digital dashboard—it is a physical sensation of wind against your chest and the rhythmic hum of the engine vibrating through your soul.

    The Philosophy of the Open RoadThere is a unique therapeutic clarity that comes with navigating a winding coastal highway or a historic mountain pass.

    The endless digital notifications and daily stresses disappear, replaced by a forced, beautiful mindfulness.

    Your entire universe shrinks down to the next turn, the perfect lean angle, and the unfolding horizon ahead. It is a rare form of meditation where the destination becomes completely irrelevant, and the simple act of moving forward becomes the entire purpose.

    Conclusion:

    Answer the Call of the AsphaltMotorcycle road trip freedom is not about checking miles off a map; it is about reclaiming your time and experiencing the world with unfiltered intensity.

    The open road is waiting, the weather is perfect, and your machine is ready.

    Pack your essentials, leave the highway maps behind, and go discover the therapy that can only be found on two wheels.

    Respect the physics.

    Embrace the journey.

    Ride prepared.

    (Disclaimer: This article is provided for informational, inspirational, and educational purposes only. Road conditions, regional weather patterns, and touring safety requirements vary significantly across different travel destinations. Always inspect your motorcycle thoroughly before initiating a long-distance road trip, ride within your personal skill boundaries, and wear full protective riding gear.)

    References & Sources

    * Motorcycle Safety Foundation (MSF) — Guide to Safe Group and Solo Touring — msf-usa.org

    * American Motorcyclist Association (AMA) — Premier Scenic Riding Routes Doctrine — americanmotorcyclist.com

    * Travel and Tourism Research Association — The Psychological Benefits of Adventure Travel — ttra.com

  • How to Inspect Motorcycle Brakes in 3 Easy Steps

    How to Inspect Motorcycle Brakes in 3 Easy Steps

    Motorcycle Brake Inspection

    Worn brake components drastically increase stopping distances.

    A quick visual inspection can prevent mechanical failure and save your life.

    Introduction:

    The Critical StopYour motorcycle’s braking system is your primary safety defense on the road. Operating under extreme thermal heat and friction, components like brake pads and rotors wear down naturally with every mile.

    Routine checks prevent metal-on-metal contact, which destroys expensive parts and compromises stopping power.

    This ultra-concise guide outlines the three essential steps to inspect your motorcycle brakes effectively.

    The Three-Point Inspection Checklist

    Perform this quick visual check monthly or before any long highway ride.

    Brake Pad Thickness:

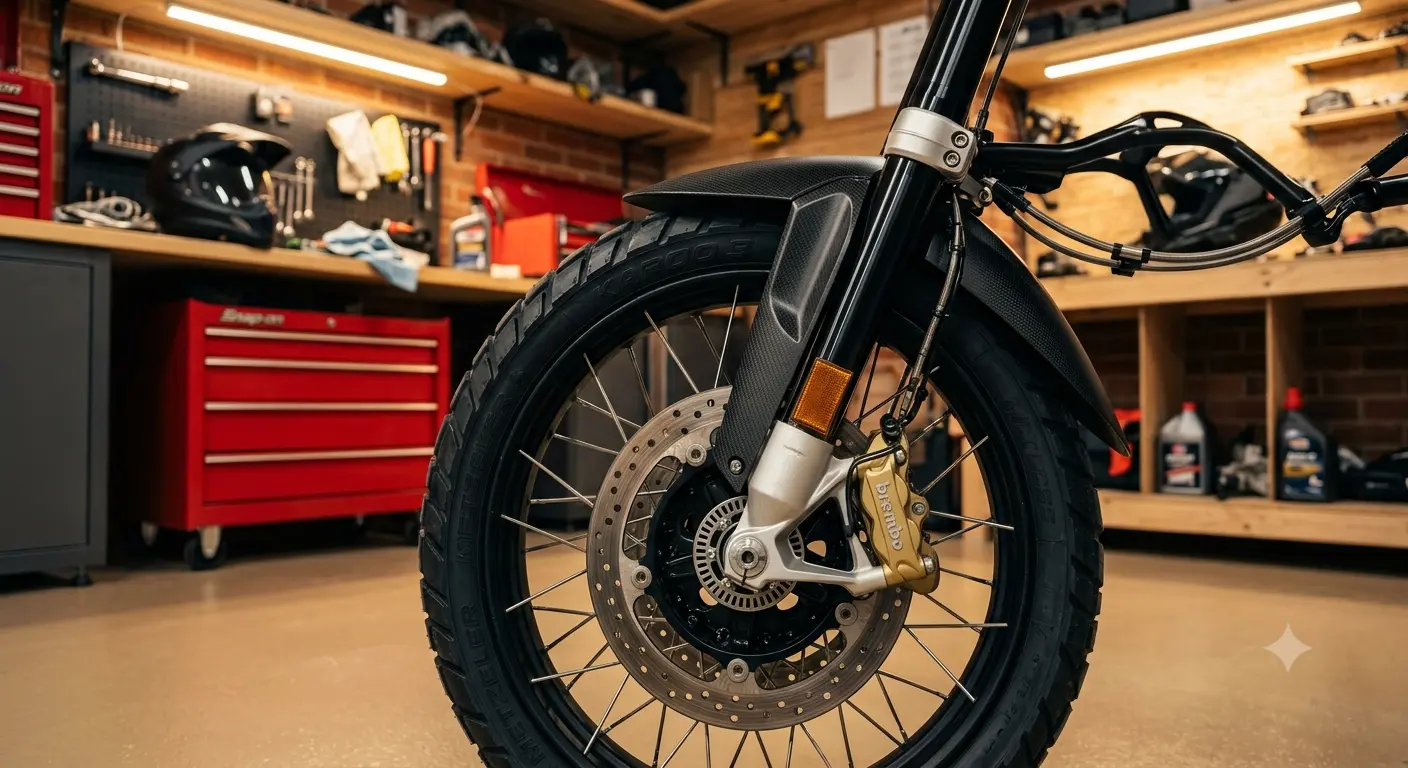
    Look directly inside the brake caliper using a flashlight. Inspect the friction material on the brake pads. If the pad wear grooves are nearly gone or the material is thinner than 2mm, replace the pads immediately.

    Rotor Condition:

    Run a finger gently across the brake disc (rotor) when cold. Check for deep grooves, scoring, or a noticeable lip on the edge. Warped or heavily grooved rotors cause brake fade and must be serviced.

    Fluid Levels and Color:

    Check the brake fluid reservoir window on your handlebars and near the rear pedal.

    The fluid level must be between the upper and lower limits.

    If the fluid looks dark amber or cloudy instead of clear, it has absorbed moisture and needs a system flush.

    Conclusion:

    Inspect to ProtectBrake maintenance cannot be delayed.

    Taking two minutes to check your pads, rotors, and fluid ensures your motorcycle stops exactly when you need it to, maintaining total control under emergency braking.

    Respect the physics.

    Maintain the stop.

    Ride prepared.

    [Disclaimer: This article is provided for informational and educational purposes only. Braking systems, pad compound specifications, and wear limits vary significantly by motorcycle manufacturer and specific model. Always consult your motorcycle’s official owner manual before performing mechanical adjustments, and have your braking system serviced by a certified mechanic if you notice any loss in stopping power.]

    References & Sources

    * Motorcycle Safety Foundation (MSF) — Safe Riding and Braking Mechanics — msf-usa.org

    * American Motorcyclist Association (AMA) — Drivetrain and Brake Care Doctrine — americanmotorcyclist.com

    * Federal Motor Vehicle Safety Standards (FMVSS) — Motorcycle Brake Systems — nhtsa.gov

  • Choosing the Right CE-Rated Motorcycle Gear

    Choosing the Right CE-Rated Motorcycle Gear

    [Disclaimer: This article is provided for informational and educational purposes only. Riding conditions and safety gear effectiveness vary significantly by region, speed, and individual experience level. Always exercise personal judgment, consult professional safety standards, and inspect your gear regularly before riding.]

    The Armor Grid:

    How to Choose CE-Rated Gear That Saves Your SkinMost riders think a heavy jacket is enough protection.

    The smart rider knows it is the armor underneath that actually absorbs the impact.

    Introduction:

    Asphalt Doesn’t Forgive — Gear Up SmartSliding down the highway is an exercise in pure physics.

    While an abrasion-resistant outer shell protects against road rash, it does absolutely nothing to stop the bone-shattering force of a direct impact with the ground or an obstacle.

    Understanding how impact protection works technically is what separates a prepared rider from an unprotected one. This concise guide breaks down the technical world of CE ratings, impact zones, and smart materials so you can choose gear that delivers real protection.

    1. What Does “CE-Rated” Actually Mean?

    The “CE” stamp on motorcycle armor stands for *Conformité Européenne* (European Conformity).

    It is the global gold standard for motorcycle safety testing.

    Armor does not just look tough; it is scientifically tested in labs by dropping a heavy weight onto it to measure how much impact force is transmitted through the pad to your body.

    The lower the force transmitted, the safer the armor is for your bones and joints.

    2. CE Level 1 vs. CE Level 2:

    The Technical DifferenceWhen shopping for motorcycle gear, you will encounter two main levels of impact protection:

    * CE Level 1: This is the baseline standard for motorcycle protection. It is certified to transmit a maximum of 18 kN (kilonewtons) of force during testing.

    It is thinner, lighter, and highly flexible—ideal for daily commuting and hot-weather riding.

    * CE Level 2: This is high-tier protection. It is certified to transmit no more than 9 kN of force—offering double the impact protection of Level 1.

    It is thicker and slightly heavier, making it the non-negotiable choice for high-speed track riding, highway touring, and adventure riding.

    3. The Science of Smart Materials (D3O & Sas-Tec)

    Traditional motorcycle armor used hard plastic shells backed by foam.

    Modern high-tech gear uses advanced polymer matrices, often referred to as “smart materials” like D3O or Sas-Tec.

    The physics behind smart materials is fascinating:

    * At Rest: The molecules inside the pad flow freely, making the armor completely soft, flexible, and comfortable to wear while moving.

    * On Impact: The moment a sudden force hits the pad, the molecules lock together instantly.

    The soft pad transforms into a rigid, energy-absorbing shield in milliseconds, distributing the impact force away from your joints before returning to its flexible state.

    4. Universal Armor Fit Principles

    Even the most advanced CE Level 2 armor is useless if it shifts out of place during a crash. Keep these three structural placement rules in mind:

    1. Perfect Alignment:

    Ensure the built-in pockets position the armor directly over your joints (shoulders, elbows, knees, and hips).

    2. Snug Fitment:

    Your riding jacket and trousers must fit snugly.

    If the jacket sleeves are too loose, the elbow armor will rotate away from your joint during a slide, leaving you unprotected.

    3. Dedicated Back Protection:

    Most jackets come with a useless thin foam pad in the back pocket.

    Replace it immediately with a dedicated, thick CE Level 2 back protector.

    Conclusion:

    Invest in Your Safety, Not Just StyleStyle matters, but impact physics matters more.

    When selecting your next riding kit, look past the brand logos and inspect the CE label inside the armor pockets.

    Choosing the right level of protection ensures that if a sudden stop occurs, your gear does its job perfectly so you can ride another day.

    Respect the physics.

    Trust the ratings.

    Ride prepared.

    References & Sources :

    * Motorcycle Safety Foundation (MSF) — Personal Protective Equipment Guidelines — msf-usa.org

    * European Committee for Standardization (CEN) — EN 1621 Impact Standards — cen.eu

    * National Highway Traffic Safety Administration (NHTSA) — Motorcycle Rider Gear Efficacy — nhtsa.gov