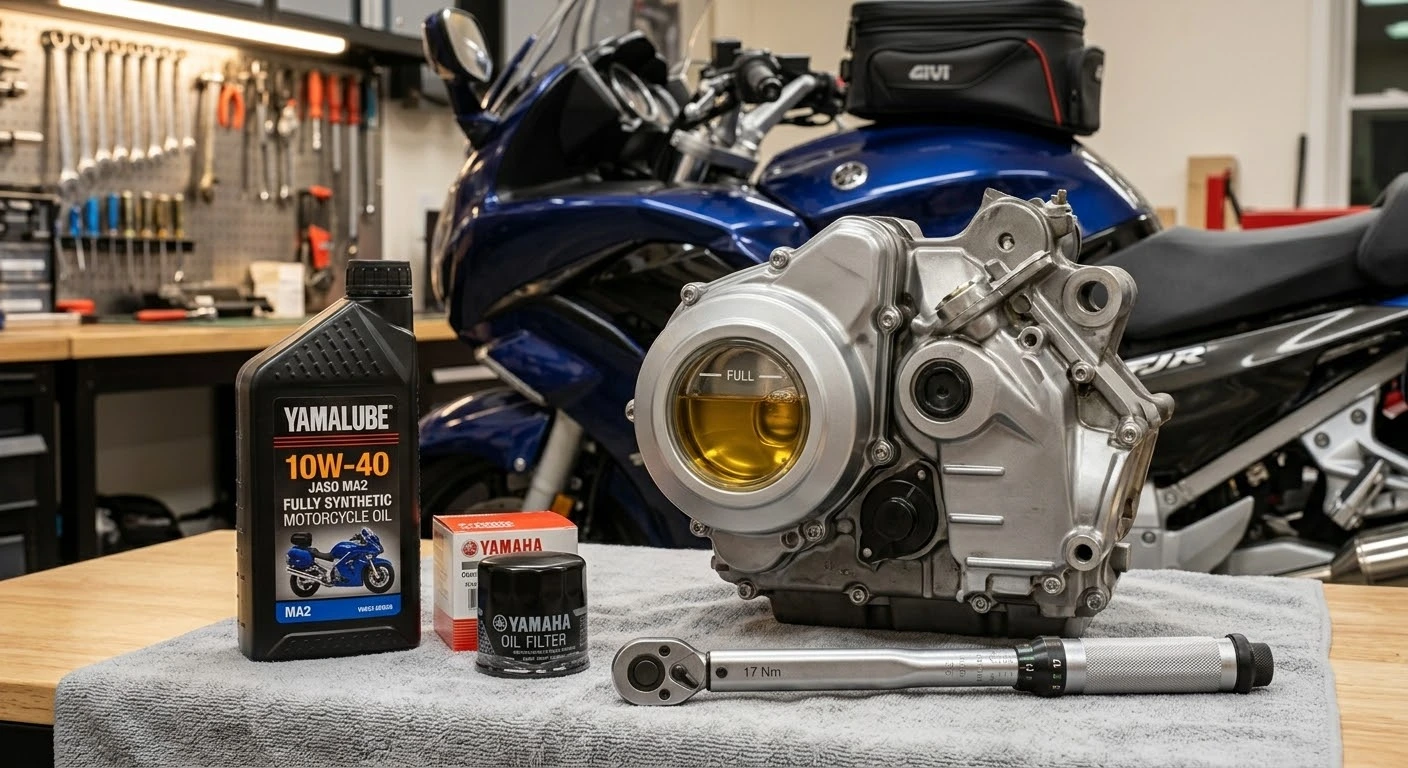
Regular engine oil changes are the absolute foundation of long-term motorcycle reliability and mechanical performance. Unlike passenger cars, most motorcycles utilize a wet-clutch system where a single oil reservoir lubricates the high-revving engine pistons, multi-plate clutch, and transmission gears simultaneously. Following a comprehensive motorcycle oil change guide when and how to execute this maintenance prevents premature clutch slippage, protects internal transmission gears from shear degradation, and keeps your engine running smooth across thousands of miles.
When to Change Your Motorcycle Oil: Intervals & Indicators
Determining the exact service interval depends heavily on your oil type, riding conditions, and manufacturer guidelines:
- Mineral Oil (Conventional): Recommended every 2,000 to 3,000 miles or at least once per year. Mineral oils break down faster under extreme engine heat.
- Semi-Synthetic Oil: Change every 4,000 to 5,000 miles. Ideal for mid-range commuters seeking balanced thermal protection.
- Full Synthetic Oil: Offers maximum shear stability and lasts 6,000 to 8,000 miles (or once per season). Essential for high-performance engines and hot summer touring.
- Visual & Mechanical Warning Signs: Dark black or gritty oil on the dipstick, harsh metallic gear shifting, or a rising sight-glass level smelling strongly of fuel indicate an immediate oil change is required.
How to Change Your Motorcycle Oil: Step-by-Step DIY Guide
Performing a clean, professional oil change at home requires simple tools and strict adherence to correct procedures:
- Warm Up the Engine: Start the motorcycle and let it idle for 3 to 5 minutes. Warm oil flows much faster and carries suspended engine contaminants out through the drain hole.
- Set the Bike Level & Remove Fill Cap: Park the bike upright on a center stand or rear paddock stand. Remove the oil fill cap to allow smooth crankcase venting during drainage.
- Drain the Old Oil & Replace Crush Washer: Place a drain pan beneath the engine, remove the oil drain bolt, and let the oil drain completely. Always replace the single-use copper or aluminum crush washer before torquing the bolt back to factory specification.
- Replace the Oil Filter: Remove the old oil filter using a filter wrench. Apply a thin film of clean engine oil to the rubber O-ring gasket of the new filter, screw it on by hand, and snug it an additional 3/4 turn (or torque to spec).
- Fill with JASO MA/MA2 Certified Oil: Pour in the exact oil volume specified in your manual. Ensure you use motorcycle-specific oil rated JASO MA or MA2 (friction-modifier-free for wet clutches). Never use standard automotive oil containing friction modifiers, as it will destroy wet clutch plates.
- Check Level & Inspect for Leaks: Reinstall the fill cap, run the engine for two minutes, shut it off, and verify the oil level via the sight glass or dipstick. Dispose of used oil responsibly at a local auto parts recycler.
Mastering the steps in this motorcycle oil change guide when and how to perform fluid services protects your investment and ensures your bike is always ready for the road. By picking the right oil grade, respecting service intervals, and using correct torque specs, you can maintain peak engine performance with complete confidence.
Legal Disclaimer: This guide is provided for educational and DIY informational purposes only. Mechanical specifications, torque values, and oil capacities vary widely by manufacturer. Always consult your motorcycle’s official service manual before attempting maintenance.
Official & Credible Sources
- Motorcycle Safety Foundation (MSF) Maintenance Advice: https://msf-usa.org
- American Petroleum Institute (API) Engine Oil Guides: https://www.api.org
- JASO Oil Standards Information (Japanese Automotive Standards Organization): https://www.jaso.or.jp
Leave a Reply