Author: LEDJ EDEL

  • 10 Best Hidden Gem Motorcycle Roads in Virginia 2026 Guide

    10 Best Hidden Gem Motorcycle Roads in Virginia 2026 Guide

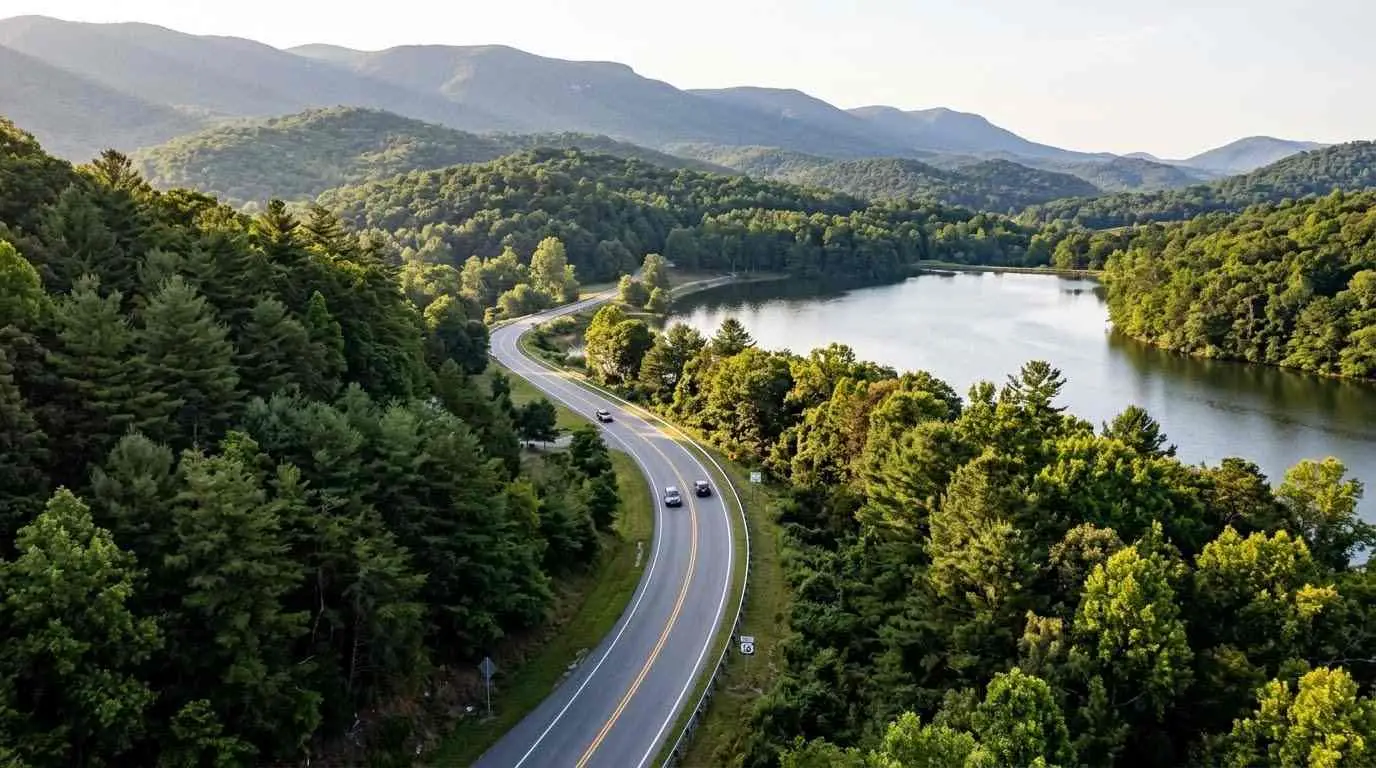
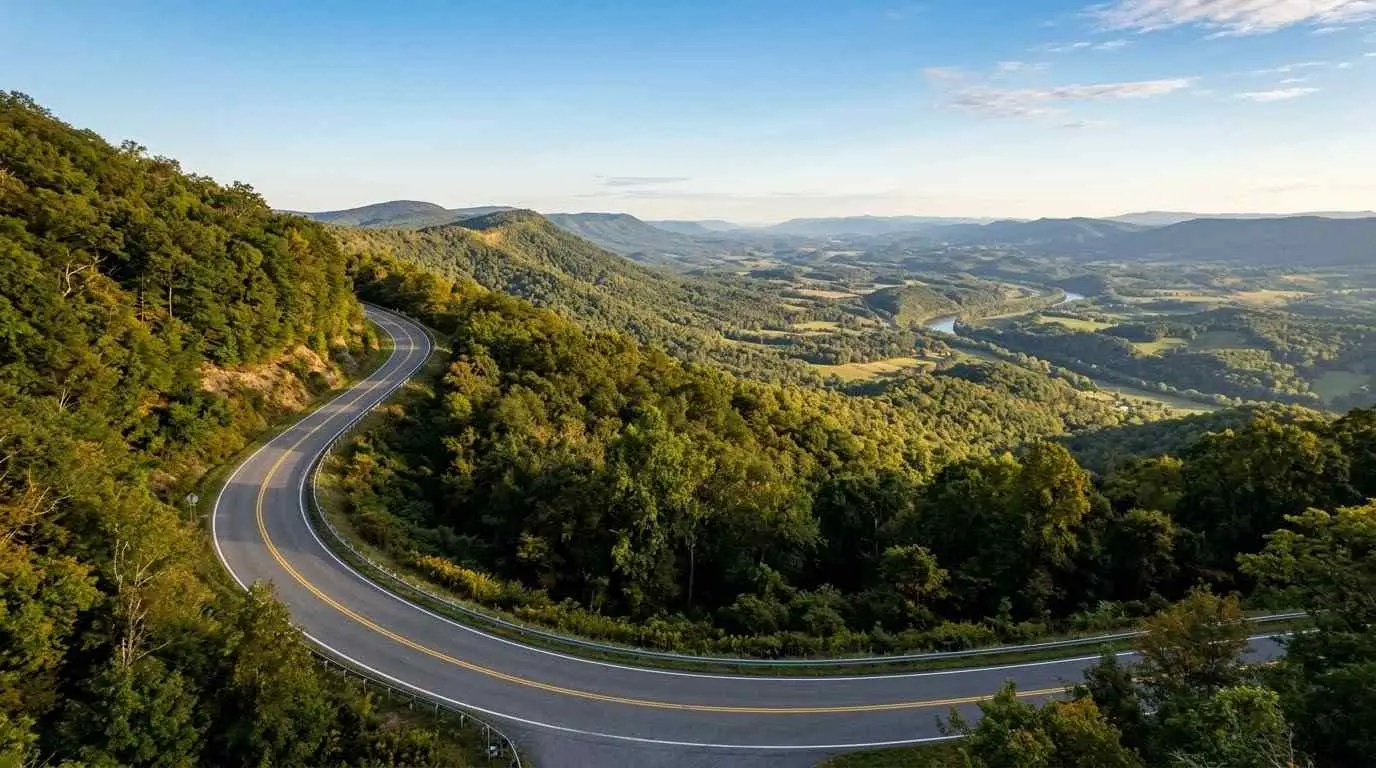
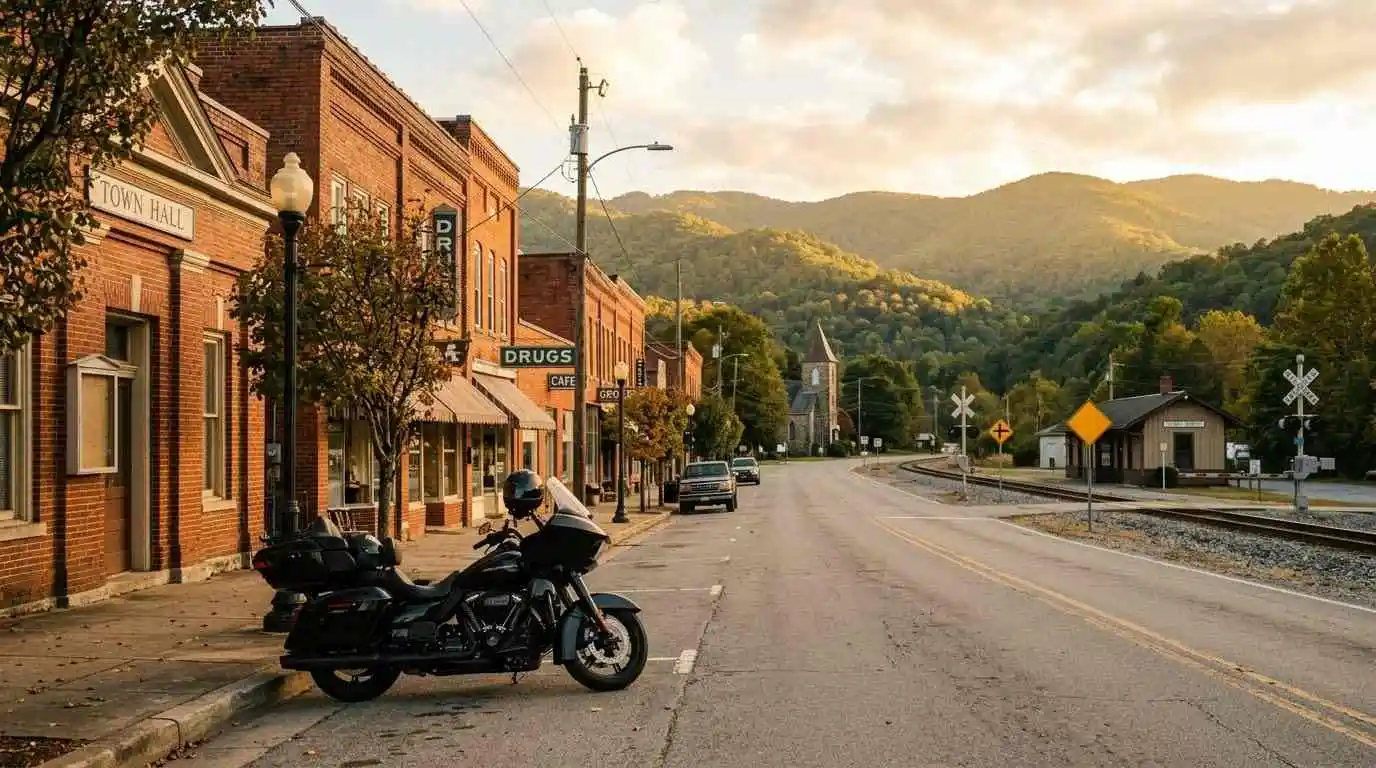
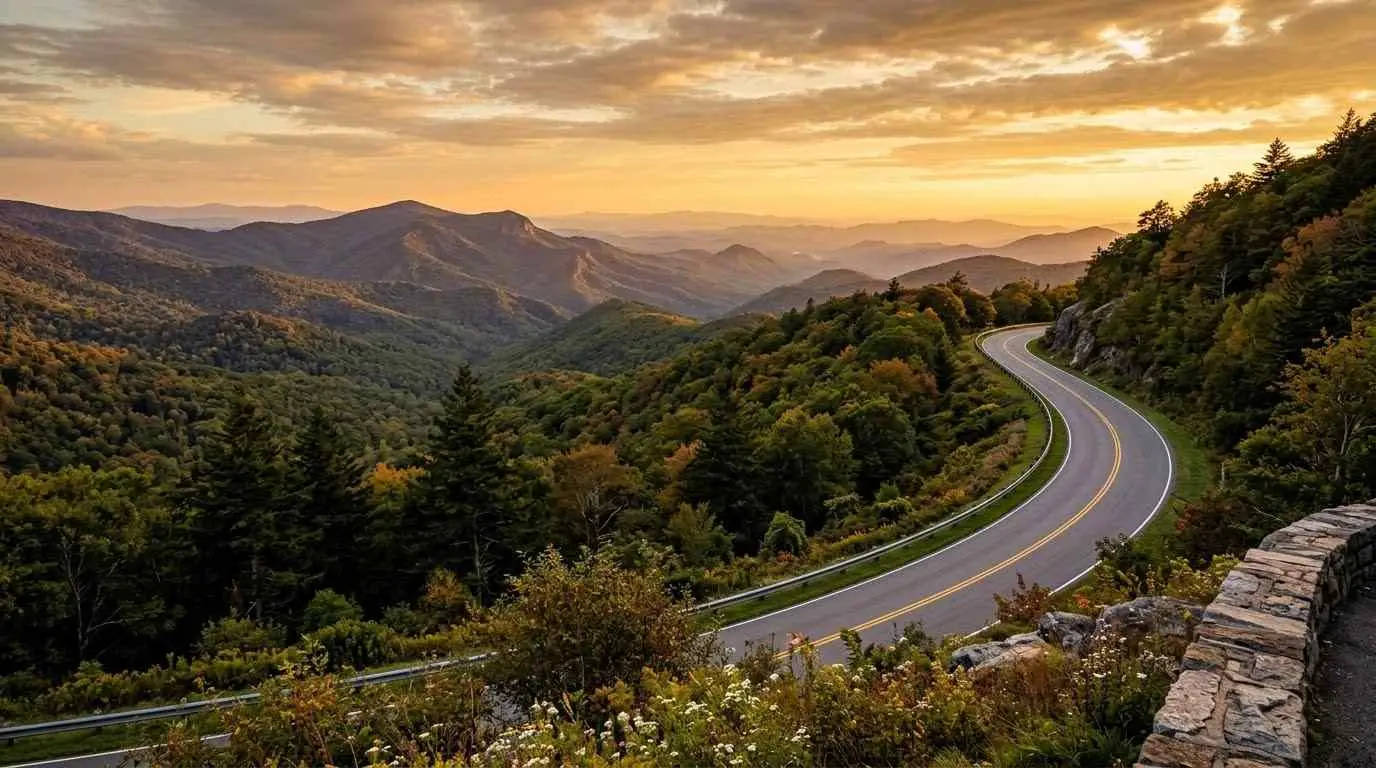
    While world-famous routes like Skyline Drive and the Blue Ridge Parkway draw thousands of tourists every weekend, Virginia’s vast landscape holds countless lesser-known backroads that offer equally breathtaking views without the heavy RV traffic and low speed limits. Exploring the 10 best hidden gem motorcycle roads in Virginia rewards riders with serene mountain passes, uncrowded river valleys, and technical curves that showcase the authentic heart of Old Dominion.

    Top Uncrowded Backroads & Mountain Passes

    These ten underrated routes deliver exceptional asphalt conditions, minimal traffic, and pure riding freedom:

    • Route 81 (Tazewell to Saltville): Carving through the Clinch Mountain range, this secluded pass delivers rapid elevation drops and tight technical S-curves far removed from commercial corridors.
    • Route 606 (Burkes Garden Loop): Known as “God’s Thumbprint,” this bowl-shaped valley south of Tazewell features smooth rural sweeps surrounded by towering mountain walls.
    • Route 42 (The Shenandoah Valley Backcountry): Running parallel to Interstate 81, Route 42 offers a tranquil alternative through pastoral farmland, historic limestone barns, and gentle rolling hills.
    • Route 56 (Tye River Gap): A steep, heavily forested climb ascending the Blue Ridge Mountains that challenges riders with sharp switchbacks and dense canopy shade.
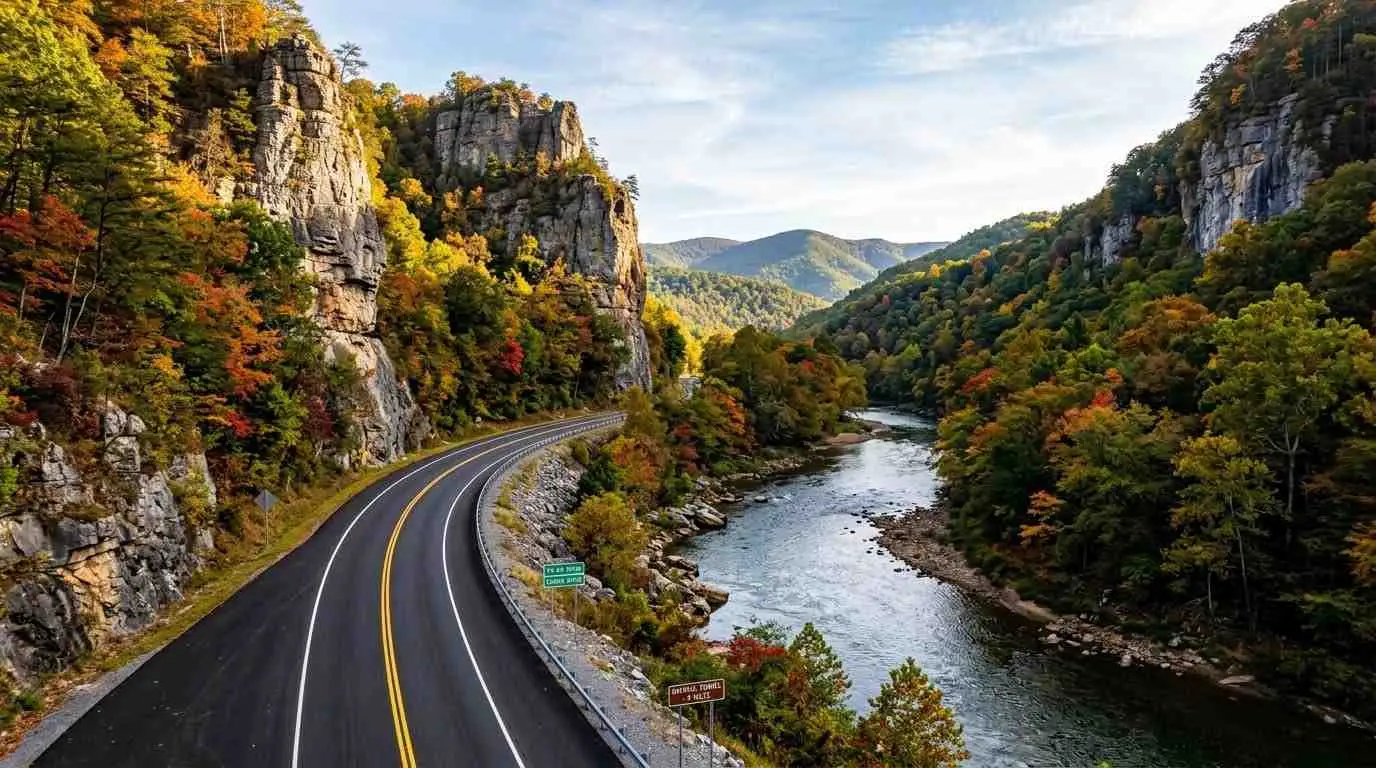
    • Route 39 (Maury River Gorge): Winding alongside the rushing Maury River, this northern Rockbridge County route features dramatic rock walls and sweeping riverbed curves.
    • Route 614 (Jennings Gap to West Virginia Border): A high-elevation backcountry connector delivering crisp mountain air, pristine forest views, and virtually zero vehicle traffic.
    • Route 602 (Shenandoah River Run): Following the South Fork of the Shenandoah River, this low-speed scenic route is ideal for relaxed weekend cruising.
    • Route 231 (Cismont to Sperryville): Flanking the eastern slope of the Blue Ridge, this route weaves through historic Virginia horse country and local orchards.
    • Route 80 (Hayters Gap): A demanding southwest Virginia pass featuring rapid corner transitions, dense timber, and elevated ridge overlooks.
    • Route 623 (Cowan Gap Road): Crossing Walker Mountain, this narrow asphalt route provides technical thrill seekers with tight apexes and steep drops.

    Essential Planning Tips for Backcountry Cruising

    Riding off the beaten path requires extra awareness and smart trip preparation:

    1. Verify Fuel & Cellular Coverage: Hidden gem roads often run through isolated mountain valleys where cell signal disappears completely. Fuel up in hub towns before venturing onto rural connectors.
    2. Watch for Local Agricultural Traffic: Rural routes frequently pass active farmland. Keep an eye out for farm equipment, loose gravel near tractor access points, and free-range livestock.
    3. Download Offline Route Maps: Relying on live GPS streaming can leave you stranded in dead zones. Save your route maps offline prior to departing.
    4. Maintain Conservative Entry Speeds: Unmarked rural curves can tighten unexpectedly. Leave a wide margin of safety for oncoming agricultural trucks and hidden driveway entries.

    Riding the 10 best hidden gem motorcycle roads in Virginia opens up a world of quiet adventure beyond the standard tourist corridors. Respecting local rural speed limits and preparing for unmapped road conditions ensures every backcountry ride remains safe, scenic, and unforgettable.

    Legal Disclaimer: This guide is provided for travel planning and educational purposes only. Rural road conditions, weather closures, and asphalt quality vary by season. Always check local VDOT advisories prior to your ride.

    Official & Credible Sources

  • Motorcycle Chain Maintenance: Cleaning, Lubricating & Adjusting 2026

    Motorcycle Chain Maintenance: Cleaning, Lubricating & Adjusting 2026

    The final drive chain transfers raw horsepower from your motorcycle’s countershaft sprocket directly to the rear wheel. Operating in a harsh, exposed environment, drive chains accumulate road grime, sand, and moisture that degrade rubber O-rings and accelerate sprocket wear. Executing a regular motorcycle chain maintenance cleaning lubricating and adjusting routine every 300 to 500 miles ensures smooth power delivery, extends driveline lifespan, and eliminates the dangerous risk of a snapped chain on the open road.

    Essential Tools & Supplies for Chain Care

    Before beginning your chain service, gather the correct motorcycle-specific maintenance items:

    • O-Ring Safe Chain Cleaner: Avoid harsh chemicals like gasoline or acetone, which dissolve internal rubber O-rings, X-rings, or Z-rings. Use a dedicated aerosol chain degreaser or kerosene.
    • Three-Sided Chain Grunge Brush: Speeds up grime removal by cleaning top, bottom, and side plates simultaneously.
    • High-Tack Motorcycle Chain Lube: Choose a dedicated chain lube or chain wax formulated for sealed chains to prevent fling-off onto your rear wheel.
    • Rear Paddock Stand & Torque Wrench: Essential for lifting the rear wheel safely and torquing the rear axle nut back to precise factory specifications during tension adjustments.

    Step-by-Step Chain Care: Clean, Lube, and Adjust

    Follow these sequential steps to perform a complete drive chain inspection and service:

    1. Clean the Chain Thoroughly: Elevate the rear wheel using a paddock stand. Spray the entire length of the drive chain with an O-ring safe cleaner. Scrub away built-up road grit using a three-sided chain brush, then wipe the chain completely dry with a microfiber cloth.
    2. Apply Chain Lubricant Correctly: Ride the bike for 5 minutes to warm up the chain, or apply lube immediately after cleaning. Aim the spray nozzle at the inside lower run of the chain while slowly rotating the rear wheel by hand. This ensures centrifugal force pushes the lubricant deep into the rollers and internal bushings rather than flinging off. Wipe off excess lube from side plates.
    3. Measure and Adjust Free Play (Tension): Locate the tightest point in the chain by rotating the wheel. Measure vertical slack midway between the front and rear sprockets using a tape measure (standard slack is typically 1.0 to 1.5 inches / 25 to 35 mm).
    4. Align the Rear Axle and Torque Nut: Loosen the main rear axle nut. Adjust the chain tension bolts evenly on both sides of the swingarm using the stamped alignment hash marks to ensure the rear wheel remains perfectly straight. Tighten the rear axle nut using a torque wrench to factory specification, and lock down the adjuster jam nuts.

    Following this comprehensive guide on motorcycle chain maintenance cleaning lubricating and adjusting keeps your motorcycle running quietly, efficiently, and safely. Spending 20 minutes on basic chain hygiene every few hundred miles will reward you with thousands of miles of trouble-free riding.

    Legal Disclaimer: This maintenance guide is intended for educational purposes only. Recommended chain slack, axle nut torque values, and lubricant types vary by motorcycle model. Always consult your owner’s manual before making driveline adjustments.

    Official & Credible Sources

  • Motorcycle Battery Maintenance and Winter Storage Guide 2026

    Motorcycle Battery Maintenance and Winter Storage Guide 2026

    Cold weather is the single greatest enemy of motorcycle batteries. As ambient temperatures drop during the off-season, internal chemical reactions slow down significantly while parasitic loads from security systems or onboard computers continue to draw power. Following proper motorcycle battery maintenance and winter storage protocols prevents sulfation in lead-acid batteries, protects expensive lithium-ion cells from low-voltage freezing, and guarantees your motorcycle fires up effortlessly when spring arrives.

    Battery Types & Specific Off-Season Care

    Different battery chemistries require tailored maintenance approaches during prolonged storage:

    • AGM & Sealed Lead-Acid (SLA): Highly susceptible to sulfation if left discharged below 12.4 volts. They require a continuous connection to a smart floating maintenance charger throughout the winter.
    • Conventional Wet-Cell Batteries: Require periodic fluid level checks. Top off low cells strictly with distilled water before putting the battery into winter storage.
    • Lithium-Ion (LiFePO4): Extremely low self-discharge rate, but vulnerable to permanent damage if charged in below-freezing temperatures. Disconnect the negative battery terminal and store it in a climate-controlled room around 50% to 70% charge state.

    Step-by-Step Winter Battery Storage Routine

    Protect your battery throughout the winter months by following these practical, step-by-step procedures:

    1. Clean Terminals & Inspect Cables: Remove corrosion or white lead-sulfate powder from the battery terminals using a wire brush and a mixture of baking soda and water. Coat the clean terminals with dielectric grease to block future oxidation.
    2. Remove the Battery from the Bike: If storing your motorcycle in an unheated garage or outdoor shed, remove the battery completely. Always disconnect the Negative (-) black cable first, followed by the Positive (+) red cable to prevent short circuits.
    3. Store in a Climate-Controlled Area: Place the battery on a wooden shelf or workbench inside a temperature-stable room. Avoid storing batteries directly on freezing concrete floors.
    4. Connect a Dedicated Smart Trickle Charger: Hook up a micro-processor controlled smart charger (tender) designed for your specific battery type. Smart chargers automatically monitor voltage, deliver float charges when needed, and shut off to prevent overcharging.

    Taking the time for motorcycle battery maintenance and winter storage saves you money and eliminates the frustration of a dead battery on the first sunny day of spring. By cleaning terminals, storing your battery in a climate-controlled space, and using a smart tender, you protect your motorcycle’s electrical system year-round.

    Legal Disclaimer: This maintenance guide is provided for educational purposes only. Battery chemistries and charging requirements vary. Always refer to your battery manufacturer’s safety manual and charger guidelines before servicing electrical components.

    Official & Credible Sources

  • Motorcycle Oil Change Guide: When and How to DIY Maintenance 2026

    Motorcycle Oil Change Guide: When and How to DIY Maintenance 2026

    Regular engine oil changes are the absolute foundation of long-term motorcycle reliability and mechanical performance. Unlike passenger cars, most motorcycles utilize a wet-clutch system where a single oil reservoir lubricates the high-revving engine pistons, multi-plate clutch, and transmission gears simultaneously. Following a comprehensive motorcycle oil change guide when and how to execute this maintenance prevents premature clutch slippage, protects internal transmission gears from shear degradation, and keeps your engine running smooth across thousands of miles.

    When to Change Your Motorcycle Oil: Intervals & Indicators

    Determining the exact service interval depends heavily on your oil type, riding conditions, and manufacturer guidelines:

    • Mineral Oil (Conventional): Recommended every 2,000 to 3,000 miles or at least once per year. Mineral oils break down faster under extreme engine heat.
    • Semi-Synthetic Oil: Change every 4,000 to 5,000 miles. Ideal for mid-range commuters seeking balanced thermal protection.
    • Full Synthetic Oil: Offers maximum shear stability and lasts 6,000 to 8,000 miles (or once per season). Essential for high-performance engines and hot summer touring.
    • Visual & Mechanical Warning Signs: Dark black or gritty oil on the dipstick, harsh metallic gear shifting, or a rising sight-glass level smelling strongly of fuel indicate an immediate oil change is required.

    How to Change Your Motorcycle Oil: Step-by-Step DIY Guide

    Performing a clean, professional oil change at home requires simple tools and strict adherence to correct procedures:

    1. Warm Up the Engine: Start the motorcycle and let it idle for 3 to 5 minutes. Warm oil flows much faster and carries suspended engine contaminants out through the drain hole.
    2. Set the Bike Level & Remove Fill Cap: Park the bike upright on a center stand or rear paddock stand. Remove the oil fill cap to allow smooth crankcase venting during drainage.
    3. Drain the Old Oil & Replace Crush Washer: Place a drain pan beneath the engine, remove the oil drain bolt, and let the oil drain completely. Always replace the single-use copper or aluminum crush washer before torquing the bolt back to factory specification.
    4. Replace the Oil Filter: Remove the old oil filter using a filter wrench. Apply a thin film of clean engine oil to the rubber O-ring gasket of the new filter, screw it on by hand, and snug it an additional 3/4 turn (or torque to spec).
    5. Fill with JASO MA/MA2 Certified Oil: Pour in the exact oil volume specified in your manual. Ensure you use motorcycle-specific oil rated JASO MA or MA2 (friction-modifier-free for wet clutches). Never use standard automotive oil containing friction modifiers, as it will destroy wet clutch plates.
    6. Check Level & Inspect for Leaks: Reinstall the fill cap, run the engine for two minutes, shut it off, and verify the oil level via the sight glass or dipstick. Dispose of used oil responsibly at a local auto parts recycler.

    Mastering the steps in this motorcycle oil change guide when and how to perform fluid services protects your investment and ensures your bike is always ready for the road. By picking the right oil grade, respecting service intervals, and using correct torque specs, you can maintain peak engine performance with complete confidence.

    Legal Disclaimer: This guide is provided for educational and DIY informational purposes only. Mechanical specifications, torque values, and oil capacities vary widely by manufacturer. Always consult your motorcycle’s official service manual before attempting maintenance.

    Official & Credible Sources

  • Highland County Virginia: A Quiet Motorcycle Escape & Route Guide 2026

    Highland County Virginia: A Quiet Motorcycle Escape & Route Guide 2026

    Tucked away along the West Virginia border, Highland County—affectionately known as “Virginia’s Little Switzerland”—is the state’s least populated county. Defined by towering mountain ridges, lush agricultural valleys, and crisp high-elevation air, this remote corner of the Commonwealth offers unmatched peace for riders seeking to leave city traffic behind. Choosing Highland County Virginia a quiet motorcycle escape guarantees miles of uncrowded, pristine asphalt through winding river valleys, historic farmsteads, and high mountain passes.

    Iconic Mountain Passes & Scenic Rural Loops

    Exploring Highland County delivers pure riding enjoyment across several renowned scenic routes:

    • US Route 250 (Shenandoah Mountain Pass): Crossing directly into Monterey from Churchville, Route 250 climbs through sharp curves and elevation changes over Shenandoah Mountain, offering panoramic ridge views and smooth tarmac.
    • US Route 220 (The Blue Grass Valley Corridor): Running north-south through the county, Route 220 links the historic town of Monterey to the peaceful pastoral landscapes of the Blue Grass Valley, framed by rolling pastures and timbered peaks.
    • Virginia Route 84 (Lower Sounding Knob Pass): Winding west toward West Virginia, Route 84 follows Jackson River tributaries through narrow rock gaps, featuring sweeping turns and virtually no commercial traffic.
    • The Historic Town of Monterey: The charming county seat serves as the perfect mountain basecamp, offering local cafes, historic inns, and quick access to regional maple syrup farms.

    Essential Tips for Exploring “Virginia’s Little Switzerland”

    Navigating remote high-elevation backroads requires smart preparation to ensure a smooth journey:

    1. Plan Fuel & Cellular Stops Wisely: Cellular service is extremely limited in deep mountain gaps. Gas stations are concentrated primarily in Monterey, so top off your fuel tank whenever passing through town and keep offline maps loaded.
    2. Watch for Free-Range Farm Livestock & Debris: Highland County is active agricultural land. Be prepared for farm machinery, occasional stray livestock near open pastures, and gravel washed onto inside turns after rainstorms.
    3. Dress for Cooler High-Elevation Temperatures: Sitting at higher average elevations than surrounding regions, Highland County is consistently 5 to 10 degrees cooler. Pack windproof layers, especially when riding in early spring or autumn.
    4. Mind Shadowed Road Sections: Dense timber can keep morning frost or damp pavement lingering in shaded hollows long after sunrise. Maintain controlled entry speeds into blind mountain curves.

    Planning an itinerary for Highland County Virginia a quiet motorcycle escape provides a refreshing break from crowded highways. Respecting local speed transitions, keeping an eye on weather shifts, and soaking in the high-mountain scenery will make this one of your favorite motorcycle getaways in the mid-Atlantic.

    Legal Disclaimer: This guide is provided for educational and travel planning purposes only. High-mountain weather, agricultural road conditions, and local business hours in remote areas can change seasonally. Always verify local road conditions before departing.

    Official & Credible Sources

  • Colonial Parkway Motorcycle Ride Guide: Scenic Virginia Route 2026

    Colonial Parkway Motorcycle Ride Guide: Scenic Virginia Route 2026

    Stretching 23 miles between the James River and the York River, the Colonial Parkway links Virginia’s Historic Triangle: Jamestown, Williamsburg, and Yorktown. Designated as an All-American Road and managed by the National Park Service, this unique scenic highway is free of commercial traffic and billboards. Following a Colonial Parkway motorcycle ride guide allows riders to experience a relaxed, low-speed journey through riverbank vistas, shaded brick tunnels, and historical landmarks along Virginia’s Tidewater peninsula.

    Key Scenic Waypoints & Historic Triangle Stops

    Riding the Colonial Parkway provides a seamless link between three pivotal American historical sites:

    • Jamestown Settlement & Island Loop: Starting at the southern terminus on the James River, this section passes over tidal marshes and offers a scenic loop around Jamestown Island, featuring river views and historic monuments.
    • Colonial Williamsburg Pass & Tunnels: Heading inland, the parkway cuts under the restored historic area of Williamsburg via the famous brick-lined Colonial Parkway Tunnel, surrounded by heavy woodland canopies.
    • Yorktown Battlefield & Riverfront: Approaching the northern end along the York River, the route opens up to sweeping water views, historical earthworks, and the waterfront dining district of Yorktown.

    Essential Tips for Riding the Parkway Surface

    The Colonial Parkway is famous for its unique construction, which requires a specific riding approach:

    1. Mind the Exposed Aggregate Surface: The parkway is paved with aggregate cobble-style concrete designed to mimic an old-world aesthetic. While visually striking, the textured surface can create mild tire hum and tracking vibration through your handlebars.
    2. Observe the Low Speed Limits: Speed limits range strictly between 35 mph and 45 mph. The parkway is patrolled by National Park Service Rangers, so maintaining a relaxed cruise is essential for safety and avoiding fines.
    3. Watch for Wildlife & Cyclists: Deer, wild turkeys, and turtles frequently cross the pavement. Additionally, the parkway is popular with bicycle commuters, requiring extra space when passing.
    4. Prepare for Tunnel Light Transitions: Entering the Williamsburg brick tunnel presents a sudden drop in natural light. Ensure your clear face shield is down and your low beams are operating before entering.

    Utilizing this Colonial Parkway motorcycle ride guide ensures a smooth, memorable journey through Virginia’s historic heartland. Respecting the unique road texture, enjoying the riverfront vistas, and adhering to parkway speed limits makes this one of the finest relaxed cruises in the state.

    Legal Disclaimer: This guide is provided for educational and travel planning purposes only. Road maintenance, tunnel closures, and National Park Service regulations are subject to change. Verify current conditions via the official National Park Service portal prior to your ride.

    Official & Credible Sources