Knowing how to inspect motorcycle brakes is one of the most valuable safety skills a rider can learn. Brakes work harder than most riders realize, especially on long mountain descents, and a small problem can turn into a big one quickly. This simple three-step routine takes only a few minutes and helps you catch wear, leaks, and soft controls before you ride. Always follow your owner’s manual for exact specifications, because brake systems differ between models.
Step 1: Inspect the Pads and Rotors
Check Brake Pad Thickness
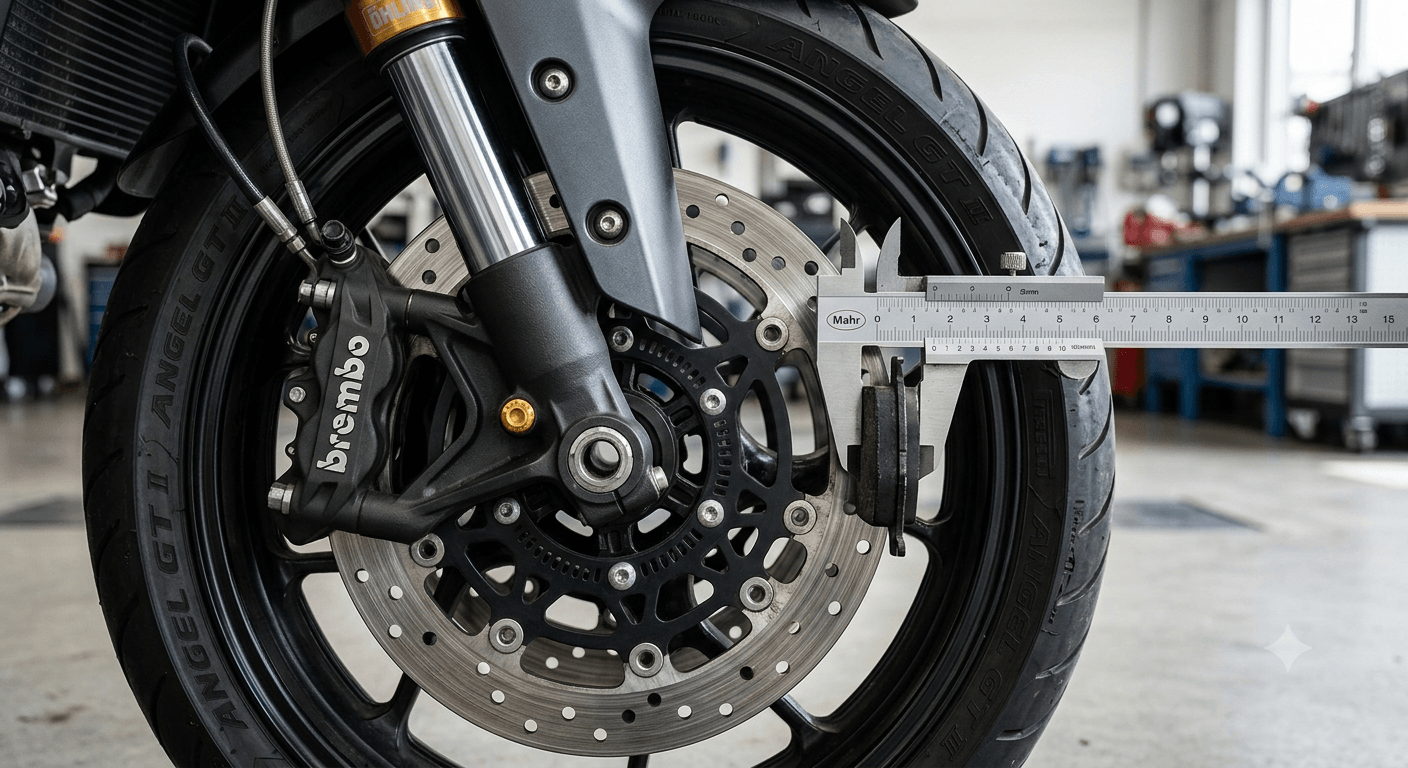
Look at the brake pads through the caliper, front and rear. Most pads have a wear indicator groove or mark, and your manual lists the minimum safe thickness. If the friction material is close to the limit, replace the pads before your next ride, and always replace pads on both sides of an axle together.
Examine the Rotors
Check the discs for deep scratches, grooves, discoloration, or a visible lip at the outer edge. Many rotors have a minimum thickness stamped on them. Replace any rotor that is worn beyond that mark or damaged.
Step 2: Check Fluid Level and Brake Lines
Look at the Brake Fluid
Find the front reservoir and the rear reservoir, and make sure the level sits between the minimum and maximum marks. Check the color as well: fluid that looks dark or cloudy is a sign it needs to be replaced. Many manufacturers recommend changing brake fluid on a regular schedule, so check the interval in your manual. Keep the reservoir clean when you open it, and avoid spilling fluid on paint, because it can damage the finish.
Inspect Hoses and Fittings
Look along every brake line for cracks, bulges, rubbing against other parts, or wet spots. Check the fittings at the master cylinder and caliper for leaks. A line that looks damaged or a leak at any joint is a reason not to ride until the bike is repaired.
Step 3: Test Lever and Pedal Feel
Test the Controls at a Standstill
Squeeze the front lever and press the rear pedal. Both should feel firm and return smoothly. A lever that feels spongy, travels too far, or comes close to the grip can mean air or fluid problems. If the feel is not right, have the system checked before riding.
Do a Slow Rolling Test
Roll the bike slowly in a safe, open area and apply each brake gently. Listen for grinding, squealing, or scraping, and note any pulling to one side or any drag after you release the control. If your motorcycle has ABS, confirm that the warning light behaves as described in your manual when you start the bike.
Why This Matters on Virginia Mountain Roads
Long descents such as those on Route 211 at Thornton Gap and the Blue Ridge Parkway ridge section ask a lot from your brakes. Use engine braking where appropriate so your brakes do not overheat, and keep your tires in good condition with motorcycle tire pressure and tread maintenance for mountain curves and slick asphalt.
Conclusion: Three Steps That Protect Every Ride
Check the pads and rotors, inspect the fluid and lines, and test the lever and pedal. Make this routine a habit before every ride, and have a qualified mechanic look at anything you are unsure about. Healthy brakes give you control, confidence, and shorter stopping distances when the road demands it.
Legal Disclaimer: This guide is provided for educational purposes only and does not replace your owner’s manual or a qualified mechanic. If you are unsure about the condition of your brakes, have them inspected by a professional before riding.
Official & Credible Sources
- Motorcycle Safety Foundation (MSF), Rider Training & Safety Resources: https://www.msf-usa.org
- National Highway Traffic Safety Administration (NHTSA), Motorcycle Safety: https://www.nhtsa.gov/road-safety/motorcycle-safety
Enjoyed This Guide? Explore Related Virginia Touring Resources
- Tire Care: Keep your grip consistent with motorcycle tire pressure and tread maintenance for mountain curves.
- Long Descent Practice: Study the climb and descent in the Route 211 Thornton Gap motorcycle guide.
- Ridge Riding: Apply your braking skills on the Blue Ridge Parkway ridge section motorcycle guide.
- Mountain Pass Crossing: Read the US Route 33 Swift Run Gap motorcycle guide.