Category: Bike Care

  • Motorcycle Chain Maintenance: Cleaning, Lubricating & Adjusting 2026

    Motorcycle Chain Maintenance: Cleaning, Lubricating & Adjusting 2026

    The final drive chain transfers raw horsepower from your motorcycle’s countershaft sprocket directly to the rear wheel. Operating in a harsh, exposed environment, drive chains accumulate road grime, sand, and moisture that degrade rubber O-rings and accelerate sprocket wear. Executing a regular motorcycle chain maintenance cleaning lubricating and adjusting routine every 300 to 500 miles ensures smooth power delivery, extends driveline lifespan, and eliminates the dangerous risk of a snapped chain on the open road.

    Essential Tools & Supplies for Chain Care

    Before beginning your chain service, gather the correct motorcycle-specific maintenance items:

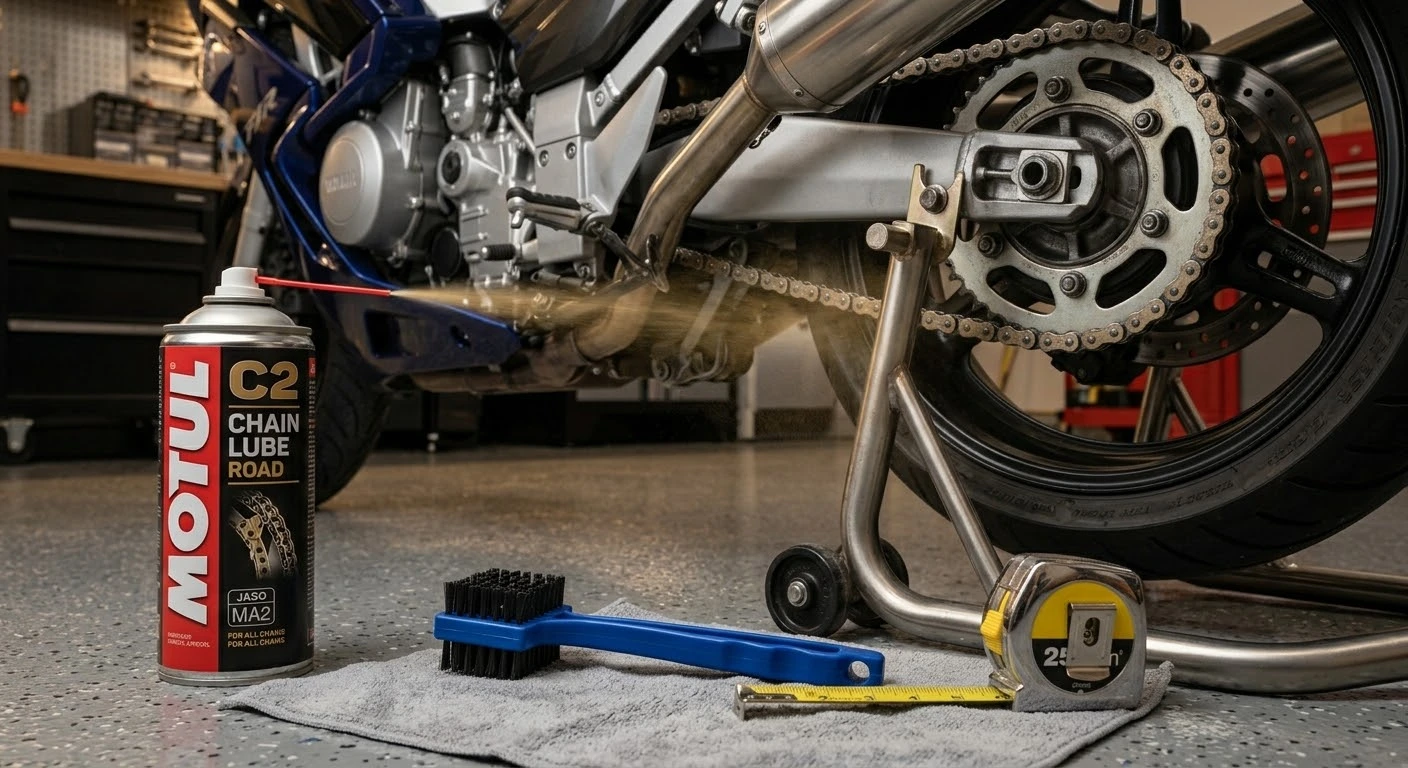
    • O-Ring Safe Chain Cleaner: Avoid harsh chemicals like gasoline or acetone, which dissolve internal rubber O-rings, X-rings, or Z-rings. Use a dedicated aerosol chain degreaser or kerosene.
    • Three-Sided Chain Grunge Brush: Speeds up grime removal by cleaning top, bottom, and side plates simultaneously.
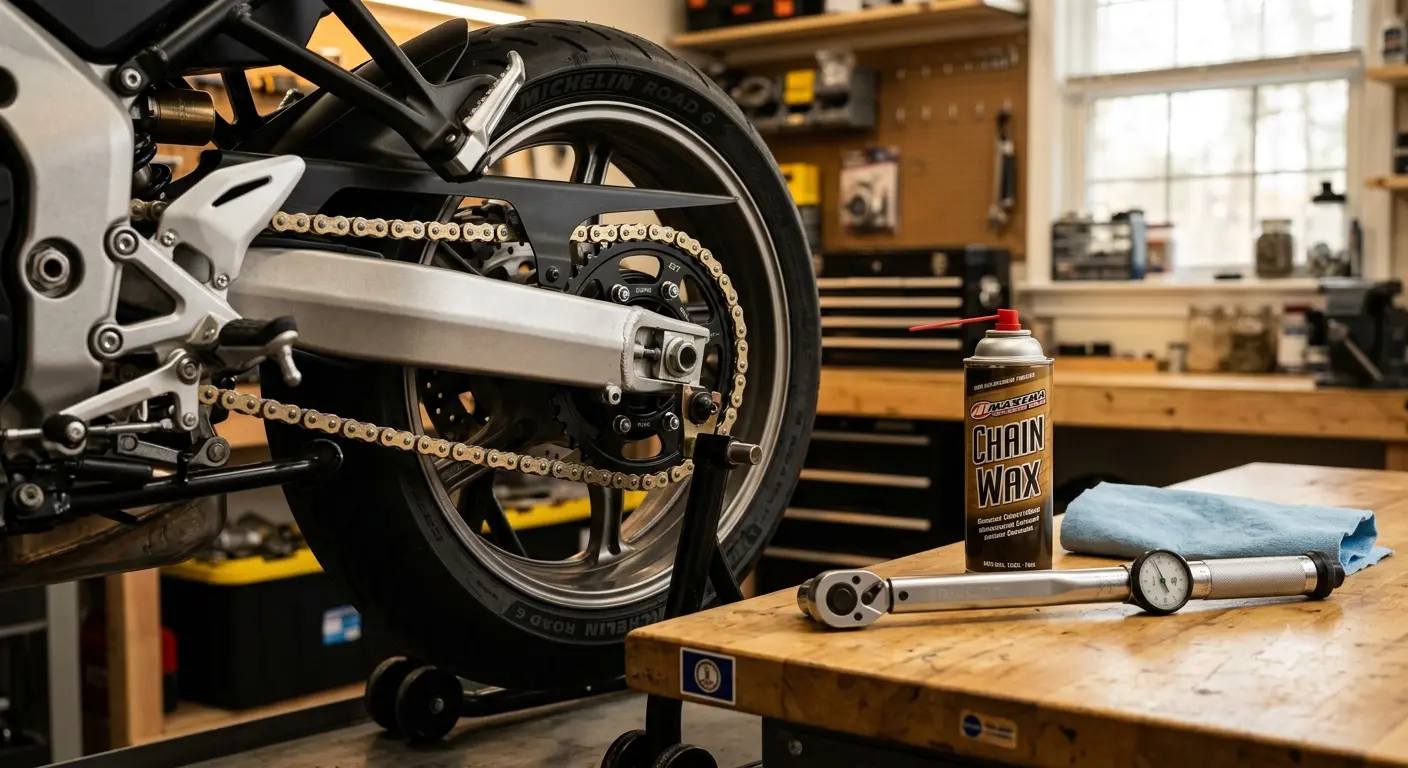
    • High-Tack Motorcycle Chain Lube: Choose a dedicated chain lube or chain wax formulated for sealed chains to prevent fling-off onto your rear wheel.
    • Rear Paddock Stand & Torque Wrench: Essential for lifting the rear wheel safely and torquing the rear axle nut back to precise factory specifications during tension adjustments.

    Step-by-Step Chain Care: Clean, Lube, and Adjust

    Follow these sequential steps to perform a complete drive chain inspection and service:

    1. Clean the Chain Thoroughly: Elevate the rear wheel using a paddock stand. Spray the entire length of the drive chain with an O-ring safe cleaner. Scrub away built-up road grit using a three-sided chain brush, then wipe the chain completely dry with a microfiber cloth.
    2. Apply Chain Lubricant Correctly: Ride the bike for 5 minutes to warm up the chain, or apply lube immediately after cleaning. Aim the spray nozzle at the inside lower run of the chain while slowly rotating the rear wheel by hand. This ensures centrifugal force pushes the lubricant deep into the rollers and internal bushings rather than flinging off. Wipe off excess lube from side plates.
    3. Measure and Adjust Free Play (Tension): Locate the tightest point in the chain by rotating the wheel. Measure vertical slack midway between the front and rear sprockets using a tape measure (standard slack is typically 1.0 to 1.5 inches / 25 to 35 mm).
    4. Align the Rear Axle and Torque Nut: Loosen the main rear axle nut. Adjust the chain tension bolts evenly on both sides of the swingarm using the stamped alignment hash marks to ensure the rear wheel remains perfectly straight. Tighten the rear axle nut using a torque wrench to factory specification, and lock down the adjuster jam nuts.

    Following this comprehensive guide on motorcycle chain maintenance cleaning lubricating and adjusting keeps your motorcycle running quietly, efficiently, and safely. Spending 20 minutes on basic chain hygiene every few hundred miles will reward you with thousands of miles of trouble-free riding.

    Legal Disclaimer: This maintenance guide is intended for educational purposes only. Recommended chain slack, axle nut torque values, and lubricant types vary by motorcycle model. Always consult your owner’s manual before making driveline adjustments.

    Official & Credible Sources

  • Motorcycle Battery Maintenance and Winter Storage Guide 2026

    Motorcycle Battery Maintenance and Winter Storage Guide 2026

    Cold weather is the single greatest enemy of motorcycle batteries. As ambient temperatures drop during the off-season, internal chemical reactions slow down significantly while parasitic loads from security systems or onboard computers continue to draw power. Following proper motorcycle battery maintenance and winter storage protocols prevents sulfation in lead-acid batteries, protects expensive lithium-ion cells from low-voltage freezing, and guarantees your motorcycle fires up effortlessly when spring arrives.

    Battery Types & Specific Off-Season Care

    Different battery chemistries require tailored maintenance approaches during prolonged storage:

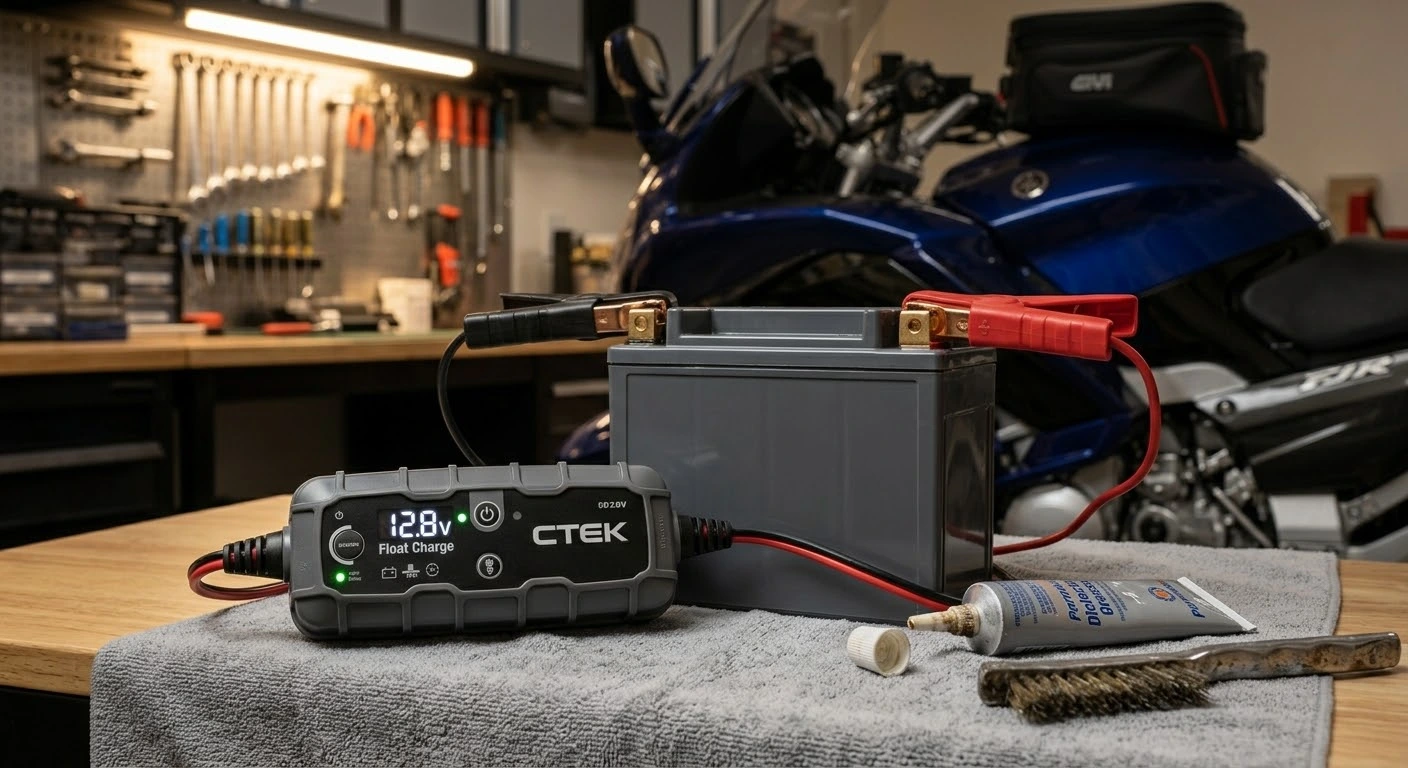
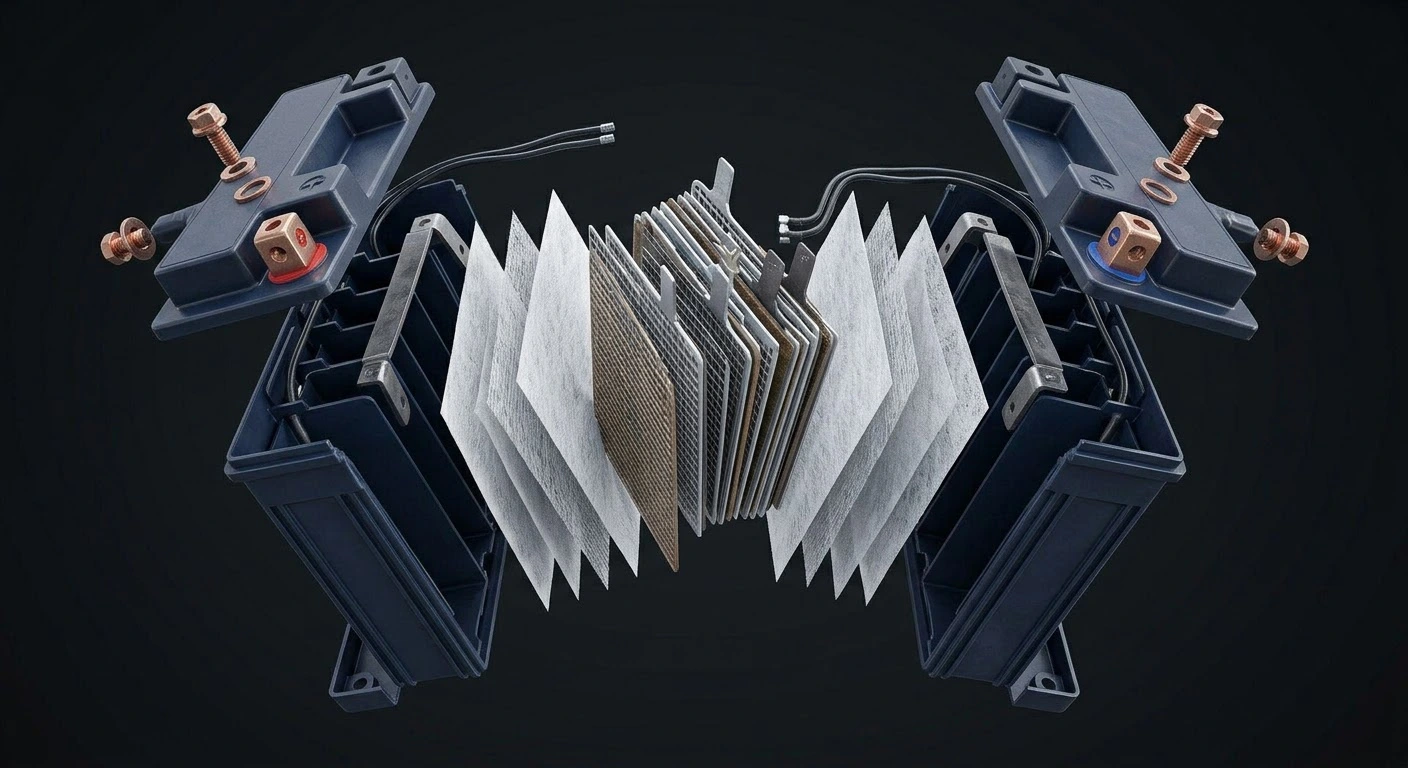
    • AGM & Sealed Lead-Acid (SLA): Highly susceptible to sulfation if left discharged below 12.4 volts. They require a continuous connection to a smart floating maintenance charger throughout the winter.
    • Conventional Wet-Cell Batteries: Require periodic fluid level checks. Top off low cells strictly with distilled water before putting the battery into winter storage.
    • Lithium-Ion (LiFePO4): Extremely low self-discharge rate, but vulnerable to permanent damage if charged in below-freezing temperatures. Disconnect the negative battery terminal and store it in a climate-controlled room around 50% to 70% charge state.

    Step-by-Step Winter Battery Storage Routine

    Protect your battery throughout the winter months by following these practical, step-by-step procedures:

    1. Clean Terminals & Inspect Cables: Remove corrosion or white lead-sulfate powder from the battery terminals using a wire brush and a mixture of baking soda and water. Coat the clean terminals with dielectric grease to block future oxidation.
    2. Remove the Battery from the Bike: If storing your motorcycle in an unheated garage or outdoor shed, remove the battery completely. Always disconnect the Negative (-) black cable first, followed by the Positive (+) red cable to prevent short circuits.
    3. Store in a Climate-Controlled Area: Place the battery on a wooden shelf or workbench inside a temperature-stable room. Avoid storing batteries directly on freezing concrete floors.
    4. Connect a Dedicated Smart Trickle Charger: Hook up a micro-processor controlled smart charger (tender) designed for your specific battery type. Smart chargers automatically monitor voltage, deliver float charges when needed, and shut off to prevent overcharging.

    Taking the time for motorcycle battery maintenance and winter storage saves you money and eliminates the frustration of a dead battery on the first sunny day of spring. By cleaning terminals, storing your battery in a climate-controlled space, and using a smart tender, you protect your motorcycle’s electrical system year-round.

    Legal Disclaimer: This maintenance guide is provided for educational purposes only. Battery chemistries and charging requirements vary. Always refer to your battery manufacturer’s safety manual and charger guidelines before servicing electrical components.

    Official & Credible Sources

  • Virginia Motorcycle Winter Riding Prep: 6 Cold Weather Steps

    Virginia Motorcycle Winter Riding Prep: 6 Cold Weather Steps

    Virginia Motorcycle Winter Riding Prep

    Riding through Virginia during the winter months presents a unique blend of crisp, clear mountain days and sudden freezing conditions. While southern coastal areas experience milder temperatures, high-elevation routes along the Blue Ridge and Central Virginia highways routinely face freezing asphalt, road salt treatments, and rapid temperature drops.

    Following a dedicated Virginia motorcycle winter riding prep guide ensures your machine stays mechanically sound and you remain warm, focused, and completely protected through the coldest riding months.

    ❄️ Navigating Road Salt, Battery Health, and Freezing Temperatures

    Winter road maintenance in Virginia relies heavily on liquid brine and rock salt treatments. These chemical compounds quickly accelerate corrosion on bare metals, alloy wheels, and drive chains if not properly managed after every ride. Before hitting treated roads, applying a protective anti-corrosion barrier spray to exposed metallic components helps shield your frame and engine cases from harsh chemical degradation.

    Sub-freezing temperatures also put severe stress on your motorcycle’s electrical system and tire traction. Cold ambient air drastically reduces battery efficiency, while cold rubber requires significantly longer distance to warm up and grip the road surface properly. Keeping your battery on a smart tender and verifying cold tire pressure before every ride are essential steps for reliable cold-weather operation.

    🛠️ 6 Essential Steps for Cold Weather Riding

    1. Protect Drivetrain and Frame Against Road Salt
      Rinse your motorcycle with cold water after navigating brine-treated highways to prevent salt accumulation, and keep your drive chain thoroughly lubricated with a water-repellent chain wax.
    2. Manage Cold Battery Health
      Keep your battery on a dedicated trickle charger overnight. Ensure your alternator can support the power draw if operating heavy electrically heated gear.
    3. Adjust Tire Pressure for Cold Drops
      Ambient pressure drops in cold weather. Check tire inflation when cold, and allow extra stopping distance on freezing pavement.
    4. Install Anti-Fog Visor Solutions
      Equip your helmet with a double-lens Pinlock insert or high-grade anti-fog treatment to prevent breath condensation from blocking your vision.
    5. Utilize Layered and Heated Gear
      Combine windproof outer shells with electrically heated liners to maintain core body temperature and preserve quick reflex responses.
    6. Watch for Black Ice on Mountain Passes
      Exercise extreme caution on shaded mountain curves, bridges, and overpasses where moisture freezes quickly even when main roads appear clear.

    🎯 Conclusion: Stay Warm, Protected, and Road-Ready

    Winter riding across Virginia rewards disciplined riders with clear blue skies and peaceful, uncrowded highways. By protecting your motorcycle against salt corrosion and managing your body heat, you can safely enjoy cold-weather touring across the Commonwealth.

    Protect the metal. Layer up right. Ride safe.

    📚 References & Sources

    • Motorcycle Safety Foundation (MSF) — Cold Weather Riding Guidelines — msf-usa.org
    • Virginia Department of Transportation (VDOT) — Winter Road Conditions & Treatment — virginiadot.org
    • American Motorcyclist Association (AMA) — Winter Storage & Cold Riding Prep — americanmotorcyclist.com

    Disclaimer: This article is provided for informational, inspirational, and educational purposes only. Winter road conditions, weather warnings, and local salt treatments vary across Virginia regions. Always review local VDOT weather alerts before riding in sub-freezing temperatures.

  • Virginia Motorcycle Maintenance Guide

    Virginia Motorcycle Maintenance Guide

    Virginia Motorcycle Maintenance Guide: 7 Pre-Ride Essentials

    Riding through the Commonwealth of Virginia offers incredible coastal routes and technical mountain passes. However, the region’s unique geography—ranging from high-humidity coastal salt air in Virginia Beach to rapid elevation shifts along the Blue Ridge Mountains—puts unique mechanical stress on your machine.

    Following a targeted Virginia motorcycle maintenance guide ensures your engine, tires, and final drive remain dependable whether you commute daily in Richmond or tackle high-elevation twists on Skyline Drive.

    Quick Pre-Ride Inspection Checklist (T-CLOCS Overview):

    • Tires & Wheels: Air pressure, tread depth, and rim integrity.
    • Controls: Levers, cables, hoses, and throttle return.
    • Lights & Electrics: Headlight, brake light, turn signals, and battery charge.
    • Oil & Fluids: Engine oil, brake fluid, and coolant levels.
    • Chassis: Chain tension, belt drive, and suspension seals.
    • Stands: Sidestand return spring and centerstand lock.

    Navigating Virginia’s Environmental Challenges

    Humidity, seasonal road salt debris, and asphalt temperature swings require proactive preventative care. High summer heat can degrade engine oil viscosity quickly, while damp coastal breezes accelerate drive chain rust and fastener oxidation.

    Basic Maintenance Workflow for Coastal & Mountain Riding:

    [ Tire Pressure Check ] ──> [ Chain Clean & Lube ] ──> [ Brake Pad Inspection ]
    │ │ │
    ▼ ▼ ▼
    (Cold Spec PSI) (Every 300–500 Miles) (Check Minimum 1mm Pad)

    7 Essential Maintenance Steps for Virginia Riders

    1. Monitor Tire Pressure for Elevation and Heat
      Mountain elevations cause ambient air pressure changes, while hot asphalt increases internal tire expansion. Always measure tire pressure cold before climbing into high-altitude corridors like Shenandoah National Park.
    2. Maintain and Lubricate the Drive Chain
      Virginia’s frequent morning mist and seasonal rain showers pull road grime into your drive chain. Clean and lube your chain every 300 to 500 miles using a high-tack synthetic lubricant to prevent binding and rust.
    3. Inspect Brake Systems and Fluid Health
      Descending steep mountain passes like Route 211 generates intense heat in your brake calipers. Ensure your brake pads have ample friction material and bleed old, moisture-contaminated brake fluid annually.
    4. Protect Electrical Systems Against Humidity
      Corrosion inside wire harness connectors and battery terminals is a common cause of electrical failure near humid river basins. Apply dielectric grease to open terminals and keep battery lead bolts tight.
    5. Check Suspension and Fork Seals
      Rough backroads and sudden frost heaves test your front fork seals. Wipe chrome fork tubes clean after long rides to remove bug splatter and road grit that can tear dust wipers.
    6. Inspect Engine Cooling Systems
      Liquid-cooled engines need proper coolant mixtures to withstand hot urban traffic in summer and freezing high-altitude temperatures in winter. Keep radiator fins clear of organic debris.
    7. Store Fuel Properly During Off-Season
      When storing your motorcycle through winter months, add a quality fuel stabilizer to prevent ethanol oxidation from clogging injectors or carburetor jets.

    Conclusion: Keep Your Machine Peak-Ready

    Consistent care turns potential mechanical breakdowns into safe, unforgettable road trips across the Commonwealth. Spend twenty minutes in your workshop before every major journey to keep your machine performing at its absolute best.

    Check the details. Protect your investment. Ride safe.

    References & Sources

    • Motorcycle Safety Foundation (MSF) — Official T-CLOCS Inspection Checklist — msf-usa.org
    • Virginia Department of Motor Vehicles (DMV) — Motorcycle Operator Manual & Maintenance — dmv.virginia.gov
    • American Motorcyclist Association (AMA) — Motorcycle Maintenance Tips — americanmotorcyclist.com

    [Disclaimer: This article is provided for informational, inspirational, and educational purposes only. Always consult your motorcycle manufacturer’s official service manual for exact torque specifications, fluid types, and recommended maintenance intervals.]

  • Motorcycle Suspension Tuning: The Smooth Ride Blueprint

    Motorcycle Suspension Tuning: The Smooth Ride Blueprint

    Motorcycle Suspension TuningA poorly adjusted suspension turns every pothole into a spine-shattering impact.

    Tuning your chassis completely transforms how your bike behaves in corners.

    The Story of a Harsh RideImagine blasting down your favorite backroad, tilting into a perfect apex, and suddenly feeling the entire chassis wobble uncontrollably.

    Many riders blame their tires or the asphalt, but the real culprit is usually a mismatched factory suspension setup.

    Your motorcycle left the assembly line calibrated for an “average” rider weight. If you carry luggage, commute in the city, or weigh differently, that default setting works against you.

    Understanding the core physics of your suspension is the ultimate key to unlocking a plush, predictable ride.

    Simplifying the MechanicsYou do not need a mechanical engineering degree to tune your motorcycle suspension.

    The entire system relies on balancing three core adjustments to match your specific riding profile:

    * Preload (Sag): Initial spring height based on rider weight.

    (Symptom: Bike sags too low or rides too high).

    * Compression: How fast the suspension collapses over bumps. (Symptom: Stiff, harsh spikes or excessive front-end diving).

    * Rebound: How fast the suspension returns to its normal state. (Symptom: A bouncy, pogo-stick feeling after hitting a dip).

    Finding Balance on the AsphaltStart by adjusting your rear preload until your motorcycle sags roughly 30mm to 35mm when you are sitting on it in full riding gear. If the front end dives aggressively every time you grab the front brake lever, stiffen the front compression damping slightly.

    Conversely, if the rear tire feels loose and chatters across small ripples in the road, back off the compression to let the spring absorb the terrain. Small, incremental changes yield massive improvements.

    Conclusion:

    Total Chassis HarmonySuspension tuning is a continuous dialogue between the rubber, the metal, and your personal riding style. Spending a weekend adjusting these parameters eliminates front-end vagueness and restores total control over every mile of asphalt.

    Respect the physics.

    Tune the chassis.

    Ride prepared.

    (Disclaimer: This article is provided for informational and educational purposes only. Suspension components, adjustability features, and factory torque specifications vary radically across cruiser, sport, and adventure motorcycles. Always consult your motorcycle’s official owner manual before altering factory settings, and perform initial test rides at low, safe speeds to evaluate handling changes)

    References & Sources

    * Motorcycle Safety Foundation (MSF) — msf-usa.org

    * American Motorcyclist Association (AMA) — americanmotorcyclist.com

    * Society of Automotive Engineers (SAE) — sae.org