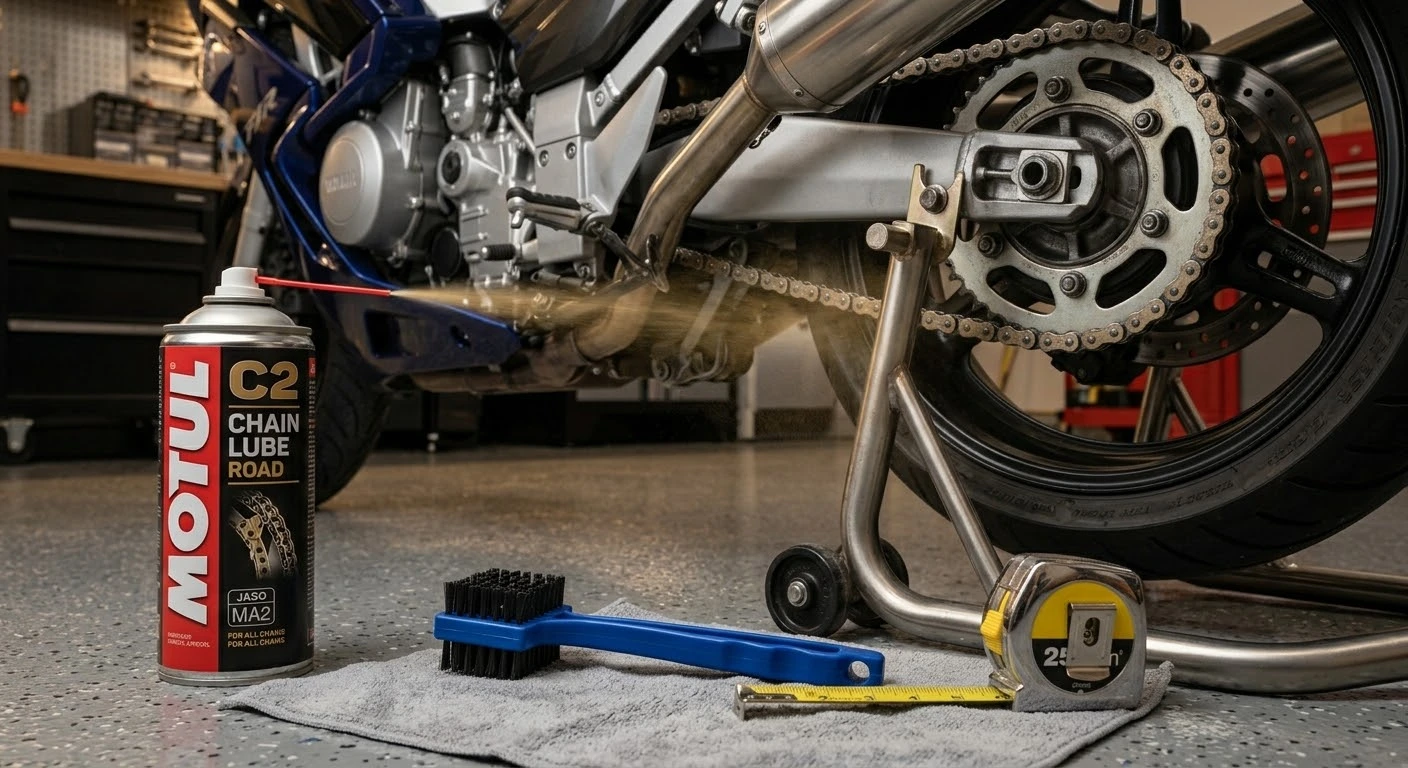
The final drive chain transfers raw horsepower from your motorcycle’s countershaft sprocket directly to the rear wheel. Operating in a harsh, exposed environment, drive chains accumulate road grime, sand, and moisture that degrade rubber O-rings and accelerate sprocket wear. Executing a regular motorcycle chain maintenance cleaning lubricating and adjusting routine every 300 to 500 miles ensures smooth power delivery, extends driveline lifespan, and eliminates the dangerous risk of a snapped chain on the open road.
Essential Tools & Supplies for Chain Care
Before beginning your chain service, gather the correct motorcycle-specific maintenance items:
- O-Ring Safe Chain Cleaner: Avoid harsh chemicals like gasoline or acetone, which dissolve internal rubber O-rings, X-rings, or Z-rings. Use a dedicated aerosol chain degreaser or kerosene.
- Three-Sided Chain Grunge Brush: Speeds up grime removal by cleaning top, bottom, and side plates simultaneously.
- High-Tack Motorcycle Chain Lube: Choose a dedicated chain lube or chain wax formulated for sealed chains to prevent fling-off onto your rear wheel.
- Rear Paddock Stand & Torque Wrench: Essential for lifting the rear wheel safely and torquing the rear axle nut back to precise factory specifications during tension adjustments.
Step-by-Step Chain Care: Clean, Lube, and Adjust
Follow these sequential steps to perform a complete drive chain inspection and service:
- Clean the Chain Thoroughly: Elevate the rear wheel using a paddock stand. Spray the entire length of the drive chain with an O-ring safe cleaner. Scrub away built-up road grit using a three-sided chain brush, then wipe the chain completely dry with a microfiber cloth.
- Apply Chain Lubricant Correctly: Ride the bike for 5 minutes to warm up the chain, or apply lube immediately after cleaning. Aim the spray nozzle at the inside lower run of the chain while slowly rotating the rear wheel by hand. This ensures centrifugal force pushes the lubricant deep into the rollers and internal bushings rather than flinging off. Wipe off excess lube from side plates.
- Measure and Adjust Free Play (Tension): Locate the tightest point in the chain by rotating the wheel. Measure vertical slack midway between the front and rear sprockets using a tape measure (standard slack is typically 1.0 to 1.5 inches / 25 to 35 mm).
- Align the Rear Axle and Torque Nut: Loosen the main rear axle nut. Adjust the chain tension bolts evenly on both sides of the swingarm using the stamped alignment hash marks to ensure the rear wheel remains perfectly straight. Tighten the rear axle nut using a torque wrench to factory specification, and lock down the adjuster jam nuts.
Following this comprehensive guide on motorcycle chain maintenance cleaning lubricating and adjusting keeps your motorcycle running quietly, efficiently, and safely. Spending 20 minutes on basic chain hygiene every few hundred miles will reward you with thousands of miles of trouble-free riding.
Legal Disclaimer: This maintenance guide is intended for educational purposes only. Recommended chain slack, axle nut torque values, and lubricant types vary by motorcycle model. Always consult your owner’s manual before making driveline adjustments.
Official & Credible Sources
- Motorcycle Safety Foundation (MSF) T-CLOCS Inspection Guide: https://msf-usa.org
- DID Chain Technical & Maintenance Manuals: https://www.didchain.com
- RK Japan Motorcycle Drive Chain Specifications: https://www.rk-japan.co.jp
Leave a Reply