Category: Rider Guides

  • Motorcycle Brake Pad Replacement: DIY Step-by-Step Maintenance Guide

    Motorcycle Brake Pad Replacement: DIY Step-by-Step Maintenance Guide

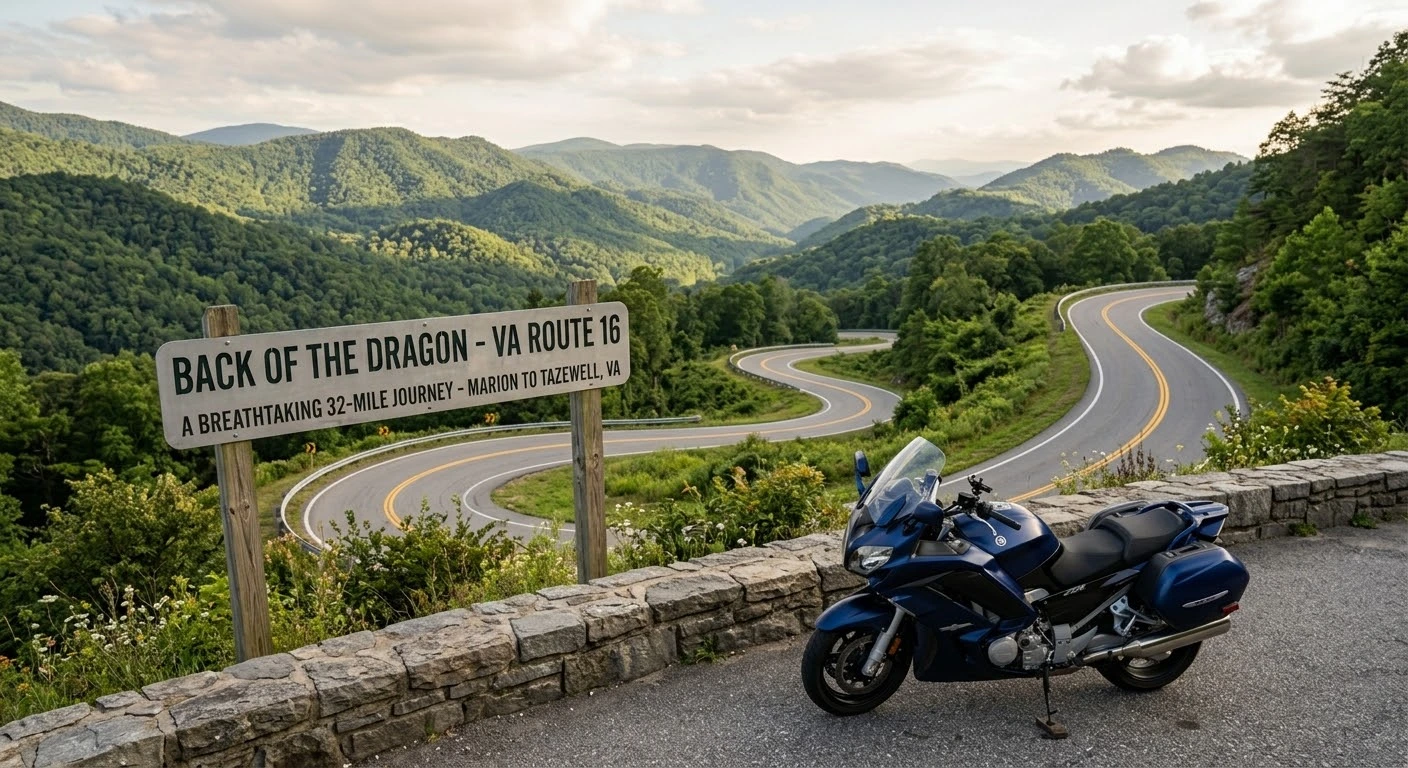
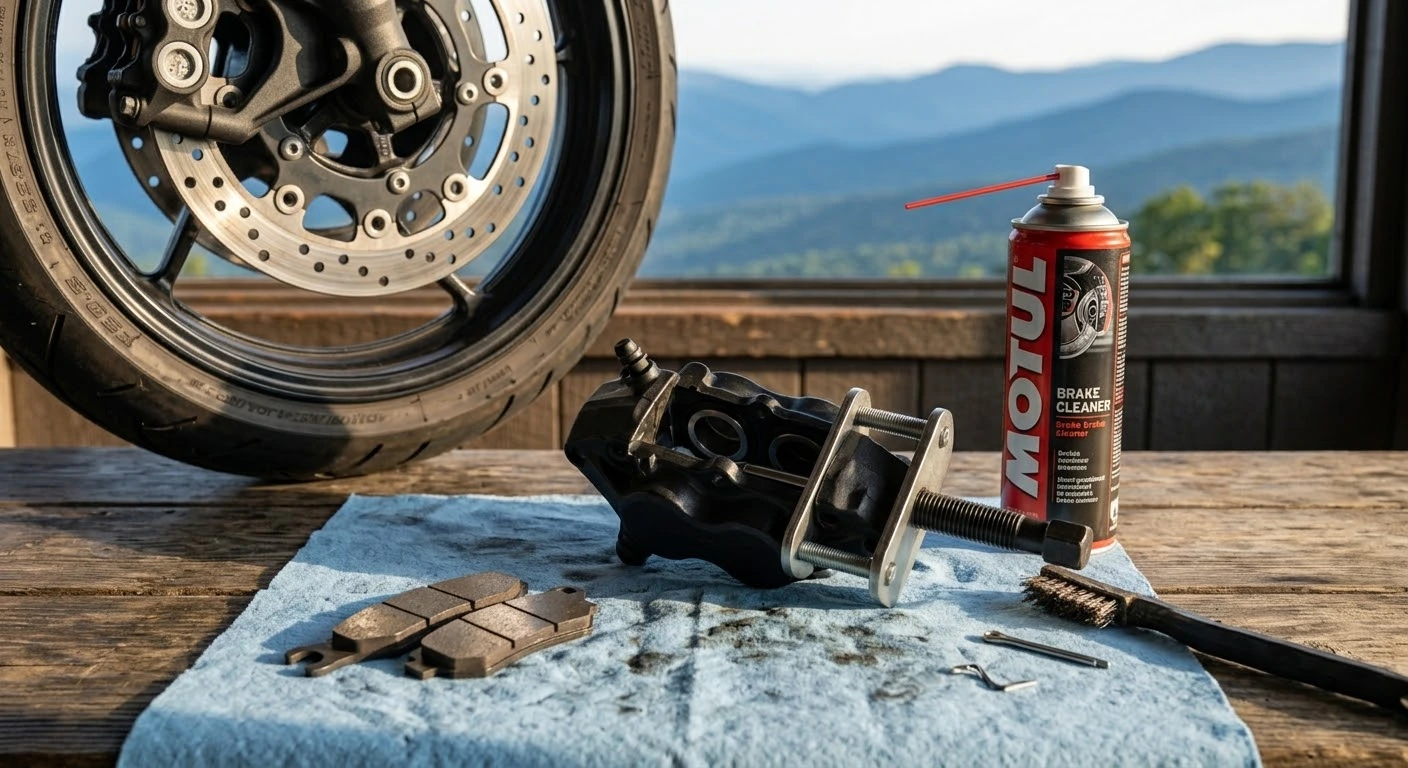
    There is a profound sense of satisfaction that comes from mastering your motorcycle’s mechanical system with your own two hands. Few DIY garage tasks impact your personal safety as directly as maintaining your stopping power. As your brake calipers clamp down on glowing steel rotors to slow you down into a sharp mountain hairpin, you rely entirely on a few millimeters of friction material. Performing a motorcycle brake pad replacement DIY step by step maintenance routine not only saves you expensive dealership labor fees but also ensures your machine responds instantly whenever danger appears on the road.

    Brake Pad Compound Comparison & Thermal Metrics

    ​Choosing the right brake pad material directly affects stopping power, thermal resistance, and replacement intervals:

    • ​1. Sintered Metallic Pads:
      • ​Lifespan: 15,000 – 20,000 miles
      • ​Thermal Fade Limit: Up to 1,000°F (537°C)
      • ​Braking Performance: Maximum initial bite and zero thermal fade under aggressive mountain riding. Best for heavy touring and sportbikes.
    • ​2. Semi-Metallic Pads:
      • ​Lifespan: 10,000 – 14,000 miles
      • ​Thermal Fade Limit: Up to 650°F (343°C)
      • ​Braking Performance: Balanced stopping feel with low rotor wear and moderate heat dispersion. Ideal for everyday street commuters.
    • ​3. Organic / Resin Pads:
      • ​Lifespan: 6,000 – 9,000 miles
      • ​Thermal Fade Limit: Up to 400°F (204°C)
      • ​Braking Performance: Soft lever feel and quiet operation, but susceptible to brake fade during long downhill mountain descents.

    Step-by-Step DIY Brake Pad Replacement Procedure

    Follow this structured workflow to safely replace your front or rear motorcycle brake pads:

    • 1. Inspect Wear Wear Indicators & Secure the Bike: Position your motorcycle on a center stand or rear paddock stand. Check the friction material thickness—if it is under 2mm (or near the indicator grooves), immediate replacement is required.
    • 2. Loosen Caliper Bolts & Pin Retainers: Before removing the caliper, break the torque on the pad retaining pins using an Allen or Torx key. Unbolt the caliper mounting bolts from the fork leg and lift the caliper clear of the rotor.
    • 3. Clean Piston Walls & Compress Pistons: Spray brake cleaner onto the exposed caliper pistons to remove accumulated road grime and brake dust. Use a piston spreader tool or plastic lever to carefully push the pistons back into the caliper housing, creating space for thick new pads.
    • 4. Install New Pads & Anti-Squeal Paste: Apply a tiny dab of high-temp copper grease or anti-squeal compound to the back of the metal backing plates (never on the friction surface). Slide the new pads into place, secure the retaining pins, and torque all mounting bolts to factory specifications.
    • 5. Pump the Brake Lever & Perform Bedding-In: Before turning the key, pump the brake lever multiple times until firm hydraulic pressure returns. Bed in your new pads by performing 10 to 15 moderate stops from 30 mph to properly transfer friction material onto the rotors.

    Taking control of your bike’s braking efficiency is essential before embarking on rigorous mountain runs like the Virginia State Route 16 complete riding guide to the Back of the Dragon. Furthermore, clean brake maintenance is vital for meeting mandatory safety inspection standards detailed in Virginia motorcycle laws 2026 helmets lane splitting and regulations. If you are gearing up for a multi-state road trip, combine your brake check with our full mechanical checklist on how to prepare your motorcycle for long-distance touring.

    Executing a motorcycle brake pad replacement DIY step by step maintenance routine empowers you as a rider while keeping your motorcycle in peak operating condition. Taking time to clean your caliper pistons, check pad thickness, and properly bed in new friction compounds guarantees confident, reliable stopping power on every ride.

    Legal Disclaimer: Brake system maintenance directly impacts vehicle safety. This guide is for educational purposes only. If you are unsure of your mechanical abilities, always have a certified motorcycle technician perform or inspect your brake service.

    Official & Credible Sources

  • Cardo vs Sena: Best Motorcycle Intercom for Group Rides (2026)

    Cardo vs Sena: Best Motorcycle Intercom for Group Rides (2026)

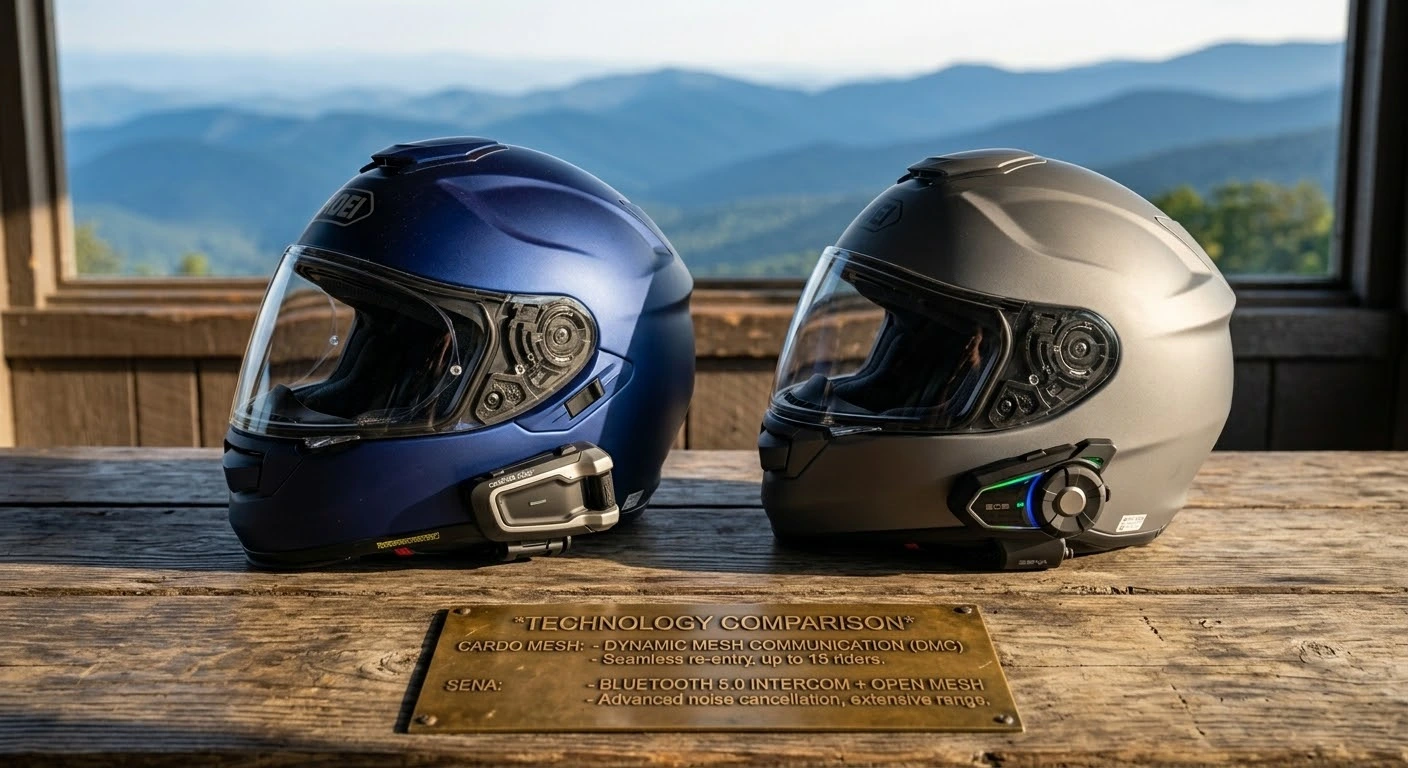
    Picture this: you are carving through the tight mountain passes of Southwest Virginia, feeling the rhythm of the road, when suddenly a sudden patch of gravel or a sharp turn appears ahead. With a quick whisper into your helmet microphone, your entire riding group instantly adjusts position without missing a beat. Communication on two wheels has evolved from clumsy hand gestures and helmet taps into seamless, crystal-clear dialogue. Choosing the best communicator comes down to a classic battle of tech giants—Cardo vs Sena choosing the best motorcycle intercom for group rides requires evaluating mesh connectivity, weatherproof durability, real-world range, and cross-brand pairing options.

    Head-to-Head Specification & Performance Metrics

    To evaluate how these leading intercom systems perform during group tours, the table below breaks down the technical specs of their flagship Mesh units (Cardo Packtalk Edge vs. Sena 50S/50R):

    Feature / MetricCardo Packtalk Series (Dynamic Mesh 2.0)Sena 50 Series (Mesh 2.0 / Open Mesh)
    Max Group CapacityUp to 15 Riders (Seamless Reconnection)Up to 24 Riders (Group Mesh) / Unlimited (Open)
    Real-World Range~1.0 Mile (Rider-to-Rider) / 5 Miles (Group)~1.2 Miles (Rider-to-Rider) / 5 Miles (Group)
    Waterproof RatingFully IP67 Waterproof CertifiedWater-Resistant (Requires Weather Precaution)
    Audio HardwarePremium JBL 45mm SpeakersSOUND BY Harman Kardon Speakers
    Battery Life & Charging13 Hours Active Talk / Fast USB-C12 Hours Active Talk / Fast USB-C Charger
    Mounting MechanismAir Mount (Magnetic Quick-Latch)Clamp Mount / Adhesive Plate System

    Deep Technical Breakdown: Connectivity, Weather, and Usability

    Choosing between these systems depends heavily on your group size, riding environment, and gear choices:

    • 1. Mesh Technology & Group Reconnection: Both brands utilize proprietary mesh networks. Cardo’s Dynamic Mesh Communication (DMC) excels at auto-reconnecting riders who drop out of range due to mountain terrain, seamlessly linking back without pressing a button. Sena’s Open Mesh shines when riding with large, spontaneous groups, allowing instant channel matching across dozens of bikes.
    • 2. Weather Resistance & Ruggedness: Cardo holds a distinct edge in wet weather. Featuring an official IP67 waterproof rating, it easily withstands heavy Appalachian downpours. If you plan to ride through unpredictable mountain weather, make sure your gear complies with safety standards outlined in our guide on Virginia motorcycle laws 2026 helmets lane splitting and regulations.
    • 3. Audio Quality & Helmet Integration: Sena’s partnership with Harman Kardon delivers crisp treble and powerful bass, ideal for listening to turn-by-turn navigation or group chat over high-speed wind noise. Cardo’s JBL integration provides balanced sound isolation that pairs seamlessly with full-face helmets.
    • 4. Route Coordination for Technical Group Rides: Clear intercom audio is invaluable when leading a pack through challenging mountain curves. Having reliable comms lets lead riders warn trailing group members about sudden pavement shifts when tackling technical runs like the Virginia State Route 16 complete riding guide to the Back of the Dragon.
    • 5. Long-Distance Battery Endurance: Both units offer fast charging, giving you up to 2 hours of talk time from a 20-minute charge. This makes them ideal companions when outfitting your bike using our checklist on how to prepare your motorcycle for long-distance touring.

    Navigating the decision of Cardo vs Sena choosing the best motorcycle intercom for group rides ultimately hinges on what your riding buddies use and your climate demands. If absolute waterproofing and automatic reconnection in mountain gaps matter most, Cardo takes the lead. If maximum group capacity and universal mesh pairing take priority, Sena remains a powerhouse.

    Legal Disclaimer: This guide is provided for educational and product comparison purposes only. Operating intercom controls while riding must be done safely without causing driver distraction. Check local jurisdiction laws regarding helmet speakers and earbud use.

    Official & Credible Sources

  • Best Spring Motorcycle Rides in Virginia for Scenic Blooms 2026

    Best Spring Motorcycle Rides in Virginia for Scenic Blooms 2026

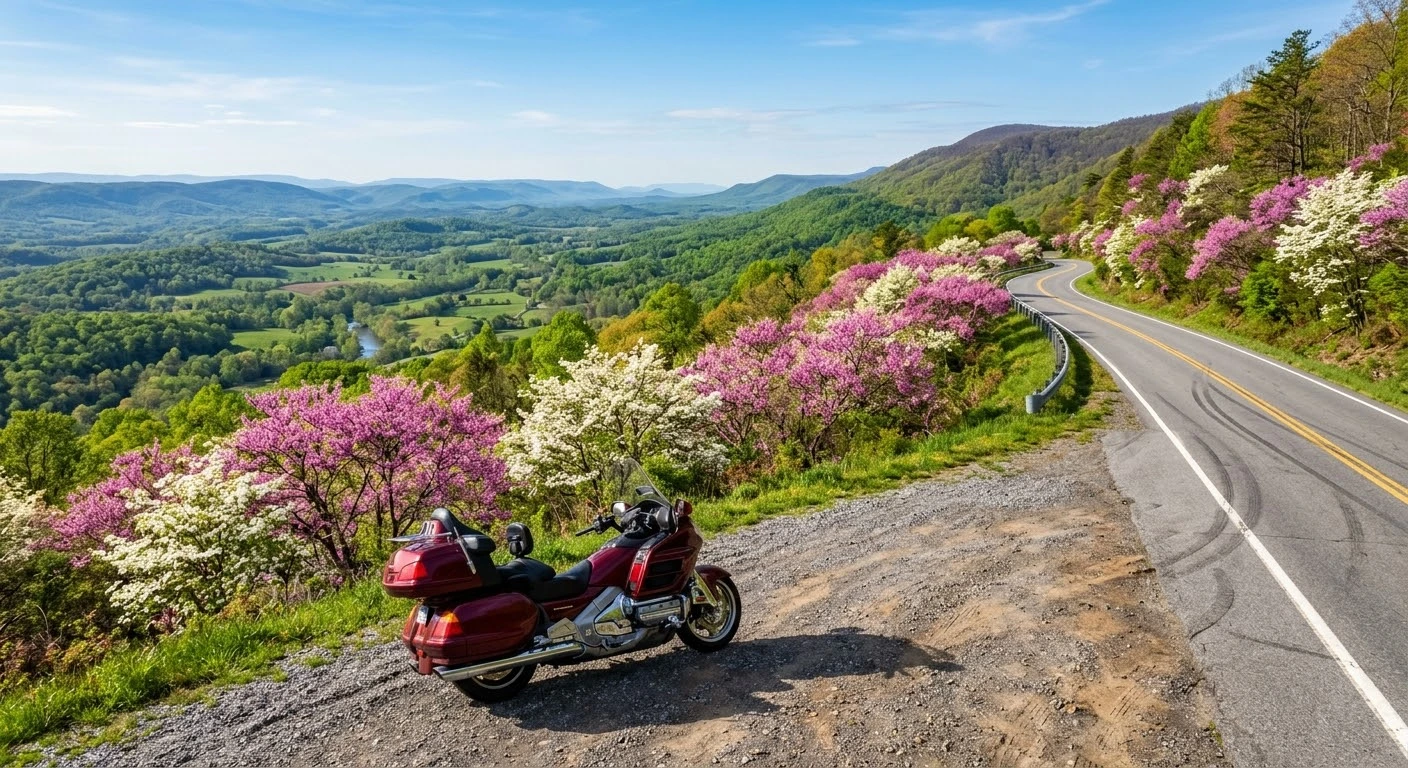
    There is a distinct moment every April when the cold bite of Appalachian winter officially surrenders to something extraordinary. The crisp morning air carries the rich scent of damp pine and mountain laurel, and the dark, winter-weary asphalt of Virginia’s backroads is suddenly framed by vibrant explosions of pink redbuds, snow-white dogwoods, and lush valley greenery. Throwing a leg over your motorcycle during this seasonal awakening is pure magic. Taking on the best spring motorcycle rides in Virginia for scenic blooms is about feeling the subtle shifts in thermal mountain currents, watching entire valleys transform in real time, and celebrating the long-awaited return of warm, winding miles.

    Spring Bloom Route Data & Regional Comparisons

    To help you timing your rides effectively, the table below compares Virginia’s top spring corridors based on elevation, dominant floral species, and peak viewing windows:

    Scenic CorridorPeak Bloom WindowPrimary Floral SpeciesAverage Spring Temp (°F)Technical Difficulty
    Shenandoah Valley (Rt 11 / Rt 211)Early April – Mid AprilEastern Redbud, Apple Blossoms58°F – 64°FModerate
    Skyline Drive (Central Section)Mid April – Late AprilFlowering Dogwood, Mountain Laurel50°F – 58°FRelaxed (35 mph)
    Blue Ridge Parkway (Northern VA)Late April – Early MayWild Azaleas, Red Maples52°F – 60°FSweeping Curves
    Southwest Heritage Trail (Rt 58 / Rt 16)Late April – Mid MayMountain Laurel, Rhododendron55°F – 65°FHighly Technical

    Top Spring Routes & Seasonal Riding Conditions

    Planning a spring ride requires balancing temperature variations with elevation shifts across the Commonwealth:

    • 1. Shenandoah Valley Apple Blossom Loop (Route 211 to Winchester): Riding through Page Valley in mid-April offers miles of orchard blossoms framed by the Blue Ridge Mountains. Ensure your motorcycle is in top mechanical shape before setting off by reviewing our guide on how to prepare your motorcycle for long-distance touring.
    • 2. The Redbud Run via Route 39 (Maury River Canyon): This route winds alongside towering rock faces covered in magenta redbud blossoms. Because spring road surfaces can hold morning moisture, maintain smooth throttle control and stay informed on legal gear requirements by checking Virginia motorcycle laws 2026 helmets lane splitting and regulations.
    • 3. Skyline Drive Dogwood Crest: High-elevation spring riding means cooler air, but the white dogwood canopy creates an unforgettable tunnel effect. If you are debating between low-valley runs and high-ridge rides, compare your options in our detailed breakdown of riding Skyline Drive vs Blue Ridge Parkway which route is better.

    Spring Elevation Temperature & Wildlife Activity Metrics

    [Spring Elevation & Wildlife Metrics]
    High Elevation (3,000+ ft): 48°F – 55°F | Peak Bloom: Late April/May | Wildlife Danger: HIGH (Deer/Bears)
    Low Valleys (under 1,000 ft): 60°F – 68°F | Peak Bloom: Early April | Wildlife Danger: MODERATE

    • Thermal Shifts: Temperatures drop roughly 3.5°F for every 1,000 feet of elevation gain. Always pack windproof layers when transitioning from valley floors to mountain crests.
    • Wildlife Movement Stat: Deer and black bear movement along road shoulders spikes by 40% during early morning and dusk hours in spring as animals forage on new plant growth.

    Exploring the best spring motorcycle rides in Virginia for scenic blooms provides a sensory experience that no other season can duplicate. By monitoring bloom windows, tracking elevation temperatures, and respecting seasonal wildlife activity, you can enjoy a safe and visually breathtaking start to your riding year.

    Legal Disclaimer: This guide is provided for informational and travel planning purposes only. Peak bloom dates and road conditions vary annually based on weather patterns. Always verify road status with VDOT before traveling.

    Official & Credible Sources

  • Skyline Drive vs Blue Ridge Parkway: Which Riding Route is Better? (2026)

    Skyline Drive vs Blue Ridge Parkway: Which Riding Route is Better? (2026)

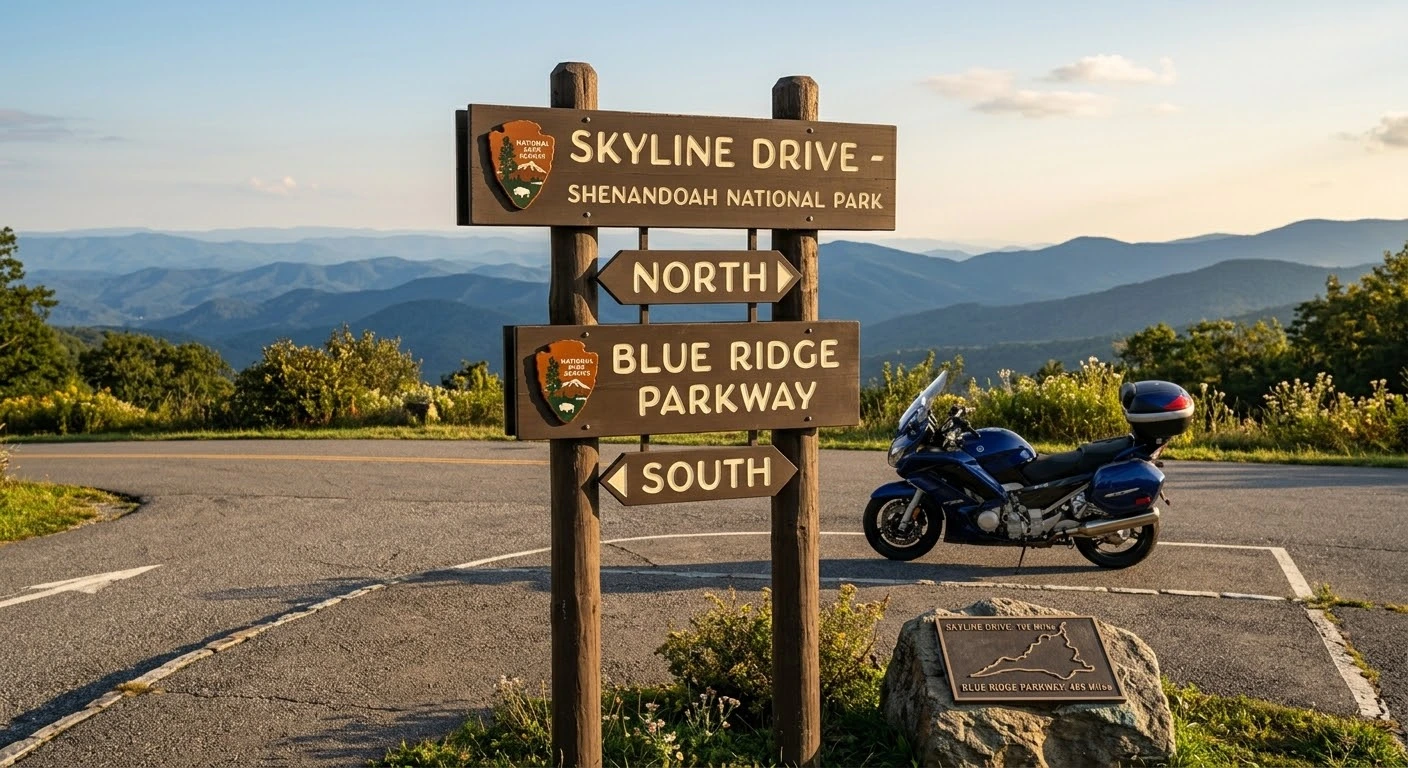
    Virginia is home to two of the most iconic scenic highways in the United States: Skyline Drive and the Blue Ridge Parkway. Running along the crest of the Blue Ridge Mountains, both routes offer sweeping valley views, dense forest canopies, and smooth mountain asphalt. However, choosing between riding Skyline Drive vs Blue Ridge Parkway which route is better depends entirely on your preferred speed, budget, route length, and riding style.

    Key Differences: Skyline Drive vs. Blue Ridge Parkway

    Understanding the operational differences helps you select the ideal route for your journey:

    • Distance & Coverage: Skyline Drive spans 105 miles strictly within Shenandoah National Park (from Front Royal to Waynesboro). The Blue Ridge Parkway begins where Skyline Drive ends, stretching 469 miles south into North Carolina.
    • Speed Limits & Pace: Skyline Drive strictly enforces a 35 mph speed limit due to dense wildlife activity and high park traffic. The Blue Ridge Parkway allows a slightly faster 45 mph cruise, providing a more fluid, long-range touring rhythm.
    • Entry Fees: Skyline Drive requires a National Park entrance fee (or America the Beautiful Pass) since it runs entirely through a national park. The Blue Ridge Parkway is completely free to ride with no toll gates or entry fees.
    • Overlooks & Scenery: Skyline Drive features 75 designated overlooks, mostly facing east and west across the Shenandoah Valley. The Blue Ridge Parkway offers vast elevation changes, passing through higher mountain gaps, deep gorges, and rustic historic landmarks.

    Which Route Fits Your Riding Style?

    Select your route based on your trip duration, cornering expectations, and itinerary goals:

    • Choose Skyline Drive if: You want a relaxed, highly regulated weekend cruise with guaranteed amenities, frequent scenic overlooks, and proximity to national park campgrounds. It pairs exceptionally well with multi-day trips when you prepare your gear using our checklist on how to prepare your motorcycle for long-distance touring.
    • Choose the Blue Ridge Parkway if: You prefer long-distance touring without entrance fees, higher speed limits, and the freedom to branch off into technical side routes.
    • Combine Both for the Ultimate Tour: Many riders link both highways into a single multi-day itinerary. If you plan to camp along the ridge, review our guide on motorcycle camping in Virginia top campsites and route planning to book paved-pad campsites in advance.
    • Looking for Technical Curves Instead? If both parkways feel too relaxed and you crave sharper switchbacks and extreme lean angles, head further southwest to tackle Virginia State Route 16 complete riding guide to the Back of the Dragon.

    Comparing riding Skyline Drive vs Blue Ridge Parkway which route is better comes down to your personal travel goals. Whether you choose the quiet, park-protected curves of Skyline Drive or the endless mountain horizons of the Blue Ridge Parkway, both deliver world-class motorcycle touring through Virginia’s finest landscapes.

    Legal Disclaimer: This guide is provided for educational and travel planning purposes only. Road closures, weather hazards, and seasonal maintenance affect both parkways. Always check official National Park Service advisories before riding.

    Official & Credible Sources

  • How to Prepare Your Motorcycle for Long-Distance Touring 2026

    How to Prepare Your Motorcycle for Long-Distance Touring 2026

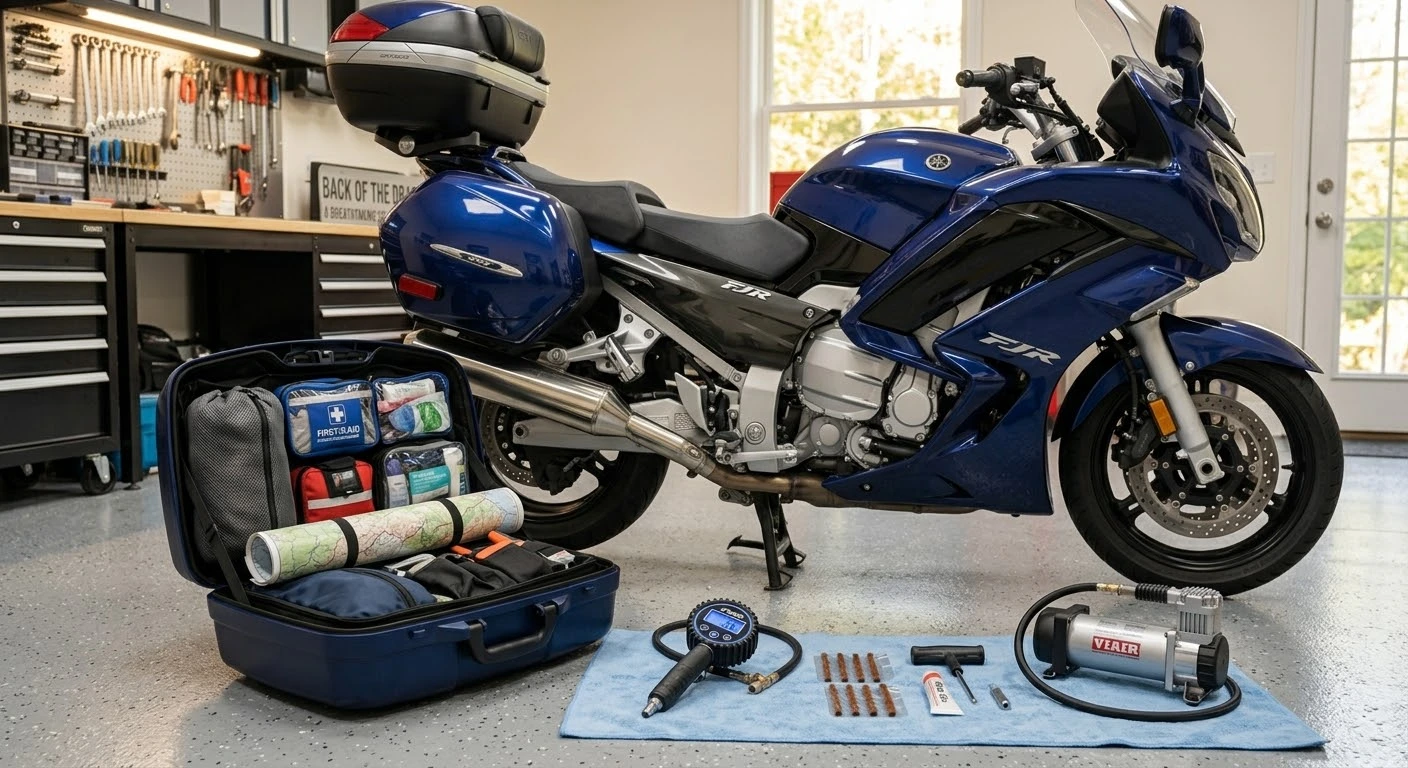
    Embarking on a multi-day highway journey or across-state mountain adventure requires far more than packing a spare change of clothes. Mechanical failures in remote mountain passes can quickly derail a trip and compromise safety. Learning how to prepare your motorcycle for long-distance touring through systematic pre-ride inspections, ergonomic adjustments, and smart luggage packing ensures your machine runs smoothly across hundreds of consecutive miles.

    Mechanical Pre-Trip Inspection & Fluid Checks

    Executing a thorough mechanical check before departure prevents most common roadside breakdowns:

    • Tire Condition & Pressure: Inspect tread depth across center and shoulder grooves. Inflate tires to the manufacturer’s recommended cold pressure for fully loaded touring. Look for hidden punctures, dry rot, or embedded road debris.
    • Fluid Service: Check engine oil level, brake fluid clarity, and radiator coolant reserves. If your oil is near the end of its service life, perform a full oil change before setting out on long highway stretches.
    • Brake System Inspection: Verify brake pad friction material thickness (minimum 2mm). Test lever resistance and ensure brake lines are free of cracks or swelling under pressure.
    • Drive Chain & Belt Tension: Clean, lubricate, and adjust drive chain slack according to factory specs. Check sprockets for hooked teeth or excessive wear.

    Ergonomics, Luggage Packing, and Emergency Prep

    Long hours in the saddle demand ergonomic comfort and balanced luggage weight distribution:

    1. Balance Luggage Weight Distribution: Secure heavy tools and gear low in side panniers or saddlebags to keep your center of gravity stable. Place lighter items like rain gear or sleeping bags on higher rear racks.
    2. Optimize Riding Ergonomics: Adjust handlebar reach, clutch/brake lever angles, and highway peg positioning to reduce wrist and lower back fatigue during multi-hour highway stints.
    3. Pack a Dedicated Emergency Tool Kit: Carry a tire plug repair kit, a portable 12V air compressor, a compact multi-tool, spare fuses, zip ties, and electrical tape for quick roadside fixes.
    4. Ensure Full Legal & Safety Compliance: Verify that all headlights, turn signals, and brake lights function properly. Always ensure your gear complies with local traffic regulations, including state-mandated helmet and equipment rules.

    Mastering how to prepare your motorcycle for long-distance touring turns a potentially stressful journey into a smooth, memorable adventure. By addressing mechanical maintenance early, balancing your luggage, and carrying basic repair supplies, you can ride across long distances with total confidence.

    Legal Disclaimer: This guide is intended for educational and general maintenance planning purposes only. Torque specifications, fluid capacities, and inspection procedures vary by motorcycle model. Always consult your official owner’s manual before making mechanical adjustments.

    Official & Credible Sources

  • Virginia State Route 16: Riding Guide to Back of the Dragon 2026

    Virginia State Route 16: Riding Guide to Back of the Dragon 2026

    Crossing two mountain ranges between Marion and Tazewell in Southwest Virginia, Virginia State Route 16 offers one of the most technical riding experiences in North America. Known globally as the “Back of the Dragon,” this 32-mile stretch packs over 320 sharp curves, hairpins, and elevation changes into a dense, forested mountain pass. Following a Virginia State Route 16 complete riding guide to the Back of the Dragon provides riders with the tactical lines, safety precautions, and stopover points necessary to master this legendary Appalachian highway.

    Route Breakdown: The Three Mountain Passes

    State Route 16 cuts directly over Hungry Mother State Park, Walker Mountain, and Clinch Mountain, delivering distinct technical segments:

    • The Southern Climb (Marion to Hungry Mother State Park): Leaving Marion, Route 16 opens with smooth pavement sweepers around Hungry Mother Lake before tightening into dense elevation climbs surrounded by hardwoods.
    • Walker Mountain Summit: The central technical gauntlet features rapid S-curves, decreasing-radius turns, and steep drops requiring precise throttle modulation and smooth lean transitions.
    • Clinch Mountain Descent to Tazewell: The northern section delivers sweeping panoramic valley views, steep switchbacks, and leads directly into Tazewell, home to the official Back of the Dragon Welcome Center.

    Tactical Riding Tips for Technical Mountain Curves

    Navigating over 320 turns in 32 miles demands intense concentration and structured riding discipline:

    1. Maintain Vision Lead into Blind Apexes: Look through every corner toward your exit point. Curves on Route 16 tighten unexpectedly, and maintaining a wide entry line gives you maximum visibility for oncoming traffic.
    2. Control Entry Speed with Trail Braking: Avoid heavy late braking while leaned over. Complete the majority of your deceleration in a straight line before initiating turn-in.
    3. Watch for Shadowed Moisture & Gravel: Dense forest canopy keeps morning dew and tree sap on shaded asphalt long after sunrise. Gravel frequently washes out from unpaved driveway entries after rainstorms.
    4. Respect Local Speed Transitions: Route 16 is a rural two-lane state highway. Mind local speed limits near residential properties and yield to agricultural trucks using the mountain pass.

    Following this Virginia State Route 16 complete riding guide to the Back of the Dragon ensures a safe, thrilling journey across one of the premier motorcycle roads in the United States. Taking time to respect mountain elevation shifts and practicing smooth throttle control will reward you with an unforgettable ride.

    Legal Disclaimer: This guide is provided for educational and travel planning purposes only. Road conditions, construction zones, and weather closures vary by season. Always verify local VDOT travel advisories before riding.

    Official & Credible Sources