Category: Rider Guides

  • Virginia Motorcycle Laws 2026: Helmets, Lane Splitting & Regulations

    Virginia Motorcycle Laws 2026: Helmets, Lane Splitting & Regulations

    Riding through the Commonwealth of Virginia requires more than just mechanical readiness and route planning; it demands a clear understanding of state traffic codes. Staying current with Virginia motorcycle laws 2026 helmets lane splitting and regulations ensures your rides remain safe, legal, and free from costly traffic citations. Whether you are navigating urban commutes in Northern Virginia or taking long tours across rural passes, adhering to helmet requirements, equipment rules, and road positioning guidelines is essential for every rider.

    Mandatory Helmet & Protective Equipment Laws

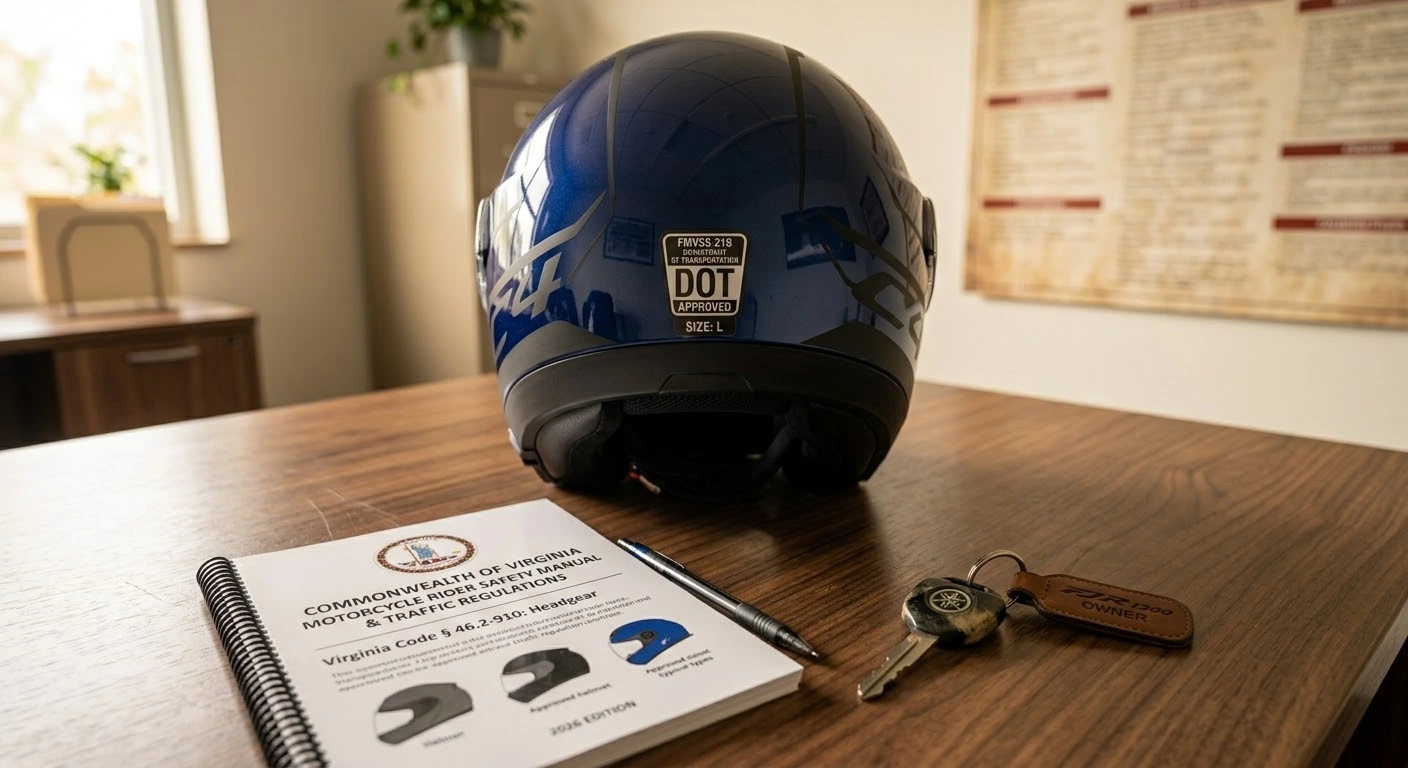
    Virginia maintains strict safety standards regarding rider gear and motorcycle equipment under state law (Code of Virginia § 46.2-910):

    • Universal Helmet Law: All motorcycle operators and passengers in Virginia are legally required to wear a helmet approved by the Department of Transportation (DOT), Snell Memorial Foundation, or ANSI. Helmets must feature proper labeling and chinstraps secured while moving.
    • Eye Protection Requirements: If your motorcycle is not equipped with an approved safety windshield, you must wear face shields, safety glasses, or shatterproof goggles.
    • Required Vehicle Equipment: To pass state inspection, your motorcycle must feature at least one operating headlight, a rear taillight, a brake light visible from 500 feet, turn signals (if originally equipped), rear-view mirrors, a horn, and a functioning exhaust muffler without cutouts.
    • Passenger Regulations: Passengers must have dedicated footrests and a permanent, firmly attached seat behind the operator or in a sidecar.

    Lane Splitting, Filtering, and Road Positioning Regulations

    Road positioning rules directly impact traffic flow and rider safety across Virginia highways:

    • Lane Splitting is Illegal: Passing vehicles in the same lane or riding between moving traffic lanes (lane splitting) remains strictly illegal in Virginia under § 46.2-857. Violations are enforced as reckless driving infractions in certain contexts.
    • Lane Filtering Status: While neighboring states continue testing low-speed lane filtering at red lights, Virginia law strictly prohibits riding between stopped or slow-moving vehicles. Riders must remain in single-file traffic positions within their designated lane.
    • Full Lane Use & Two-Abreast Riding: Motorcycles are entitled to the full width of a travel lane. Two riders may legally travel side-by-side (two-abreast) in a single lane, provided both operators consent.
    • Traffic Signal Override Law (§ 46.2-833): If a red light fails to detect a motorcycle due to sensor size limitations after waiting two complete minutes (or 120 seconds), the operator may proceed cautiously through the intersection after yielding right-of-way.

    Before setting out on long highway tours across state lines, ensure your motorcycle is mechanically sound and fully prepped by following our guide on how to prepare your motorcycle for long-distance touring.

    Understanding and respecting Virginia motorcycle laws 2026 helmets lane splitting and regulations allows you to enjoy the state’s scenic roads with full peace of mind. By keeping your bike inspected, wearing compliant gear, and observing lane positioning rules, you contribute to a safe riding community across the Commonwealth.

    Legal Disclaimer: This article is strictly for educational and informational purposes and does not constitute formal legal advice. Traffic laws and municipal ordinances change. Always consult the official Code of Virginia or legal counsel for specific legal interpretations.

    Official & Credible Sources

  • Motorcycle Camping in Virginia: Top Campsites & Route Planning 2026

    Motorcycle Camping in Virginia: Top Campsites & Route Planning 2026

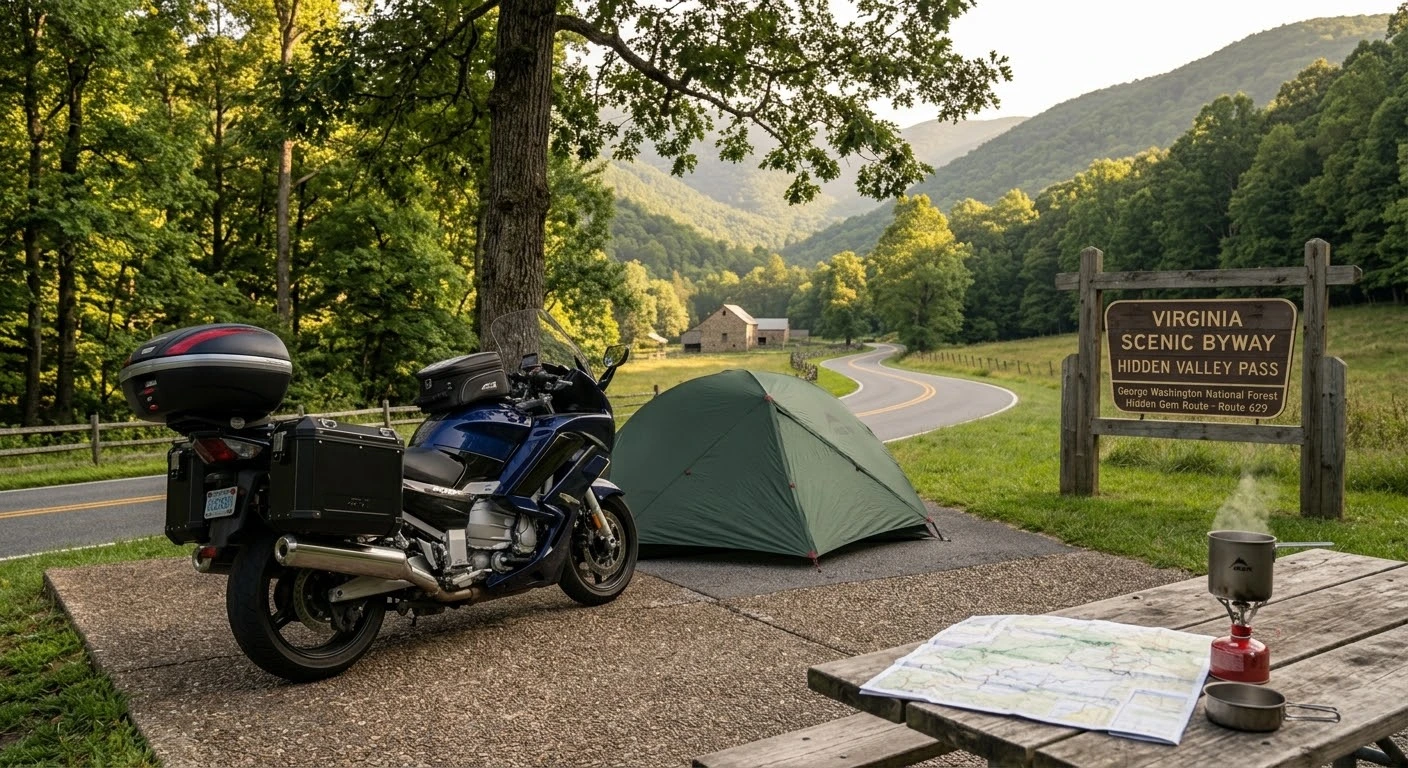
    Combining the freedom of open-highway touring with the immersive experience of overnight outdoor stays, motorcycle camping in Virginia top campsites and route planning offers an unforgettable escape. From high-elevation ridge sites along the Blue Ridge Parkway to serene state parks in deep river valleys, the Old Dominion provides diverse terrain for moto-campers. Planning your routes around optimal campgrounds, lightweight gear packing, and backcountry safety ensures a smooth transition from riding mountain curves to resting under the stars.

    Premier Motorcycle-Friendly Campgrounds in Virginia

    Select campgrounds offer paved access roads, secure parking, and exceptional proximity to top riding routes:

    • Loft Mountain Campground (Shenandoah National Park): Situated high along Skyline Drive, this campground features paved access, stunning valley overlooks, and quick access to park store amenities.
    • Sherando Lake Recreation Area (George Washington National Forest): Tucked into a shaded mountain gap near Route 664, offering quiet lakefront sites, hot showers, and smooth tarmac access.
    • Willville Motorcycle Camp (Meadows of Dan): A dedicated motorcycle-only campground located right off the Blue Ridge Parkway, providing bike washing stations, campfire pits, and covered shelter.
    • Douthat State Park (Millboro): Nestled in the Alleghany Highlands, featuring paved parking pads, pristine lake views, and immediate access to Route 39 mountain passes.
    • Hungry Mother State Park (Marion): Positioned near the Back of the Dragon (Route 16), making it the ultimate basecamp for technical mountain cornering trips.

    Smart Packing & Backcountry Route Planning

    Packing for a multi-day motorcycle camping trip requires balancing essential comfort with strict weight management:

    1. Keep Mass Low and Centered: Pack heavy items like camp stoves, tools, and cooking gear in the bottom of your side panniers. Secure lightweight items like sleeping bags and tents higher up on the rear rack to protect your bike’s center of gravity.
    2. Choose Compact, Compression-Driven Gear: Invest in ultra-lightweight dry bags, a self-inflating sleeping pad, and a compact two-person tent that straps securely across passenger footpegs or rear luggage plates.
    3. Plan Around Weather & Wildlife Safety: Mountain temperatures drop quickly at night. Store all food in bear-proof canisters or hang it from tree branches away from your tent in black bear territory across Shenandoah and national forests.
    4. Reserve Sites & Offline Maps Ahead: Popular state parks require advance reservations during peak autumn months. Cellular coverage vanishes in deep gaps, so always save offline GPS tracks before riding into camp.

    Executing a well-planned trip for motorcycle camping in Virginia top campsites and route planning combines exhilarating mountain rides with peaceful nights in nature. Respecting wildlife guidelines, packing smart, and securing your campsites early guarantees a memorable adventure across Virginia’s backcountry.

    Legal Disclaimer: This guide is provided for educational and travel planning purposes only. Campground availability, fire restrictions, and seasonal park closures vary. Always verify current conditions with the National Park Service or Virginia State Parks before traveling.

    Official & Credible Sources

  • Motorcycle Chain Maintenance: Cleaning, Lubricating & Adjusting 2026

    Motorcycle Chain Maintenance: Cleaning, Lubricating & Adjusting 2026

    The final drive chain transfers raw horsepower from your motorcycle’s countershaft sprocket directly to the rear wheel. Operating in a harsh, exposed environment, drive chains accumulate road grime, sand, and moisture that degrade rubber O-rings and accelerate sprocket wear. Executing a regular motorcycle chain maintenance cleaning lubricating and adjusting routine every 300 to 500 miles ensures smooth power delivery, extends driveline lifespan, and eliminates the dangerous risk of a snapped chain on the open road.

    Essential Tools & Supplies for Chain Care

    Before beginning your chain service, gather the correct motorcycle-specific maintenance items:

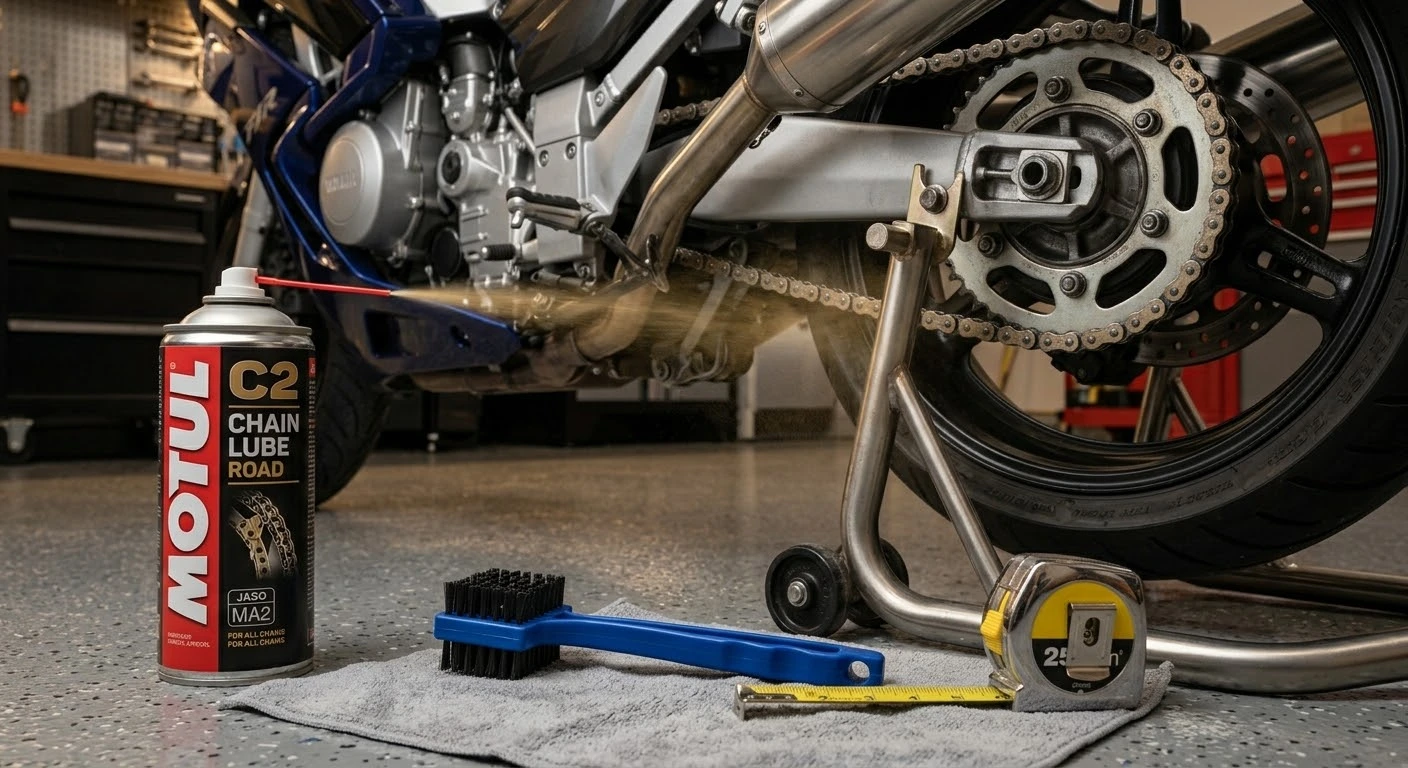
    • O-Ring Safe Chain Cleaner: Avoid harsh chemicals like gasoline or acetone, which dissolve internal rubber O-rings, X-rings, or Z-rings. Use a dedicated aerosol chain degreaser or kerosene.
    • Three-Sided Chain Grunge Brush: Speeds up grime removal by cleaning top, bottom, and side plates simultaneously.
    • High-Tack Motorcycle Chain Lube: Choose a dedicated chain lube or chain wax formulated for sealed chains to prevent fling-off onto your rear wheel.
    • Rear Paddock Stand & Torque Wrench: Essential for lifting the rear wheel safely and torquing the rear axle nut back to precise factory specifications during tension adjustments.

    Step-by-Step Chain Care: Clean, Lube, and Adjust

    Follow these sequential steps to perform a complete drive chain inspection and service:

    1. Clean the Chain Thoroughly: Elevate the rear wheel using a paddock stand. Spray the entire length of the drive chain with an O-ring safe cleaner. Scrub away built-up road grit using a three-sided chain brush, then wipe the chain completely dry with a microfiber cloth.
    2. Apply Chain Lubricant Correctly: Ride the bike for 5 minutes to warm up the chain, or apply lube immediately after cleaning. Aim the spray nozzle at the inside lower run of the chain while slowly rotating the rear wheel by hand. This ensures centrifugal force pushes the lubricant deep into the rollers and internal bushings rather than flinging off. Wipe off excess lube from side plates.
    3. Measure and Adjust Free Play (Tension): Locate the tightest point in the chain by rotating the wheel. Measure vertical slack midway between the front and rear sprockets using a tape measure (standard slack is typically 1.0 to 1.5 inches / 25 to 35 mm).
    4. Align the Rear Axle and Torque Nut: Loosen the main rear axle nut. Adjust the chain tension bolts evenly on both sides of the swingarm using the stamped alignment hash marks to ensure the rear wheel remains perfectly straight. Tighten the rear axle nut using a torque wrench to factory specification, and lock down the adjuster jam nuts.

    Following this comprehensive guide on motorcycle chain maintenance cleaning lubricating and adjusting keeps your motorcycle running quietly, efficiently, and safely. Spending 20 minutes on basic chain hygiene every few hundred miles will reward you with thousands of miles of trouble-free riding.

    Legal Disclaimer: This maintenance guide is intended for educational purposes only. Recommended chain slack, axle nut torque values, and lubricant types vary by motorcycle model. Always consult your owner’s manual before making driveline adjustments.

    Official & Credible Sources

  • Motorcycle Battery Maintenance and Winter Storage Guide 2026

    Motorcycle Battery Maintenance and Winter Storage Guide 2026

    Cold weather is the single greatest enemy of motorcycle batteries. As ambient temperatures drop during the off-season, internal chemical reactions slow down significantly while parasitic loads from security systems or onboard computers continue to draw power. Following proper motorcycle battery maintenance and winter storage protocols prevents sulfation in lead-acid batteries, protects expensive lithium-ion cells from low-voltage freezing, and guarantees your motorcycle fires up effortlessly when spring arrives.

    Battery Types & Specific Off-Season Care

    Different battery chemistries require tailored maintenance approaches during prolonged storage:

    • AGM & Sealed Lead-Acid (SLA): Highly susceptible to sulfation if left discharged below 12.4 volts. They require a continuous connection to a smart floating maintenance charger throughout the winter.
    • Conventional Wet-Cell Batteries: Require periodic fluid level checks. Top off low cells strictly with distilled water before putting the battery into winter storage.
    • Lithium-Ion (LiFePO4): Extremely low self-discharge rate, but vulnerable to permanent damage if charged in below-freezing temperatures. Disconnect the negative battery terminal and store it in a climate-controlled room around 50% to 70% charge state.

    Step-by-Step Winter Battery Storage Routine

    Protect your battery throughout the winter months by following these practical, step-by-step procedures:

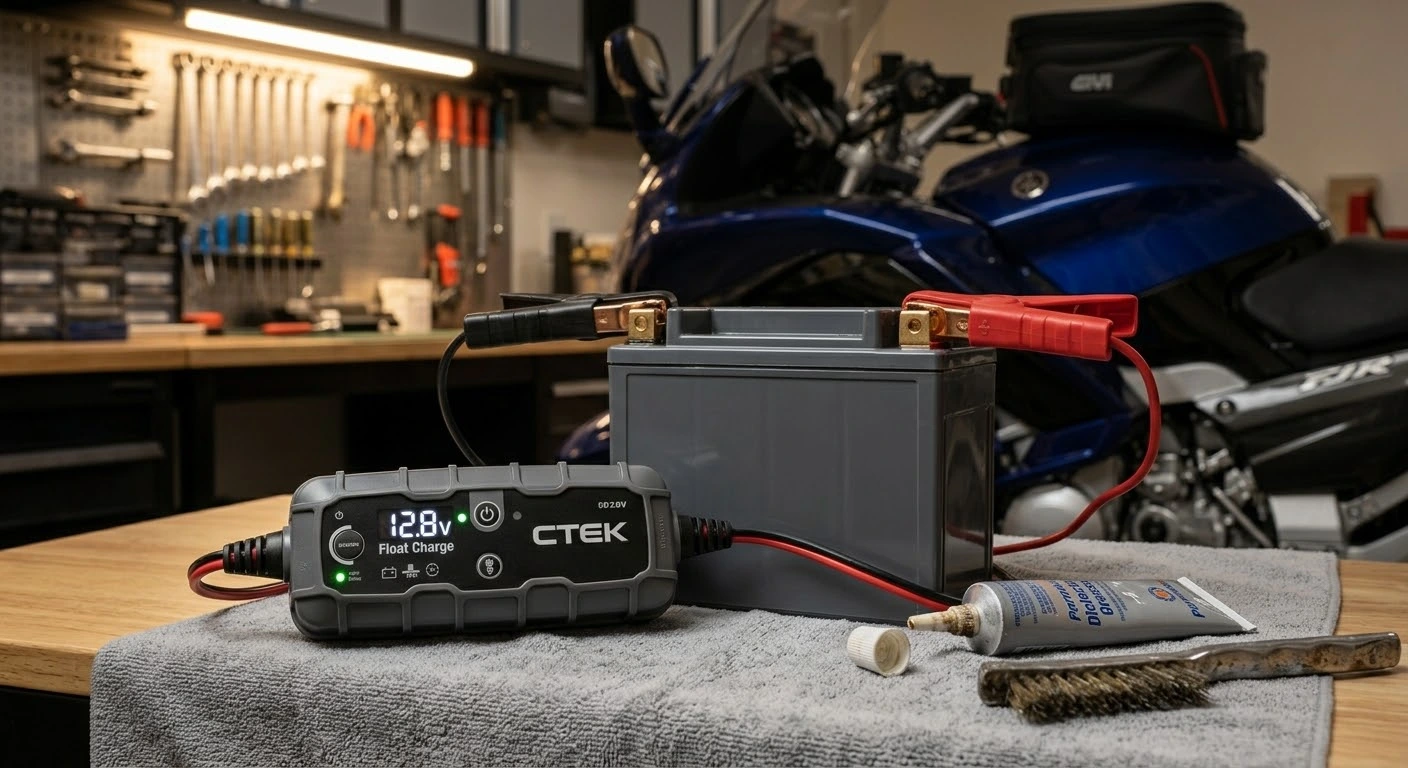
    1. Clean Terminals & Inspect Cables: Remove corrosion or white lead-sulfate powder from the battery terminals using a wire brush and a mixture of baking soda and water. Coat the clean terminals with dielectric grease to block future oxidation.
    2. Remove the Battery from the Bike: If storing your motorcycle in an unheated garage or outdoor shed, remove the battery completely. Always disconnect the Negative (-) black cable first, followed by the Positive (+) red cable to prevent short circuits.
    3. Store in a Climate-Controlled Area: Place the battery on a wooden shelf or workbench inside a temperature-stable room. Avoid storing batteries directly on freezing concrete floors.
    4. Connect a Dedicated Smart Trickle Charger: Hook up a micro-processor controlled smart charger (tender) designed for your specific battery type. Smart chargers automatically monitor voltage, deliver float charges when needed, and shut off to prevent overcharging.

    Taking the time for motorcycle battery maintenance and winter storage saves you money and eliminates the frustration of a dead battery on the first sunny day of spring. By cleaning terminals, storing your battery in a climate-controlled space, and using a smart tender, you protect your motorcycle’s electrical system year-round.

    Legal Disclaimer: This maintenance guide is provided for educational purposes only. Battery chemistries and charging requirements vary. Always refer to your battery manufacturer’s safety manual and charger guidelines before servicing electrical components.

    Official & Credible Sources

  • Motorcycle Oil Change Guide: When and How to DIY Maintenance 2026

    Motorcycle Oil Change Guide: When and How to DIY Maintenance 2026

    Regular engine oil changes are the absolute foundation of long-term motorcycle reliability and mechanical performance. Unlike passenger cars, most motorcycles utilize a wet-clutch system where a single oil reservoir lubricates the high-revving engine pistons, multi-plate clutch, and transmission gears simultaneously. Following a comprehensive motorcycle oil change guide when and how to execute this maintenance prevents premature clutch slippage, protects internal transmission gears from shear degradation, and keeps your engine running smooth across thousands of miles.

    When to Change Your Motorcycle Oil: Intervals & Indicators

    Determining the exact service interval depends heavily on your oil type, riding conditions, and manufacturer guidelines:

    • Mineral Oil (Conventional): Recommended every 2,000 to 3,000 miles or at least once per year. Mineral oils break down faster under extreme engine heat.
    • Semi-Synthetic Oil: Change every 4,000 to 5,000 miles. Ideal for mid-range commuters seeking balanced thermal protection.
    • Full Synthetic Oil: Offers maximum shear stability and lasts 6,000 to 8,000 miles (or once per season). Essential for high-performance engines and hot summer touring.
    • Visual & Mechanical Warning Signs: Dark black or gritty oil on the dipstick, harsh metallic gear shifting, or a rising sight-glass level smelling strongly of fuel indicate an immediate oil change is required.

    How to Change Your Motorcycle Oil: Step-by-Step DIY Guide

    Performing a clean, professional oil change at home requires simple tools and strict adherence to correct procedures:

    1. Warm Up the Engine: Start the motorcycle and let it idle for 3 to 5 minutes. Warm oil flows much faster and carries suspended engine contaminants out through the drain hole.
    2. Set the Bike Level & Remove Fill Cap: Park the bike upright on a center stand or rear paddock stand. Remove the oil fill cap to allow smooth crankcase venting during drainage.
    3. Drain the Old Oil & Replace Crush Washer: Place a drain pan beneath the engine, remove the oil drain bolt, and let the oil drain completely. Always replace the single-use copper or aluminum crush washer before torquing the bolt back to factory specification.
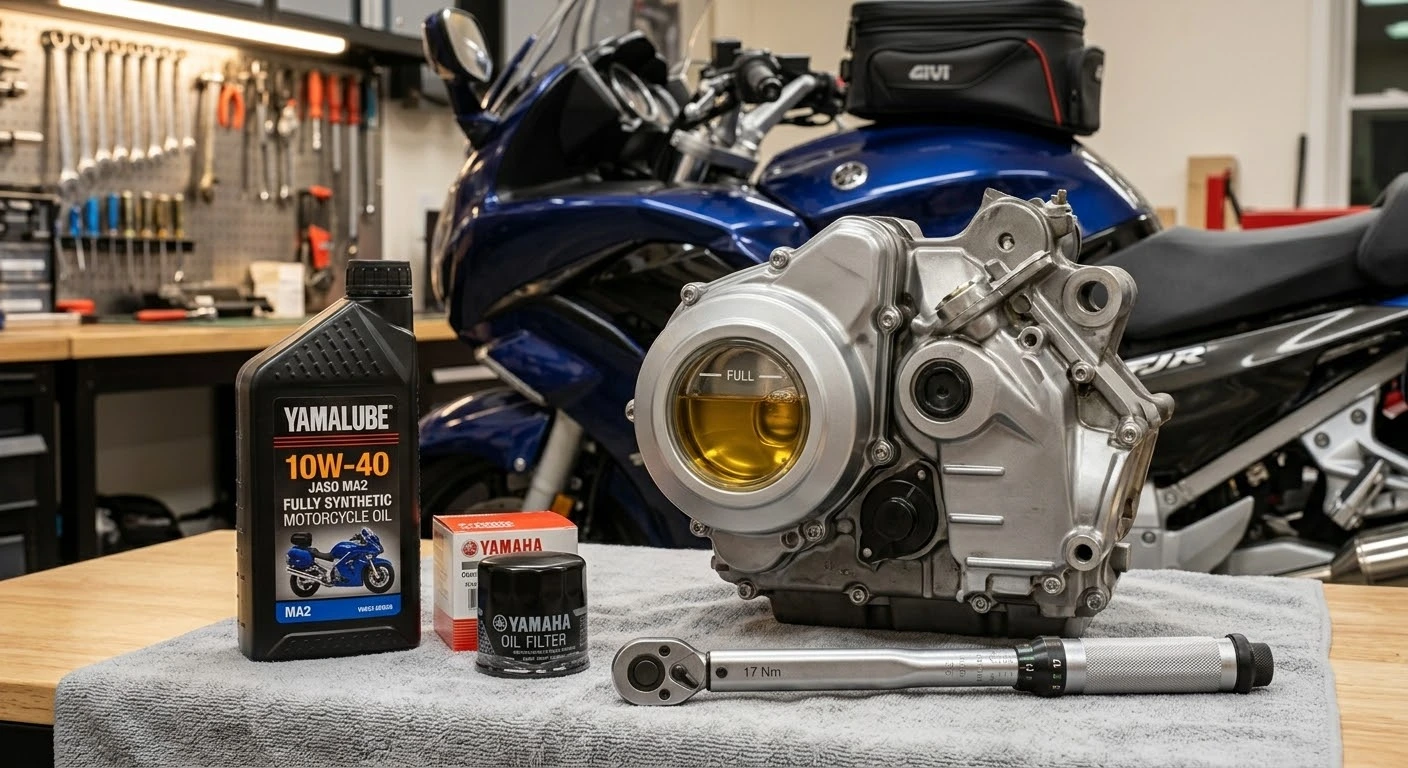
    4. Replace the Oil Filter: Remove the old oil filter using a filter wrench. Apply a thin film of clean engine oil to the rubber O-ring gasket of the new filter, screw it on by hand, and snug it an additional 3/4 turn (or torque to spec).
    5. Fill with JASO MA/MA2 Certified Oil: Pour in the exact oil volume specified in your manual. Ensure you use motorcycle-specific oil rated JASO MA or MA2 (friction-modifier-free for wet clutches). Never use standard automotive oil containing friction modifiers, as it will destroy wet clutch plates.
    6. Check Level & Inspect for Leaks: Reinstall the fill cap, run the engine for two minutes, shut it off, and verify the oil level via the sight glass or dipstick. Dispose of used oil responsibly at a local auto parts recycler.

    Mastering the steps in this motorcycle oil change guide when and how to perform fluid services protects your investment and ensures your bike is always ready for the road. By picking the right oil grade, respecting service intervals, and using correct torque specs, you can maintain peak engine performance with complete confidence.

    Legal Disclaimer: This guide is provided for educational and DIY informational purposes only. Mechanical specifications, torque values, and oil capacities vary widely by manufacturer. Always consult your motorcycle’s official service manual before attempting maintenance.

    Official & Credible Sources

  • Motorcycle Safety Courses in Virginia: What to Expect 2026

    Motorcycle Safety Courses in Virginia: What to Expect 2026

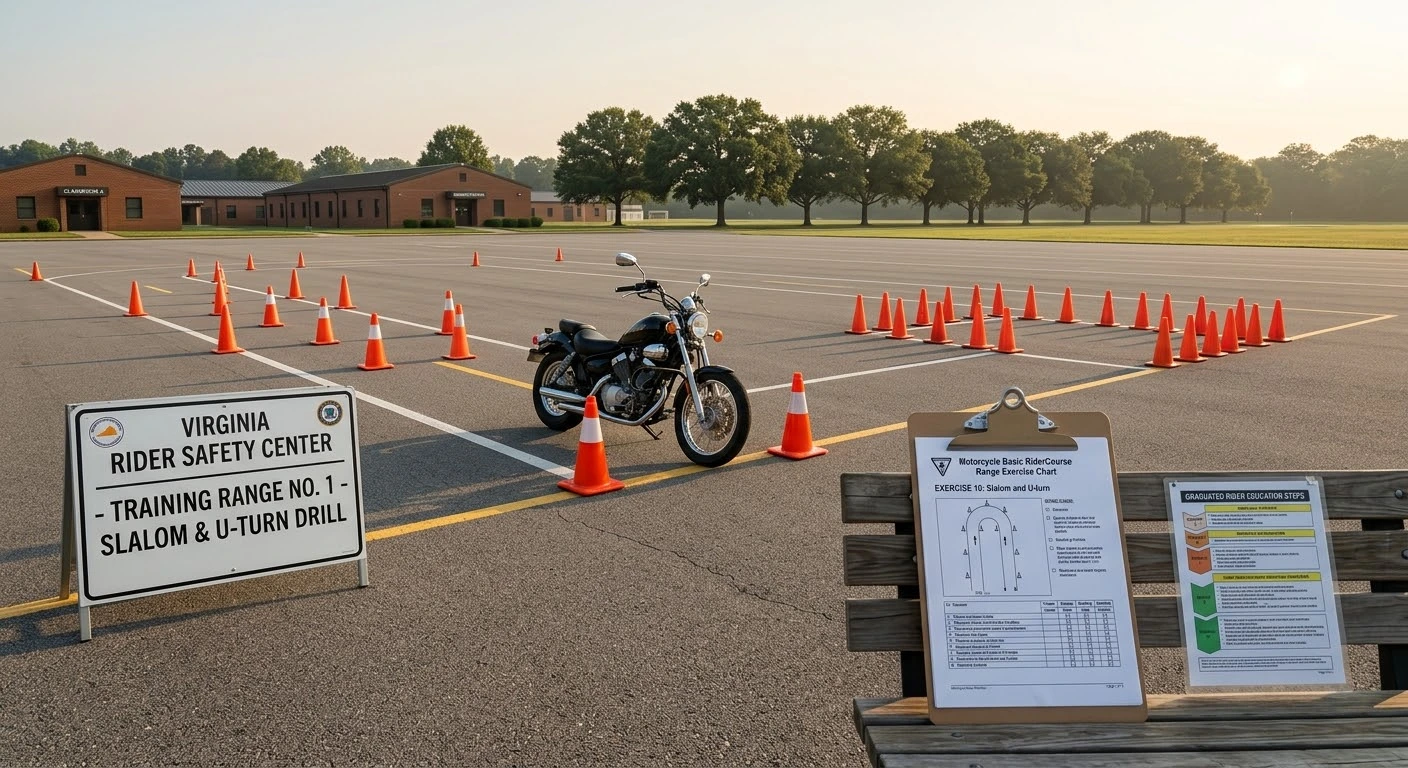
    Enrolling in formal motorcycle safety courses in Virginia what to expect provides both novice and experienced riders with a structured, professional environment to master crucial riding techniques. Administered through the Virginia Rider Training Program (VRTP) and certified by the Motorcycle Safety Foundation (MSF), these courses offer hands-on instruction covering low-speed control, emergency braking, and hazard avoidance. Completing a certified training course not only builds life-saving road skills but also waives the DMV motorcycle road skills test and unlocks discounts on motorcycle insurance across the Commonwealth.

    Quick Inspection Checklist

    Course Requirement / ElementOperational Target ParameterExpected Outcome Standard
    Focus KeywordMotorcycle Safety Courses in Virginia What to ExpectUsed in Title, Intro, H2 Headers, & Meta
    DMV License WaiverVRTP / MSF Completion CertificateWaives physical DMV road test for Class M endorsement
    Required Riding GearFull protective riding attireDOT helmet, eye protection, long sleeves, gloves, boots
    Classroom InstructionRisk management & street strategies5 hours of theory, hazard awareness, and exam evaluation
    Range Hands-On TrainingClosed-course control drills10 hours of practical clutch, braking, and cornering exercises

    The structured training pathway in Virginia follows a step-by-step progression designed to take riders from basic control inputs to complex emergency maneuvers on a secure closed course.

       [ ENROLL IN VIRGINIA RIDER TRAINING PROGRAM ]
                            │
                            ▼
    ┌──────────────────────────────────────────────┐
    │ Classroom Theory & Hazard Risk Assessment    │ ◄── Written Knowledge Test
    └───────────────────────┬──────────────────────┘
                            │
                            ▼
    ┌──────────────────────────────────────────────┐
    │ Closed-Course Range Friction Zone & Braking │ ◄── Hands-On Motorcycle Control
    └───────────────────────┬──────────────────────┘
                            │
                            ▼
    ┌──────────────────────────────────────────────┐
    │ Final Practical Riding Skills Evaluation     │ ◄── Passing Earns VRTP Card
    └───────────────────────┬──────────────────────┘
                            │
                            ▼
       [ EARN VIRGINIA DMV CLASS M LICENSE WAIVER ]

    Earning your completion certificate waives the Virginia DMV motorcycle road test, allowing you to add a Class M endorsement directly to your driver’s license.

    1. Understand Course Types: BRC vs. Advanced Training

    Virginia offers specialized courses tailored to different experience levels:

    • Basic RiderCourse (BRC): Designed for complete beginners or riders returning after a long break. Training motorcycles (125cc–250cc) are provided on site.
    • Basic RiderCourse 2 (BRC2): A one-day course for licensed riders looking to refine skills using their personal motorcycles.
    • Advanced RiderCourse (ARC): Focuses on high-level cornering judgment, traction management, and stop-swerving tactics for experienced riders.

    2. Mandatory Protective Gear Requirements

    To participate in the practical range sessions, students must bring specific personal protective equipment (PPE):

    • DOT-Approved Helmet & Eyewear: A full-face or open-face helmet with an integrated shield or shatterproof goggles.
    • Full-Coverage Apparel: Durable long-sleeved jacket or shirt, full-length denim pants or riding trousers without rips.
    • Over-the-Ankle Footwear: Sturdy leather boots that completely cover and support the ankle bones with non-slip rubber soles.
    • Full-Finger Gloves: 100% leather or synthetic motorcycle gloves offering full palm and knuckle coverage.

    3. What Happens During Classroom Modules

    The classroom portion lays the mental foundation for hazard management:

    • Risk Perception Training: Analyzing real-world accident statistics and identifying high-risk intersection scenarios.
    • SEE Strategy (Search, Evaluate, Execute): Learning systematic visual scanning habits to spot hazards 12 seconds ahead.
    • Written Knowledge Exam: Evaluating understanding of road positioning, brake bias, and alcohol/fatigue risks.

    4. What Happens On the Practical Training Range

    Range training builds muscle memory through progressive riding drills:

    • Friction Zone Mastery: Learning precise clutch control to execute smooth low-speed U-turns and slow-speed maneuvers.
    • Emergency Braking Drills: Practicing maximum straight-line stopping using front and rear brakes without locking tires.
    • Obstacle Swerving & Cornering: Executing rapid counter-steering inputs to swerve around unexpected obstacles at speed.

    Knowing about motorcycle safety courses in Virginia what to expect helps you prepare mentally and physically for success. Completing this training equips you with fundamental riding skills, earns your DMV road test waiver, and sets the stage for a lifetime of safe riding across Virginia.

    Legal Disclaimer: This article is intended for educational and informational purposes only. Course prerequisites, registration fees, and DMV endorsement rules are subject to change. Consult official VRTP or Virginia DMV portals for current licensing requirements.

    Official & Credible Sources