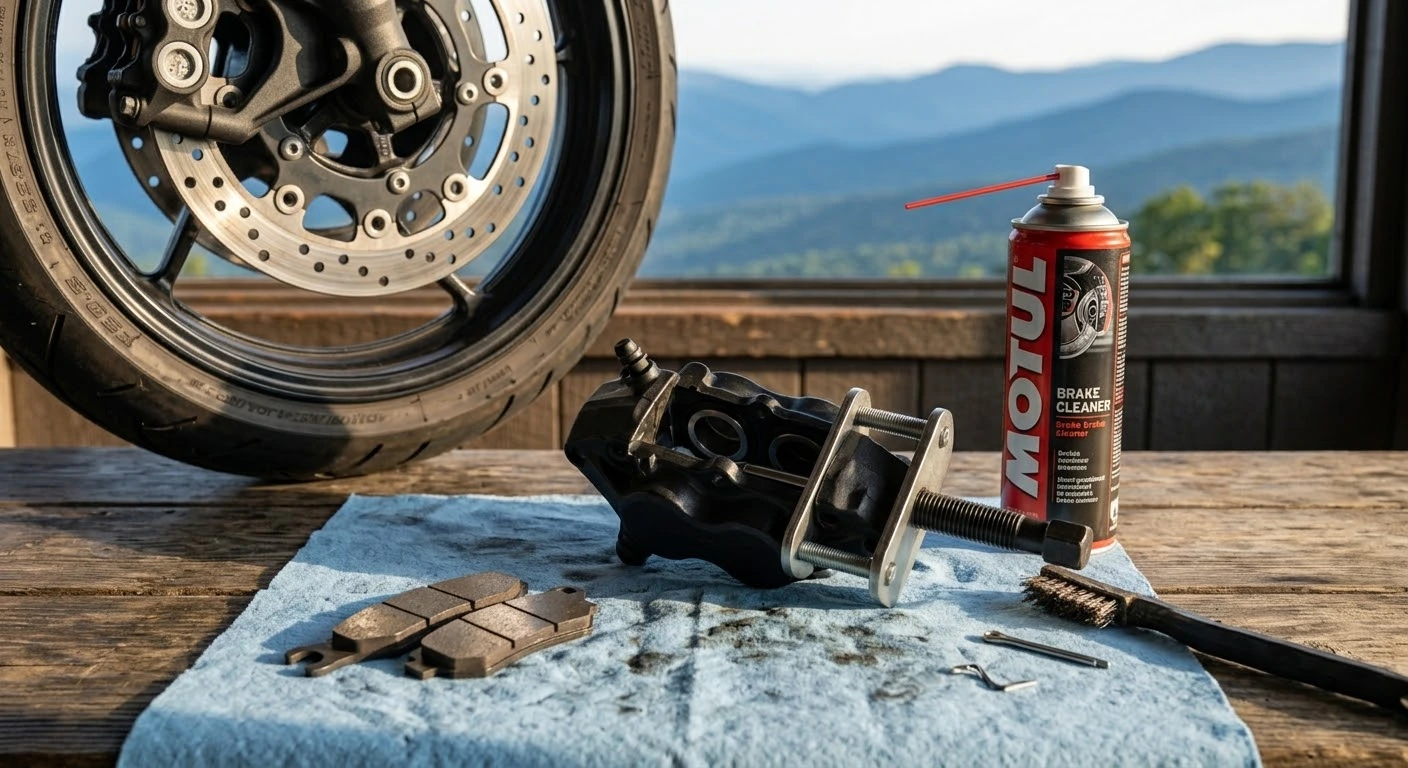
There is a profound sense of satisfaction that comes from mastering your motorcycle’s mechanical system with your own two hands. Few DIY garage tasks impact your personal safety as directly as maintaining your stopping power. As your brake calipers clamp down on glowing steel rotors to slow you down into a sharp mountain hairpin, you rely entirely on a few millimeters of friction material. Performing a motorcycle brake pad replacement DIY step by step maintenance routine not only saves you expensive dealership labor fees but also ensures your machine responds instantly whenever danger appears on the road.
Brake Pad Compound Comparison & Thermal Metrics
Choosing the right brake pad material directly affects stopping power, thermal resistance, and replacement intervals:
- 1. Sintered Metallic Pads:
- Lifespan: 15,000 – 20,000 miles
- Thermal Fade Limit: Up to 1,000°F (537°C)
- Braking Performance: Maximum initial bite and zero thermal fade under aggressive mountain riding. Best for heavy touring and sportbikes.
- 2. Semi-Metallic Pads:
- Lifespan: 10,000 – 14,000 miles
- Thermal Fade Limit: Up to 650°F (343°C)
- Braking Performance: Balanced stopping feel with low rotor wear and moderate heat dispersion. Ideal for everyday street commuters.
- 3. Organic / Resin Pads:
- Lifespan: 6,000 – 9,000 miles
- Thermal Fade Limit: Up to 400°F (204°C)
- Braking Performance: Soft lever feel and quiet operation, but susceptible to brake fade during long downhill mountain descents.
Step-by-Step DIY Brake Pad Replacement Procedure
Follow this structured workflow to safely replace your front or rear motorcycle brake pads:
- 1. Inspect Wear Wear Indicators & Secure the Bike: Position your motorcycle on a center stand or rear paddock stand. Check the friction material thickness—if it is under 2mm (or near the indicator grooves), immediate replacement is required.
- 2. Loosen Caliper Bolts & Pin Retainers: Before removing the caliper, break the torque on the pad retaining pins using an Allen or Torx key. Unbolt the caliper mounting bolts from the fork leg and lift the caliper clear of the rotor.
- 3. Clean Piston Walls & Compress Pistons: Spray brake cleaner onto the exposed caliper pistons to remove accumulated road grime and brake dust. Use a piston spreader tool or plastic lever to carefully push the pistons back into the caliper housing, creating space for thick new pads.
- 4. Install New Pads & Anti-Squeal Paste: Apply a tiny dab of high-temp copper grease or anti-squeal compound to the back of the metal backing plates (never on the friction surface). Slide the new pads into place, secure the retaining pins, and torque all mounting bolts to factory specifications.
- 5. Pump the Brake Lever & Perform Bedding-In: Before turning the key, pump the brake lever multiple times until firm hydraulic pressure returns. Bed in your new pads by performing 10 to 15 moderate stops from 30 mph to properly transfer friction material onto the rotors.
Taking control of your bike’s braking efficiency is essential before embarking on rigorous mountain runs like the Virginia State Route 16 complete riding guide to the Back of the Dragon. Furthermore, clean brake maintenance is vital for meeting mandatory safety inspection standards detailed in Virginia motorcycle laws 2026 helmets lane splitting and regulations. If you are gearing up for a multi-state road trip, combine your brake check with our full mechanical checklist on how to prepare your motorcycle for long-distance touring.
Executing a motorcycle brake pad replacement DIY step by step maintenance routine empowers you as a rider while keeping your motorcycle in peak operating condition. Taking time to clean your caliper pistons, check pad thickness, and properly bed in new friction compounds guarantees confident, reliable stopping power on every ride.
Legal Disclaimer: Brake system maintenance directly impacts vehicle safety. This guide is for educational purposes only. If you are unsure of your mechanical abilities, always have a certified motorcycle technician perform or inspect your brake service.
Official & Credible Sources
- Motorcycle Safety Foundation (MSF) Pre-Ride Maintenance (T-CLOCS): https://msf-usa.org
- National Highway Traffic Safety Administration (NHTSA Motorcycle Safety): https://www.nhtsa.gov
- Virginia Department of Motor Vehicles (DMV Inspection Guidelines): https://www.dmv.virginia.gov
Leave a Reply