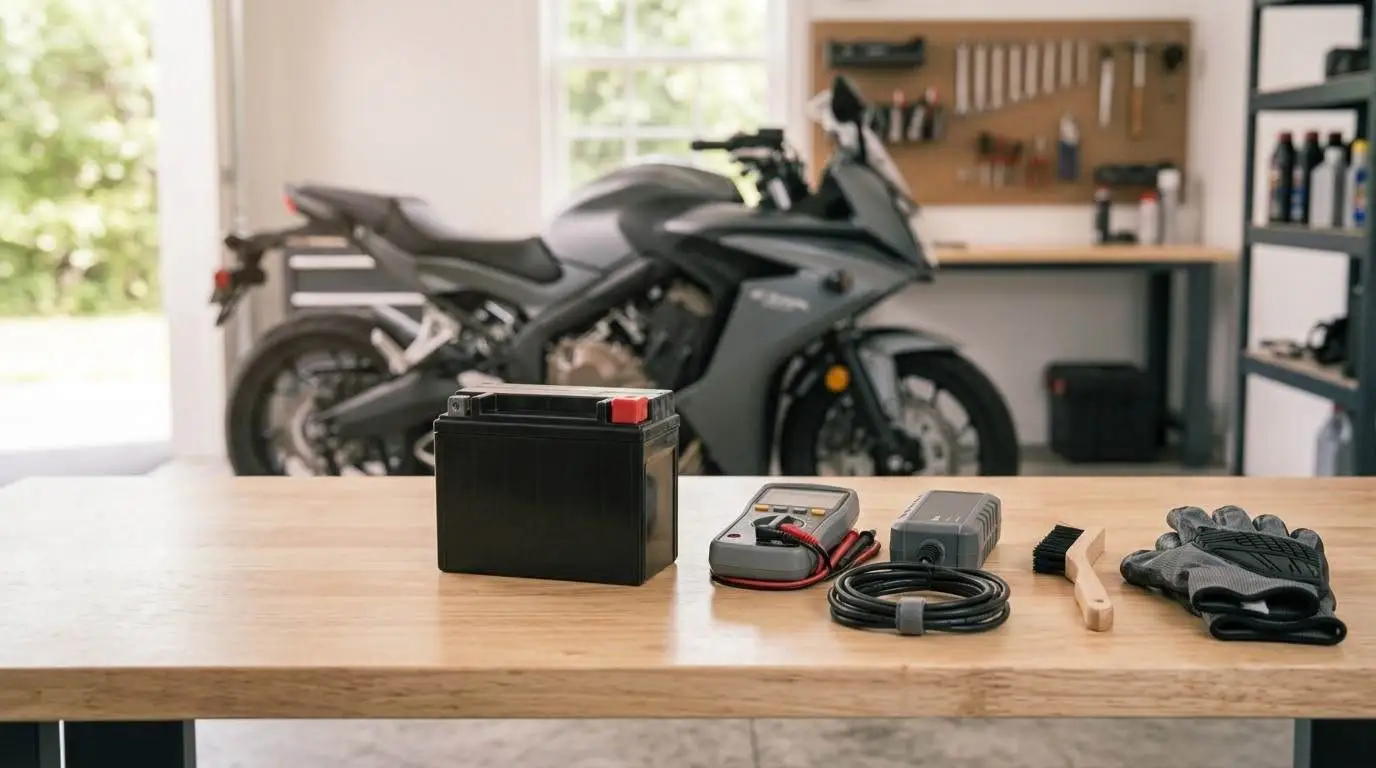
A weak battery is one of the most common reasons a motorcycle will not start, and it usually fails at the worst moment, far from home. This motorcycle battery guide shows you how to choose the right battery and how to keep it healthy in six clear steps. Battery designs, sizes, and charging needs vary by bike, so always follow your owner’s manual for the exact type, size, and charging instructions for your motorcycle.
What You Need for Motorcycle Battery Care
Gather a digital multimeter, safety glasses, gloves, the wrenches or sockets for your battery terminals, a terminal brush or a baking soda and water mixture for corrosion, clean rags, and a battery charger or battery tender that matches your battery type. Work in a ventilated area, away from sparks and open flames.
Step 1: Know Your Motorcycle Battery Type

Most motorcycles use one of three types: a conventional lead-acid battery, a sealed AGM (absorbent glass mat) battery, or a lithium battery. Lead-acid batteries are common and affordable, AGM batteries are sealed and resist vibration well, and lithium batteries are lighter but often need a charger designed for lithium. Check your manual to see which type your bike was designed for, and do not switch types without confirming that your charging system and charger are compatible.
Step 2: Match the Battery Size and Specs

Measure the battery tray and compare the new battery’s length, width, and height with your old one. Check the terminal layout so the positive and negative posts sit on the correct sides, and compare the cold cranking amps (CCA) rating and capacity with the values in your manual. A battery that is too small may struggle to start the engine, while one that is the wrong shape may not fit or may touch other parts.
Step 3: Inspect the Battery and Terminals

With the ignition off, look at the battery case for cracks, bulges, or leaks. Check the terminals for white or green corrosion, loose clamps, and damaged cables. A swollen or leaking battery should be replaced, not repaired. If you see corrosion, plan to clean it before you test or charge the battery.
Step 4: Test the Battery Voltage

Set your multimeter to DC volts and touch the red probe to the positive terminal and the black probe to the negative terminal. A fully charged 12-volt lead-acid battery usually reads around 12.6 volts or slightly higher when it has rested, while a much lower reading means the battery is partly or fully discharged. Lithium batteries can show different values, so follow the manufacturer’s guidance for your battery. If the voltage keeps dropping after charging, the battery may be at the end of its life.
Step 5: Clean and Secure the Terminals

Disconnect the negative cable first and the positive cable second. Clean the posts and clamps with a terminal brush or a baking soda and water mix, rinse carefully, and dry everything completely. Reconnect the positive cable first and the negative cable last, and tighten the clamps firmly without overtightening. Make sure the battery is held down securely, because vibration shortens battery life.
Step 6: Charge and Maintain with a Battery Tender

Connect a smart charger or battery tender that matches your battery type, following the instructions that came with it. Tenders keep a battery topped up without overcharging, which matters for bikes that sit for weeks. Never charge a damaged, frozen, or swollen battery. Keep the charger and leads dry, and charge in a ventilated space.
Tips to Make Your Motorcycle Battery Last Longer
Ride regularly, because short trips with frequent starts can leave the battery undercharged. Keep the terminals clean, check the voltage monthly in the riding season, and use a tender during storage. If you are preparing the bike for cold months, see the motorcycle winterization guide: essential storage hacks. Include a battery check in your complete pretrip motorcycle maintenance guide routine, and keep the rest of the bike healthy with motorcycle oil change: a step-by-step beginner guide.
Dispose of an Old Motorcycle Battery Properly
Old batteries contain lead and acid and must not go in the trash. Take the old battery to a recycling center or a store that accepts used batteries, and keep it upright while you transport it.
Conclusion: A Healthy Battery Means a Reliable Ride
Choose the right battery type and size, test the voltage regularly, keep the terminals clean, and use a tender when the bike sits. These simple habits help your motorcycle start every time and prevent costly roadside surprises.
Legal Disclaimer: This guide is provided for educational purposes only and does not replace your owner’s manual or a qualified mechanic. Batteries contain hazardous materials. If you are unsure about any step, have the work done by a professional.
Official & Credible Sources
- Motorcycle Safety Foundation (MSF), Rider Training & Safety Resources
- National Highway Traffic Safety Administration (NHTSA), Motorcycle Safety
- U.S. Environmental Protection Agency (EPA), Used Lead-Acid Batteries
- Your motorcycle manufacturer’s owner’s manual, for exact battery type, size, and charging instructions
Enjoyed This Guide? Explore Related Maintenance Resources
- Cold-Season Care: Prepare your bike with the motorcycle winterization guide: essential storage hacks.
- Engine Care: Follow the motorcycle oil change: a step-by-step beginner guide.
- Pretrip Routine: Add a battery check to the complete pretrip motorcycle maintenance guide.
- Drivetrain Care: Learn motorcycle chain maintenance: how to check, adjust, and lube a chain.
- Brake Checks: Read how to inspect motorcycle brakes in 3 easy steps.
Leave a Reply