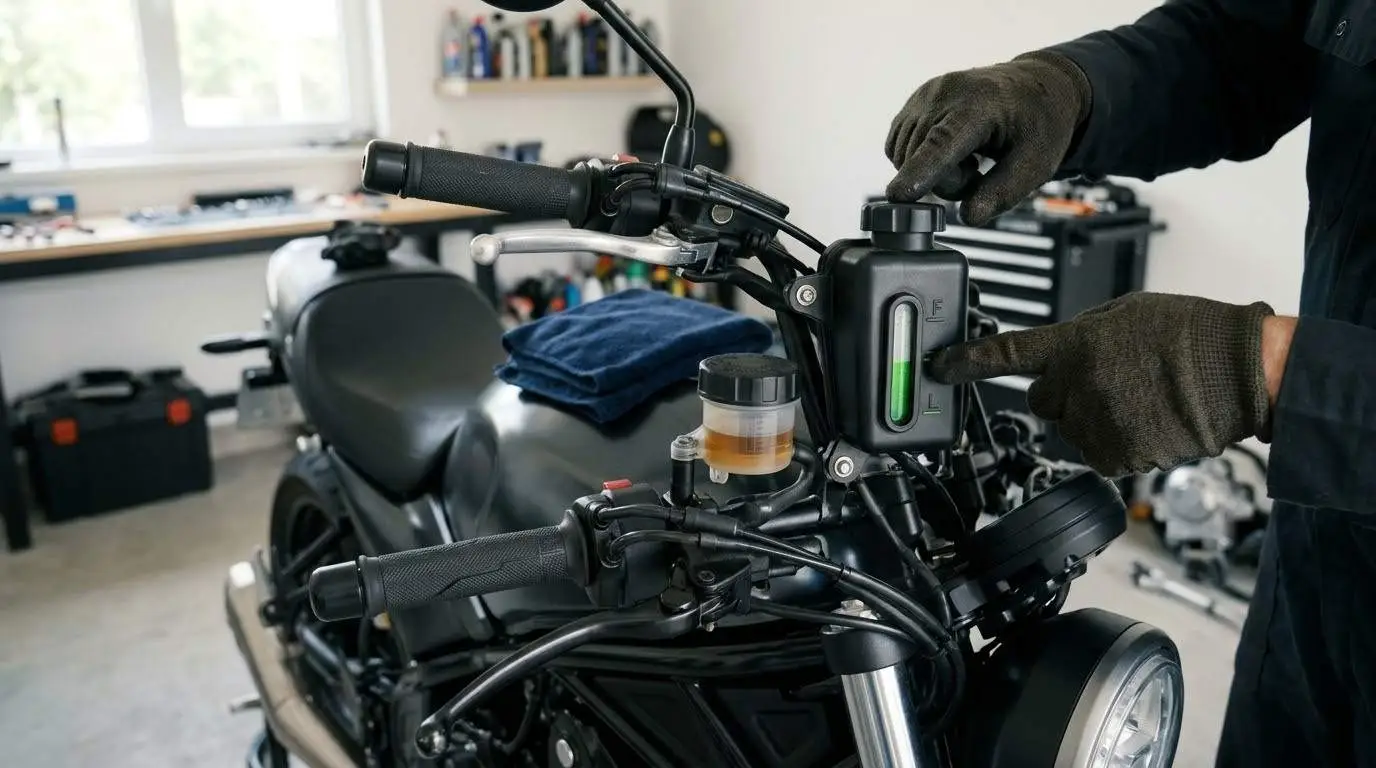
Motorcycle coolant and brake fluid are two of the most overlooked fluids on a bike, yet they protect your engine from overheating and your brakes from failing. Both break down over time, even if you ride very little. This guide shows you how to check each fluid and know when to change it in six clear steps. Fluid types, capacities, and service intervals vary by motorcycle, so always follow your owner’s manual for the exact specifications and schedule for your bike.
What You Need to Check Your Fluids
Gather your owner’s manual, a flashlight, clean rags, gloves, safety glasses, and a small mirror if the reservoirs are hard to see. If you plan to change fluids yourself, you will also need the correct coolant and brake fluid, a drain pan, a funnel, and the tools listed in your manual. Not every motorcycle is liquid-cooled, so skip the coolant steps if your bike is air-cooled or oil-cooled.
Step 1: Identify the Correct Fluids for Your Bike

Open your manual and find the coolant type, the brake fluid type, and the service intervals. Brake fluid is usually labeled DOT 3, DOT 4, or DOT 5.1, which are glycol-based and generally compatible, while DOT 5 is silicone-based and must never be mixed with the others. Coolant also comes in different formulas, so use the one your manufacturer specifies, and mix it with distilled water only if the product requires it.
Step 2: Check the Coolant Level with the Engine Cold

Park the bike upright on level ground and make sure the engine is completely cold. Find the coolant reservoir and look for the MIN and MAX marks on the tank. The level should sit between them. Never open the radiator cap on a hot engine, because hot coolant can spray out and cause serious burns.
Step 3: Inspect Coolant Condition, Hoses, and Leaks

Look at the color of the coolant in the reservoir. It should be clean and bright, not rusty, oily, or cloudy. Check the radiator hoses for cracks, bulges, or soft spots, look at the clamps, and scan the ground under the bike for drips. Low coolant that keeps dropping, a sweet smell, or visible leaks are signs to have the cooling system inspected before you ride.
Step 4: Check Brake Fluid Level and Color

Find the front brake reservoir on the handlebar and the rear reservoir near the pedal. Keep the reservoir level before you open the cap, and look through the sight glass or at the MIN mark on the side. Fresh fluid is clear to light amber, while fluid that looks dark brown or cloudy has absorbed moisture and dirt. A very low level can also mean worn brake pads, so inspect them as shown in how to inspect motorcycle brakes in 3 easy steps.
Step 5: Decide When to Change Each Fluid

Brake fluid absorbs moisture from the air over time, which lowers its boiling point and can make the brakes feel soft, so many manufacturers recommend replacing it on a regular time-based schedule rather than by mileage. Coolant also loses its protective additives with age, and manufacturers set a time or mileage interval for replacement. Follow the intervals in your manual, and change fluids sooner if they look dirty, if the brakes feel spongy, or if the bike overheats.
Step 6: Change the Fluids Safely or Book a Service

Replacing coolant involves draining the system with the engine cold, refilling with the correct mixture, and removing trapped air as your manual describes. Replacing brake fluid means flushing old fluid through the lines and bleeding the system until the lever or pedal feels firm. Brakes are a critical safety system, so if you are not fully confident about bleeding them, have a qualified mechanic do the job. After any brake work, test the lever and pedal at a standstill and roll slowly before you ride.
Safety and Disposal Notes
Coolant is toxic to people and pets, so clean up spills immediately and store containers out of reach. Brake fluid can damage paint and plastic, so wipe any drips right away. Put used fluids in sealed containers and take them to a recycling center or a household hazardous waste program. Never pour them down a drain or onto the ground.
Tips to Keep Your Fluids in Good Condition
Add a quick fluid check to your complete pretrip motorcycle maintenance guide routine. Pair fluid changes with an oil service, using the motorcycle oil change: a step-by-step beginner guide, and keep the electrical side healthy with the motorcycle battery guide. Long mountain descents put extra heat into the brakes, so fresh fluid matters on Virginia roads with steep grades.
Conclusion: Fresh Fluids Protect Your Engine and Your Brakes
Check coolant and brake fluid regularly, follow the service intervals in your manual, and change them when they look dirty or the bike starts to feel different. A small amount of attention to these fluids helps your motorcycle run cooler, stop better, and stay reliable mile after mile.
Legal Disclaimer: This guide is provided for educational purposes only and does not replace your owner’s manual or a qualified mechanic. Brakes and cooling systems are safety-critical. If you are unsure about any step, have the work done by a professional.
Official & Credible Sources
- Motorcycle Safety Foundation (MSF), Rider Training & Safety Resources
- National Highway Traffic Safety Administration (NHTSA), Motorcycle Safety
- Your motorcycle manufacturer’s owner’s manual, for exact fluid types and service intervals
Enjoyed This Guide? Explore Related Maintenance Resources
- Brake Checks: Read how to inspect motorcycle brakes in 3 easy steps.
- Engine Care: Follow the motorcycle oil change: a step-by-step beginner guide.
- Electrical Health: Learn the motorcycle battery guide: how to choose and maintain one.
- Pretrip Routine: Add fluid checks to the complete pretrip motorcycle maintenance guide.
- Cold-Season Care: Prepare your bike with the motorcycle winterization guide: essential storage hacks.
Leave a Reply