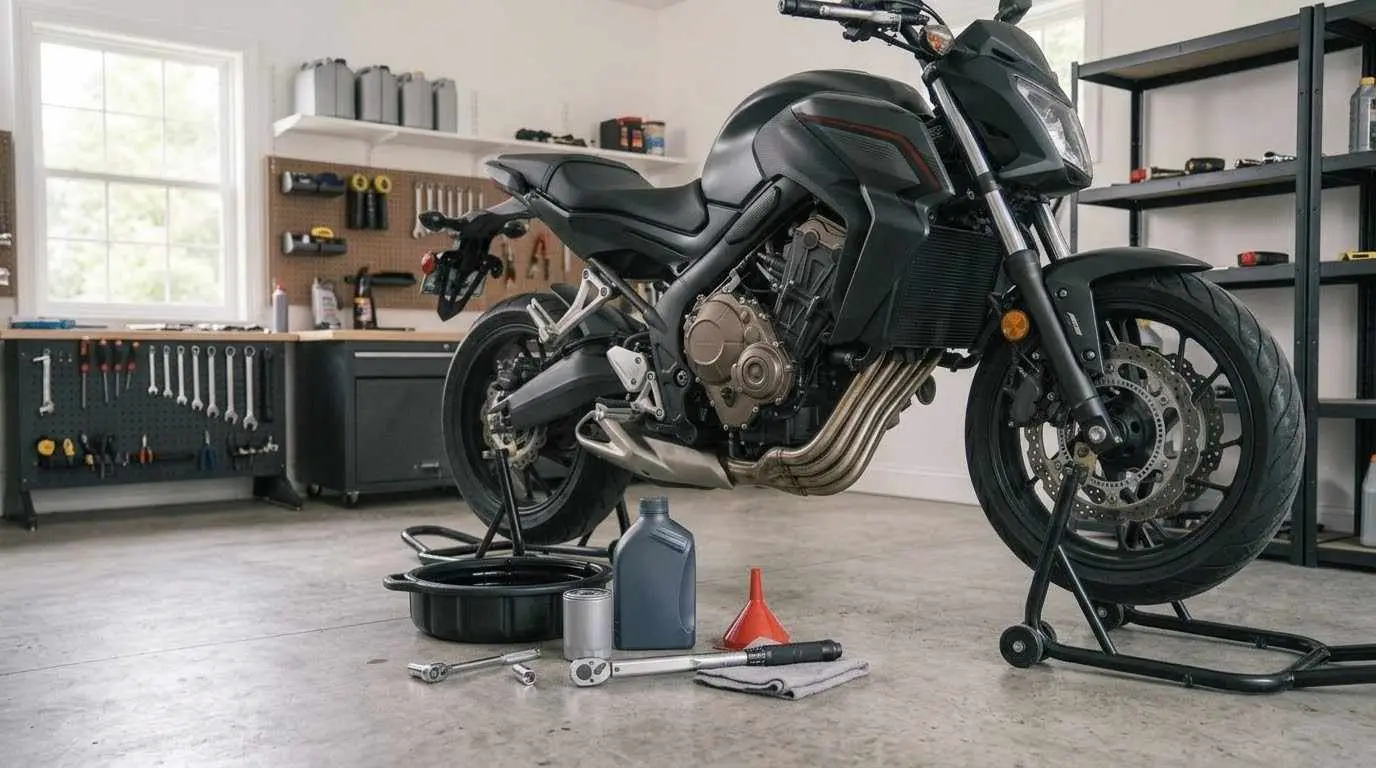
A motorcycle oil change is one of the most important maintenance jobs you can do yourself, and it is easier than most beginners expect. Fresh oil protects the engine, keeps the clutch and gearbox running smoothly on many bikes, and helps your motorcycle last for thousands of extra miles. This step-by-step beginner guide walks you through the full motorcycle oil change in six clear steps. Always follow your owner’s manual for the exact oil type, oil amount, filter, and torque values for your bike.
What You Need for a Motorcycle Oil Change
Gather these items before you start: the correct motorcycle oil and a new oil filter, a new drain bolt washer if your manual calls for one, a drain pan, a socket or wrench that fits the drain bolt, an oil filter wrench, a funnel, a torque wrench, clean rags, gloves, and a paddock stand or center stand. Many motorcycles share engine oil with the clutch and gearbox, so use oil labeled for motorcycles and the specification in your manual.
Step 1: Prepare the Bike and Warm the Engine

Run the engine for a few minutes so the oil flows more easily, then shut it off. Put the bike upright on level ground, preferably on a stand, and let the engine sit for a minute so the oil settles. Locate the oil filler cap, the drain bolt, and the oil filter before you start. Be careful, because the exhaust and the oil can be hot enough to burn you.
Step 2: Drain the Old Oil

Place the drain pan under the drain bolt and remove the filler cap to help the oil flow. Loosen the drain bolt carefully with the correct wrench, then remove it by hand at the end so you can control the hot oil. Let the oil drain fully, and take a moment to look at it. Metal flakes or a milky color can be signs of a problem that needs a mechanic’s attention.
Step 3: Replace the Oil Filter

Move the drain pan under the oil filter and loosen the old filter with an oil filter wrench. Expect some oil to spill when it comes off. Wipe the mounting surface clean, then rub a thin film of fresh oil on the rubber seal of the new filter. Thread the new filter on by hand until the seal makes contact, then tighten it as described in your manual or on the filter itself. If your bike uses a cartridge filter in a housing, follow the instructions in your manual for that design.
Step 4: Refit the Drain Bolt

Clean the drain bolt and the drain hole, and install a new washer if your manual requires it. Thread the bolt in by hand first to avoid cross-threading, then tighten it to the torque value in your manual with a torque wrench. Overtightening can damage the threads, so do not guess.
Step 5: Add Fresh Oil

Insert the funnel into the filler opening and pour in fresh oil, starting with slightly less than the amount in your manual. Wait a minute for the oil to settle, then check the level. Add small amounts until the level reaches the correct mark, and avoid overfilling, because too much oil can cause foaming and leaks.
Step 6: Check the Level and Look for Leaks

Replace the filler cap and start the engine for about 30 seconds, watching the oil light. Shut the engine off and wait a minute, then recheck the level in the sight glass or on the dipstick, depending on your bike. Look around the drain bolt and the filter for any drips. If you see a leak, stop and fix it before you ride.
Dispose of Used Oil the Right Way
Pour the used oil into a sealed container and take it to a recycling center or an auto parts store that accepts used oil. Never pour oil down a drain or onto the ground. Wipe up spills with rags and dispose of them as your local rules require.
Tips for Beginners
Write the date and mileage on a note so you know when your next motorcycle oil change is due, and follow the interval in your manual. Keep your drivetrain healthy by also following the steps in motorcycle chain maintenance: how to check, adjust, and lube a chain. Add the oil level to your regular complete pretrip motorcycle maintenance guide routine, and keep your tires in shape with motorcycle tire pressure and tread maintenance for mountain curves and slick asphalt.
Conclusion: A Simple Job That Protects Your Engine
A careful motorcycle oil change takes about an hour once you know the steps, and it saves money while keeping your engine healthy. Use the right oil, follow the torque values, check for leaks, and recycle the old oil. When you are unsure about a step, ask a qualified mechanic.
Legal Disclaimer: This guide is provided for educational purposes only and does not replace your owner’s manual or a qualified mechanic. If you are unsure about any step of a motorcycle oil change, have the work done by a professional.
Official & Credible Sources
- Motorcycle Safety Foundation (MSF), Rider Training & Safety Resources
- National Highway Traffic Safety Administration (NHTSA), Motorcycle Safety
- U.S. Environmental Protection Agency (EPA), Managing, Reusing, and Recycling Used Oil
- Your motorcycle manufacturer’s owner’s manual, for exact oil, filter, and torque specifications
Enjoyed This Guide? Explore Related Maintenance Resources
- Drivetrain Care: Read motorcycle chain maintenance: how to check, adjust, and lube a chain.
- Pretrip Routine: Add oil checks to the complete pretrip motorcycle maintenance guide.
- Tire Care: Keep your grip consistent with motorcycle tire pressure and tread maintenance for mountain curves.
- Brake Checks: Learn how to inspect motorcycle brakes in 3 easy steps.
Leave a Reply