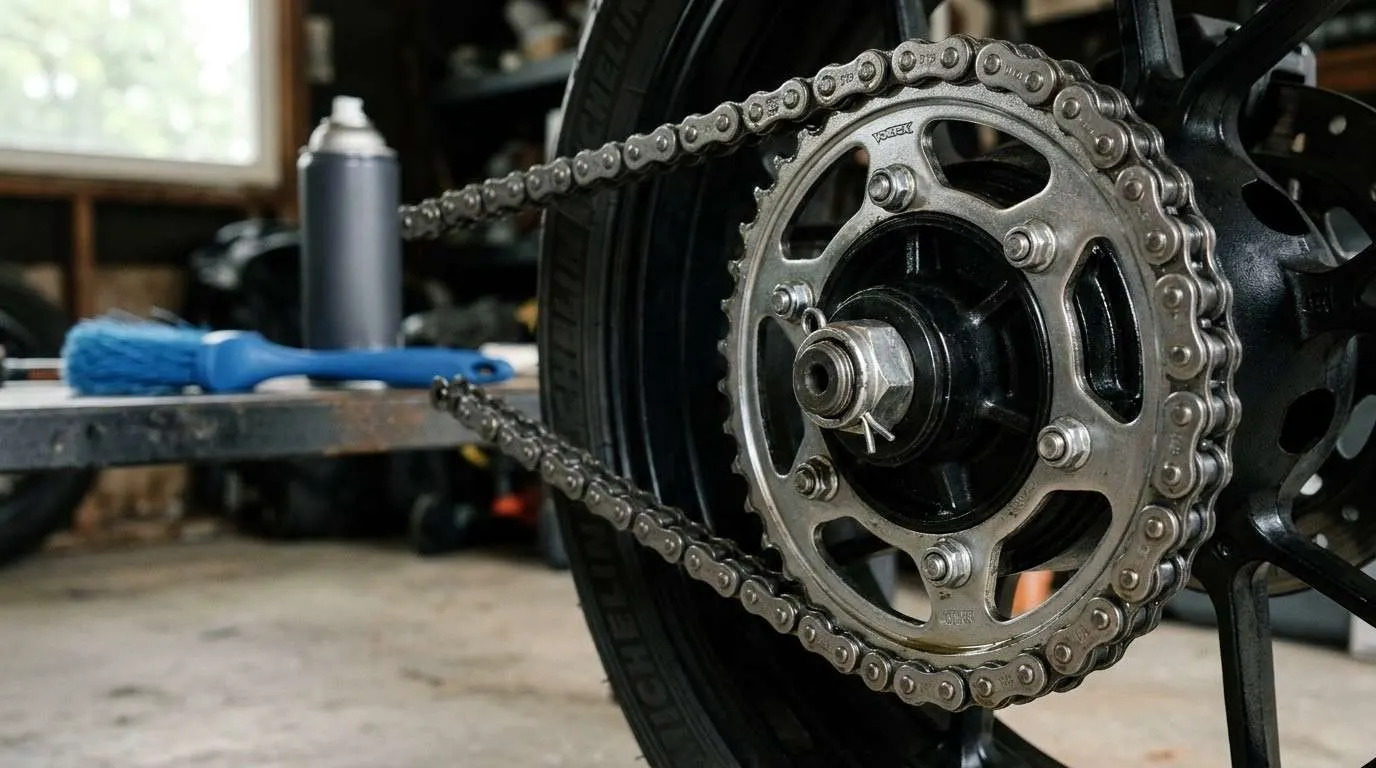
Motorcycle chain maintenance is one of the simplest ways to protect your drivetrain, save money, and keep the bike safe on long rides. A dry, loose, or worn chain wears out sprockets quickly, and in the worst case it can break or jump off while you ride. This guide shows you how to check, adjust, clean, and lube your chain in six clear steps. Always follow your owner’s manual for the exact slack, torque, and lube recommendations for your motorcycle.
What You Need Before You Start
A paddock stand or center stand, a tape measure or ruler, the wrenches listed in your manual, a soft brush, a chain cleaner made for motorcycle chains, chain lube, clean rags, and gloves. If your chain has O-rings or X-rings, use products labeled as safe for them.
Step 1: Prepare the Motorcycle

Park on level ground and put the bike on a paddock stand or center stand so the rear wheel can spin freely. Turn the engine off and put the transmission in neutral. A slightly warm chain is easier to clean and lube, but never work on a hot exhaust or a running engine. Keep your fingers away from the chain and sprockets whenever the wheel is moving.
Step 2: Inspect the Chain and Sprockets

Spin the wheel slowly by hand and look at the whole chain. Check for stiff or kinked links, rust, missing O-rings, loose rollers, and dry or dirty spots. Then look at the sprocket teeth. Teeth that look hooked, pointed like shark fins, or unevenly worn mean the sprockets are worn out. Chains and sprockets wear together, so replace them as a set when they are worn.
Step 3: Measure the Chain Slack

Find the slack specification in your owner’s manual, because every bike is different. With the bike upright on the stand, push the chain up and down at the midpoint between the two sprockets and measure how far it moves. Roll the wheel forward and check several different points, because chains often wear unevenly. Use the tightest point for your measurement. A chain that is too loose can slap and jump, while a chain that is too tight wears parts quickly and strains the bearings.
Step 4: Adjust the Chain Tension

If the slack is outside the specification, loosen the rear axle nut slightly and turn the adjusters on both sides of the swingarm by the same amount. Use the alignment marks on the swingarm as a reference, then confirm the wheel is straight. Tighten the axle nut to the torque listed in your manual, replace the cotter pin if your bike uses one, and measure the slack again. After adjusting, check the rear brake lever or pedal feel, because moving the wheel can change brake free play.
Step 5: Clean the Chain

Spray or apply a chain cleaner made for motorcycle chains and scrub the chain with a soft brush while rotating the wheel slowly. Avoid harsh solvents that can damage O-rings and X-rings, and keep spray away from the tire and the brake disc. Wipe the chain dry with a clean rag before you apply lube.
Step 6: Lube the Chain

Apply lube to the inner side of the lower chain run while you rotate the wheel slowly, so the lube reaches the rollers and plates. Let it sit for the time listed on the product label, then wipe off the excess so it does not fling onto the wheel or tire. Lube more often if you ride in rain, dust, or dirt, and always follow the interval in your manual.
Safety Notes for Chain Work
Never lube a chain while the bike is moving or the engine is running. Keep lube and cleaner off the brake disc, brake pads, and tire. If you are unsure about the chain’s condition, or if it shows kinked links or damaged sprockets, have a qualified mechanic inspect it before you ride. A chain in good condition is also important on mountain roads, where steady power delivery and smooth throttle control matter. Keep your tires in shape with motorcycle tire pressure and tread maintenance for mountain curves and slick asphalt, and include the chain in your complete pretrip motorcycle maintenance guide routine.
Conclusion: A Few Minutes That Extend Chain Life
Check the chain regularly, keep the slack within the manual’s specification, and clean and lube it before it dries out. A well-kept chain lasts longer, runs smoother, and keeps your bike ready for the next ride.
Legal Disclaimer: This guide is provided for educational purposes only and does not replace your owner’s manual or a qualified mechanic. If you are unsure about the condition of your chain or sprockets, have them inspected by a professional before riding.
Official & Credible Sources
- Motorcycle Safety Foundation (MSF), Rider Training & Safety Resources: https://www.msf-usa.org
- National Highway Traffic Safety Administration (NHTSA), Motorcycle Safety: https://www.nhtsa.gov/road-safety/motorcycle-safety
- Your motorcycle manufacturer’s owner’s manual, for exact slack, torque, and lube specifications
Enjoyed This Guide? Explore Related Virginia Touring Resources
- Tire Care: Keep your grip consistent with motorcycle tire pressure and tread maintenance for mountain curves.
- Pretrip Routine: Add the chain to the complete pretrip motorcycle maintenance guide.
- Brake Checks: Learn how to inspect motorcycle brakes in 3 easy steps.
- Technical Roads: Put your chain to work on the Snake Route 421 motorcycle guide.
- Ridge Road Twists: Try the Clinch Mountain and Route 80 motorcycle guide.
Leave a Reply