Author: LEDJ EDEL

  • Motorcycle Riding Gear Essentials: Armor for the Asphalt

    Motorcycle Riding Gear Essentials: Armor for the Asphalt

    Motorcycle Riding Gear Essentials

    Every seasoned rider remembers their first real wake-up call on the road. It usually isn’t a major accident, but a sudden close call—a loose patch of gravel in a sharp turn, or a sudden gust of wind that tests your balance. In those split seconds, you realize that the only thing protecting you from the brutal reality of the asphalt is what you are wearing.

    Investing in premium motorcycle riding gear essentials isn’t about looking intimidating; it is a literal insurance policy for your skin and bones.

    The Anatomy of Modern Protection

    Modern safety apparel has evolved far beyond heavy, stiff leather jackets.

    Today, advanced fabrics combine military-grade abrasion resistance with lightweight, breathable comfort. Building a flawless protective profile requires a complete system that shields your body from the helmet down to your boots.It all starts with a premium full-face helmet, designed to offer total cranial and jaw defense with certified impact stamps.

    Below the neck, an armored textile or reinforced leather jacket steps in to protect your spine, shoulders, and elbows.

    Your hands require tactical gloves fitted with knuckle shields and palm sliders, while your feet stay anchored in heavy-duty riding boots equipped with reinforced steel shanks to prevent ankle crush injuries.

    Choosing Armor Over Fashion

    When shopping for gear, prioritize impact-absorbing armor inserts certified by European standards (CE Level 1 or Level 2).

    These pads remain soft and flexible during normal riding conditions but instantly harden upon impact to disperse energy away from your joints.

    Additionally, never underestimate the power of wind and weather protection.

    A rider who is shivering from freezing mountain air or overheating under a baking summer sun loses concentration.

    High-quality gear regulates your body temperature, allowing you to focus entirely on the traffic dynamics around you.

    Conclusion:

    Dress for the Slide, Not the RideAt the end of the day, motorcycle riding gear essentials are an extension of your machine’s chassis. Skipping gear because of a short commute or warm weather is a gamble where the asphalt always wins.

    Equip yourself properly, respect the environment, and enjoy the pure freedom of the ride knowing you are fully prepared for any scenario.

    Respect the physics.

    Pack the armor.

    Ride prepared.

    {Disclaimer: This article is provided for informational, inspirational, and educational purposes only. Safety standards, fitments, and regional legal helmet requirements vary widely across global jurisdictions. Always select safety gear that matches your specific riding style, verify official manufacturing safety stamps, and ensure a snug, correct physical fit before operating any two-wheeled vehicle.}

    References & Sources

    * Motorcycle Safety Foundation (MSF) — Personal Protective Equipment Guide — msf-usa.org

    * American Motorcyclist Association (AMA) — Street Riding Gear Safety Analysis — americanmotorcyclist.com

    * National Highway Traffic Safety Administration (NHTSA) — Helmet Efficacy Studies — nhtsa.gov

  • Motorcycle Road Trip Freedom: The Ultimate Escape Guide

    Motorcycle Road Trip Freedom: The Ultimate Escape Guide

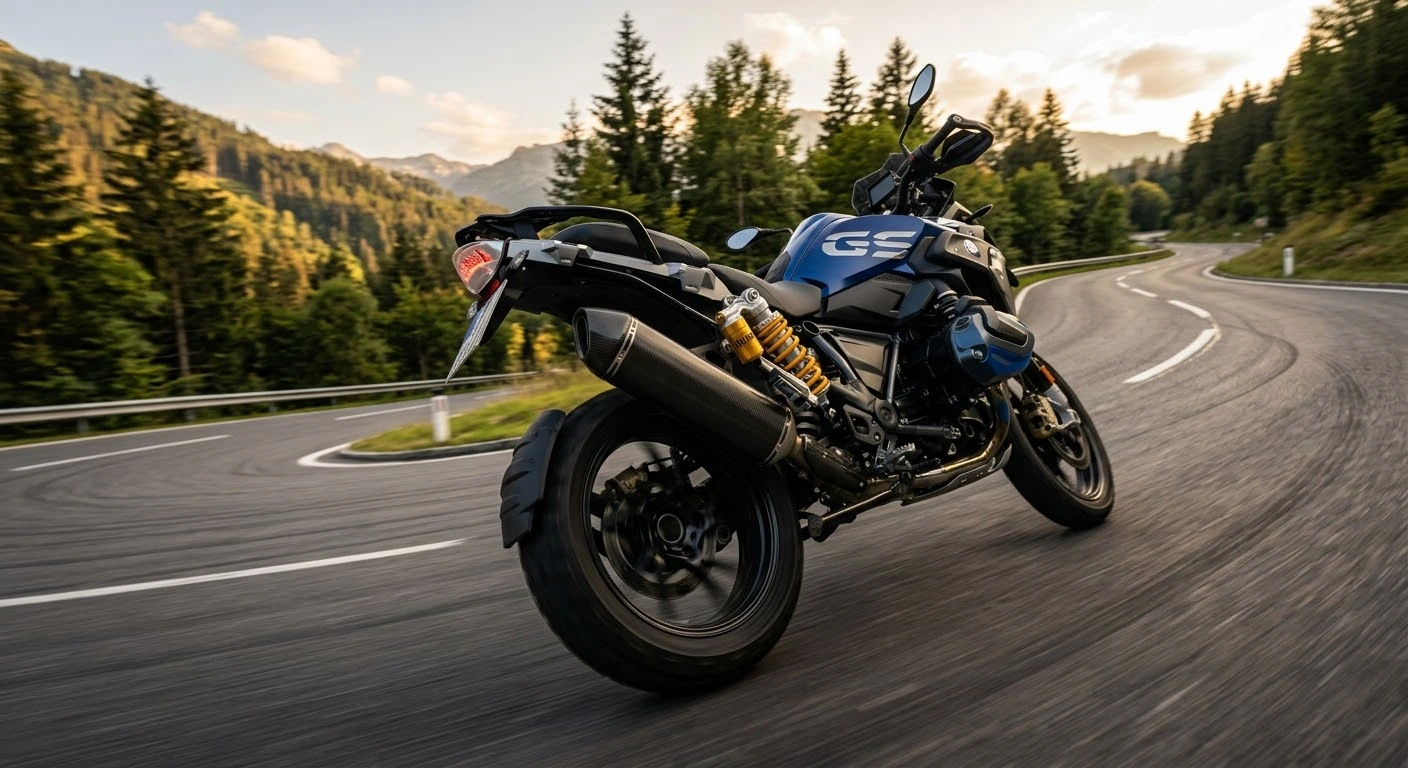
    Motorcycle Road Trip FreedomThe modern world is loud, digital, and hyper-connected. Inside the steel cage of a traditional automobile, you are merely a passive observer watching the scenery pass by through a pane of glass. But when you strap on a helmet and swing your leg over a motorcycle, the relationship with the environment changes completely. You don’t just travel through the landscape; you become an active, breathing part of it.

    Chasing the Golden HorizonEvery rider understands the exact moment the magic happens. It is that precise second when the city skyline fades in your rearview mirrors, and the traffic lights give way to endless stretches of open asphalt.

    Suddenly, you are hyper-aware of the world.

    You feel the sudden drop in temperature as you sweep down into a shaded mountain valley.

    You smell the crisp pine trees, the damp earth after a light rain, and the warm air rising from summer fields.

    On a motorcycle, speed isn’t a number on a digital dashboard—it is a physical sensation of wind against your chest and the rhythmic hum of the engine vibrating through your soul.

    The Philosophy of the Open RoadThere is a unique therapeutic clarity that comes with navigating a winding coastal highway or a historic mountain pass.

    The endless digital notifications and daily stresses disappear, replaced by a forced, beautiful mindfulness.

    Your entire universe shrinks down to the next turn, the perfect lean angle, and the unfolding horizon ahead. It is a rare form of meditation where the destination becomes completely irrelevant, and the simple act of moving forward becomes the entire purpose.

    Conclusion:

    Answer the Call of the AsphaltMotorcycle road trip freedom is not about checking miles off a map; it is about reclaiming your time and experiencing the world with unfiltered intensity.

    The open road is waiting, the weather is perfect, and your machine is ready.

    Pack your essentials, leave the highway maps behind, and go discover the therapy that can only be found on two wheels.

    Respect the physics.

    Embrace the journey.

    Ride prepared.

    (Disclaimer: This article is provided for informational, inspirational, and educational purposes only. Road conditions, regional weather patterns, and touring safety requirements vary significantly across different travel destinations. Always inspect your motorcycle thoroughly before initiating a long-distance road trip, ride within your personal skill boundaries, and wear full protective riding gear.)

    References & Sources

    * Motorcycle Safety Foundation (MSF) — Guide to Safe Group and Solo Touring — msf-usa.org

    * American Motorcyclist Association (AMA) — Premier Scenic Riding Routes Doctrine — americanmotorcyclist.com

    * Travel and Tourism Research Association — The Psychological Benefits of Adventure Travel — ttra.com

  • Motorcycle Suspension Tuning: The Smooth Ride Blueprint

    Motorcycle Suspension Tuning: The Smooth Ride Blueprint

    Motorcycle Suspension TuningA poorly adjusted suspension turns every pothole into a spine-shattering impact.

    Tuning your chassis completely transforms how your bike behaves in corners.

    The Story of a Harsh RideImagine blasting down your favorite backroad, tilting into a perfect apex, and suddenly feeling the entire chassis wobble uncontrollably.

    Many riders blame their tires or the asphalt, but the real culprit is usually a mismatched factory suspension setup.

    Your motorcycle left the assembly line calibrated for an “average” rider weight. If you carry luggage, commute in the city, or weigh differently, that default setting works against you.

    Understanding the core physics of your suspension is the ultimate key to unlocking a plush, predictable ride.

    Simplifying the MechanicsYou do not need a mechanical engineering degree to tune your motorcycle suspension.

    The entire system relies on balancing three core adjustments to match your specific riding profile:

    * Preload (Sag): Initial spring height based on rider weight.

    (Symptom: Bike sags too low or rides too high).

    * Compression: How fast the suspension collapses over bumps. (Symptom: Stiff, harsh spikes or excessive front-end diving).

    * Rebound: How fast the suspension returns to its normal state. (Symptom: A bouncy, pogo-stick feeling after hitting a dip).

    Finding Balance on the AsphaltStart by adjusting your rear preload until your motorcycle sags roughly 30mm to 35mm when you are sitting on it in full riding gear. If the front end dives aggressively every time you grab the front brake lever, stiffen the front compression damping slightly.

    Conversely, if the rear tire feels loose and chatters across small ripples in the road, back off the compression to let the spring absorb the terrain. Small, incremental changes yield massive improvements.

    Conclusion:

    Total Chassis HarmonySuspension tuning is a continuous dialogue between the rubber, the metal, and your personal riding style. Spending a weekend adjusting these parameters eliminates front-end vagueness and restores total control over every mile of asphalt.

    Respect the physics.

    Tune the chassis.

    Ride prepared.

    (Disclaimer: This article is provided for informational and educational purposes only. Suspension components, adjustability features, and factory torque specifications vary radically across cruiser, sport, and adventure motorcycles. Always consult your motorcycle’s official owner manual before altering factory settings, and perform initial test rides at low, safe speeds to evaluate handling changes)

    References & Sources

    * Motorcycle Safety Foundation (MSF) — msf-usa.org

    * American Motorcyclist Association (AMA) — americanmotorcyclist.com

    * Society of Automotive Engineers (SAE) — sae.org

  • Motorcycle Tire Pressure Guide: Quick Safety Check

    Motorcycle Tire Pressure Guide: Quick Safety Check

    Motorcycle Tire Pressure Guide

    Incorrect tire pressure compromises traction and accelerates rubber wear.

    Checking your PSI regularly is the easiest way to ensure a safe, predictable ride.

    The Contact PatchYour tires are the only components connecting your motorcycle to the asphalt.

    Introduction

    The total area of rubber touching the road—the contact patch—is remarkably small.

    Operating with improper inflation limits your suspension’s efficiency and alters your bike’s handling.

    This ultra-concise guide provides the core technical steps to monitor and maintain your motorcycle tire pressure accurately.

    The Three Maintenance Rules for Tire PSITo achieve maximum safety and tire longevity, follow this straightforward protocol:

    Check Cold

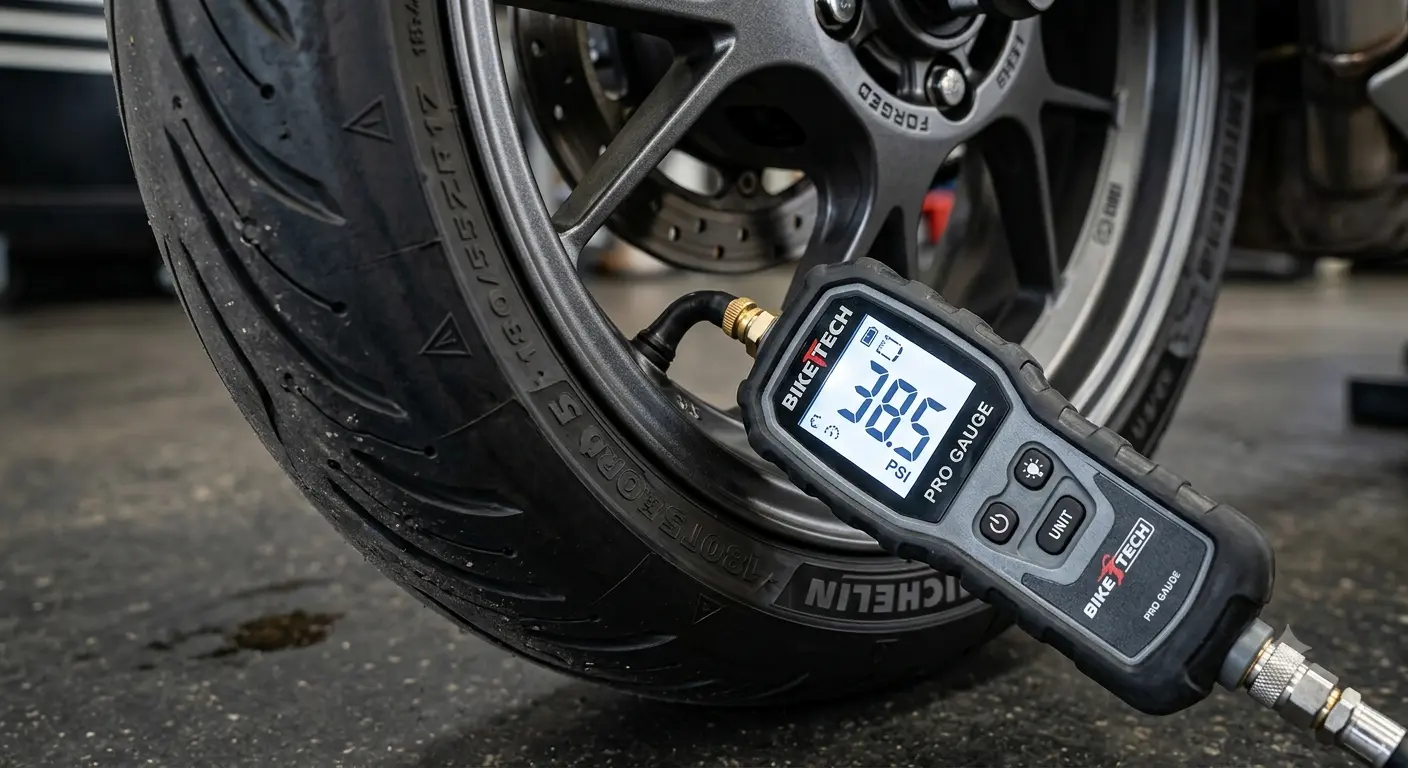
    Always measure tire pressure before your ride, when the tires are cold. Riding heats up the internal air, causing expanding pressure readings that reflect false numbers.

    Inspect Weekly

    Tires naturally lose around 1 to 2 PSI every month due to rubber porosity. Use a dedicated, calibrated digital pressure gauge weekly.

    Match the Manual

    Never use the maximum pressure number stamped on the tire sidewall for daily riding.

    Instead, always look at the official swingarm sticker or your owner’s manual for the correct front and rear specifications.

    Conclusion

    Small Numbers, Massive SafetyMaintaining correct tire pressure guarantees optimal lean angles, shorter braking distances, and stable highway cruising.

    Taking sixty seconds to check your PSI before starting the engine shields you from unexpected failures.

    Respect the physics.

    Maintain the pressure.

    Ride prepared.

    [Disclaimer: This article is provided for informational and educational purposes only.

    Tire pressure specifications vary significantly based on motorcycle weight, passenger presence, cargo load, and rubber manufacturer guidelines.

    Always consult your motorcycle’s official owner manual or specific tire manufacturer documentation before adjusting pressure levels, and check your valve stems regularly for leaks.]

    References & Sources

    * Motorcycle Safety Foundation (MSF) — Tire Care and Inflation Safety — msf-usa.org

    * Tire Industry Association (TIA) — Motorcycle Rubber Pressure Doctrine — tireindustry.org

    * National Highway Traffic Safety Administration — Vehicle Tire Safety Standards — nhtsa.gov

    Enjoyed This Guide? Explore More Virginia Riding Resources:

    If you found this article helpful, dive deeper into our top-recommended guides to stay safe, well-equipped, and ready for your next Appalachian adventure:

    1. State Legal Rules & Safety Regulations: Stay fully compliant on state highways with our updated overview of Virginia motorcycle laws 2026 helmets lane splitting and regulations (https://motorcyclevirginia.com/virginia-state-motorcycle-laws-2026-helmets-lane-splitting-and-regulations/).
    2. Technical Mountain Routes: Tackle 320 sharp switchbacks across Southwest Virginia using our Virginia State Route 16 complete riding guide to the Back of the Dragon (https://motorcyclevirginia.com/virginia-state-route-16-riding-guide-back-of-the-dragon/).
    3. Long-Distance Trip Prep: Ensure your bike is 100% mechanically prepped before heading out with how to prepare your motorcycle for long-distance touring (https://motorcyclevirginia.com/how-to-prepare-your-motorcycle-for-long-distance-touring/).
    4. DIY Brake & Safety Maintenance: Keep your stopping power at peak performance with our hands-on guide to motorcycle brake pad replacement DIY step-by-step maintenance (https://motorcyclevirginia.com/motorcycle-brake-pad-replacement-diy-step-by-step-maintenance/).
    5. Group Intercom Tech Reviews: Upgrade your helmet comms for group rides by comparing Cardo vs Sena choosing the best motorcycle intercom for group rides (https://motorcyclevirginia.com/cardo-vs-sena-choosing-the-best-motorcycle-intercom-for-group-rides/).

  • How to Inspect Motorcycle Brakes in 3 Easy Steps

    How to Inspect Motorcycle Brakes in 3 Easy Steps

    Knowing how to inspect motorcycle brakes is one of the most valuable safety skills a rider can learn. Brakes work harder than most riders realize, especially on long mountain descents, and a small problem can turn into a big one quickly. This simple three-step routine takes only a few minutes and helps you catch wear, leaks, and soft controls before you ride. Always follow your owner’s manual for exact specifications, because brake systems differ between models.

    Step 1: Inspect the Pads and Rotors

    Check Brake Pad Thickness

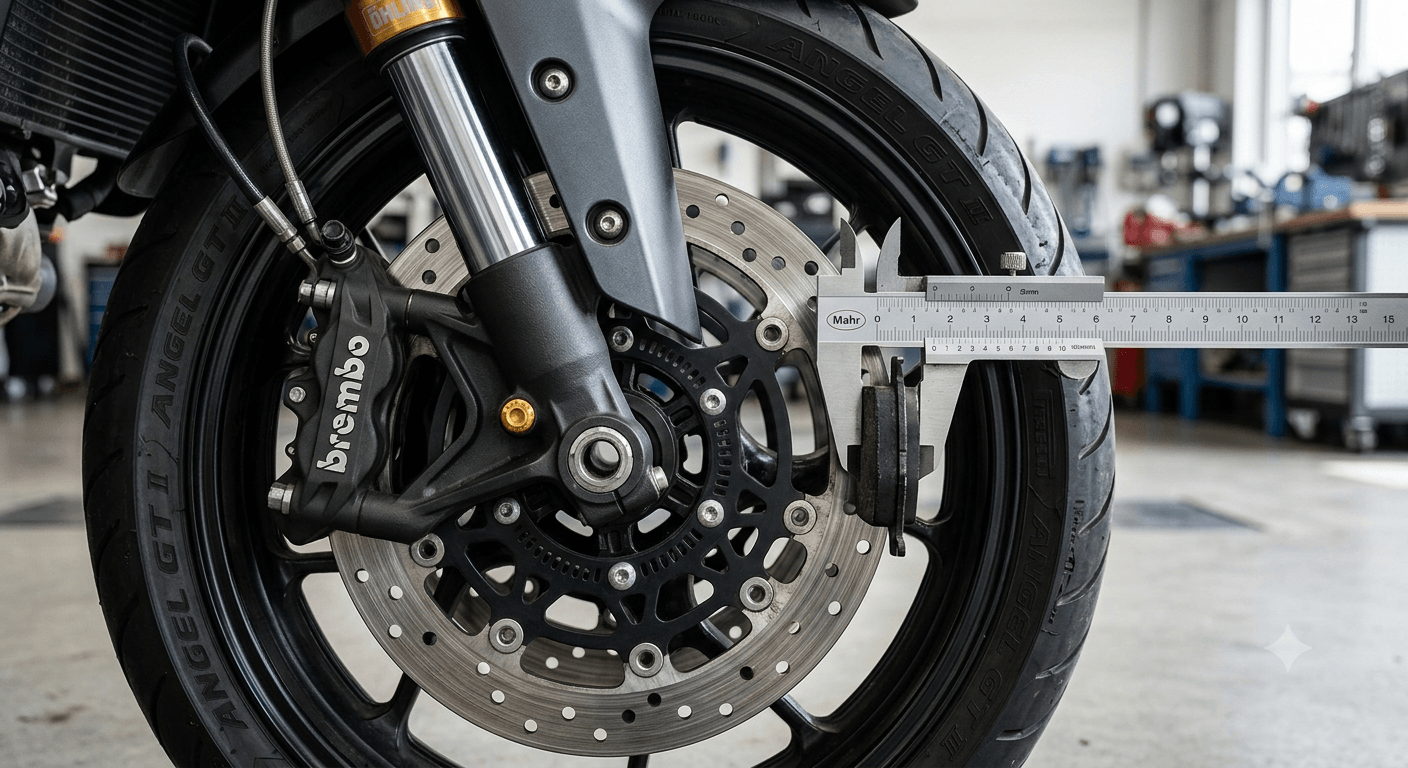
    Look at the brake pads through the caliper, front and rear. Most pads have a wear indicator groove or mark, and your manual lists the minimum safe thickness. If the friction material is close to the limit, replace the pads before your next ride, and always replace pads on both sides of an axle together.

    Examine the Rotors

    Check the discs for deep scratches, grooves, discoloration, or a visible lip at the outer edge. Many rotors have a minimum thickness stamped on them. Replace any rotor that is worn beyond that mark or damaged.

    Step 2: Check Fluid Level and Brake Lines

    Look at the Brake Fluid

    Find the front reservoir and the rear reservoir, and make sure the level sits between the minimum and maximum marks. Check the color as well: fluid that looks dark or cloudy is a sign it needs to be replaced. Many manufacturers recommend changing brake fluid on a regular schedule, so check the interval in your manual. Keep the reservoir clean when you open it, and avoid spilling fluid on paint, because it can damage the finish.

    Inspect Hoses and Fittings

    Look along every brake line for cracks, bulges, rubbing against other parts, or wet spots. Check the fittings at the master cylinder and caliper for leaks. A line that looks damaged or a leak at any joint is a reason not to ride until the bike is repaired.

    Step 3: Test Lever and Pedal Feel

    Test the Controls at a Standstill

    Squeeze the front lever and press the rear pedal. Both should feel firm and return smoothly. A lever that feels spongy, travels too far, or comes close to the grip can mean air or fluid problems. If the feel is not right, have the system checked before riding.

    Do a Slow Rolling Test

    Roll the bike slowly in a safe, open area and apply each brake gently. Listen for grinding, squealing, or scraping, and note any pulling to one side or any drag after you release the control. If your motorcycle has ABS, confirm that the warning light behaves as described in your manual when you start the bike.

    Why This Matters on Virginia Mountain Roads

    Long descents such as those on Route 211 at Thornton Gap and the Blue Ridge Parkway ridge section ask a lot from your brakes. Use engine braking where appropriate so your brakes do not overheat, and keep your tires in good condition with motorcycle tire pressure and tread maintenance for mountain curves and slick asphalt.

    Conclusion: Three Steps That Protect Every Ride

    Check the pads and rotors, inspect the fluid and lines, and test the lever and pedal. Make this routine a habit before every ride, and have a qualified mechanic look at anything you are unsure about. Healthy brakes give you control, confidence, and shorter stopping distances when the road demands it.

    Legal Disclaimer: This guide is provided for educational purposes only and does not replace your owner’s manual or a qualified mechanic. If you are unsure about the condition of your brakes, have them inspected by a professional before riding.

    Official & Credible Sources

    Enjoyed This Guide? Explore Related Virginia Touring Resources

    1. Tire Care: Keep your grip consistent with motorcycle tire pressure and tread maintenance for mountain curves.
    2. Long Descent Practice: Study the climb and descent in the Route 211 Thornton Gap motorcycle guide.
    3. Ridge Riding: Apply your braking skills on the Blue Ridge Parkway ridge section motorcycle guide.
    4. Mountain Pass Crossing: Read the US Route 33 Swift Run Gap motorcycle guide.

  • Motorcycle Chain Maintenance: Clean & Lube Guide for Safety

    Motorcycle Chain Maintenance: Clean & Lube Guide for Safety

    Motorcycle Chain Maintenance A neglected drive chain reduces rear-wheel horsepower and poses a severe safety risk.

    Routine lubrication keeps your ride smooth and prevents catastrophic failure.

    Introduction:

    The Lifeline of Rear-Wheel PowerYour motorcycle’s drive chain is responsible for transferring raw engine power directly to the rear tire. Operating under extreme rotational stress and exposed to road grit, this mechanical link requires regular inspection.

    Neglecting chain care leads to premature sprocket wear, stiff links, and in worst-case scenarios, a snapped chain that can lock up the rear wheel at highway speeds.

    This quick, practical guide outlines the essential steps to clean and lubricate your motorcycle chain efficiently.

    The Three-Step Maintenance Routine

    To maximize chain longevity, execute this straightforward maintenance process every 300 to 500 miles:

    * Clean: Spray a dedicated, O-ring safe motorcycle chain cleaner across the entire length of the chain.

    Use a three-sided chain brush to scrub away accumulated road grime, old grease, and dirt.

    Wipe the chain completely dry with a clean rag.

    * Inspect: Check for tight links, rusted rollers, and improper chain slack. Refer to your swingarm sticker for the exact factory slack measurement.

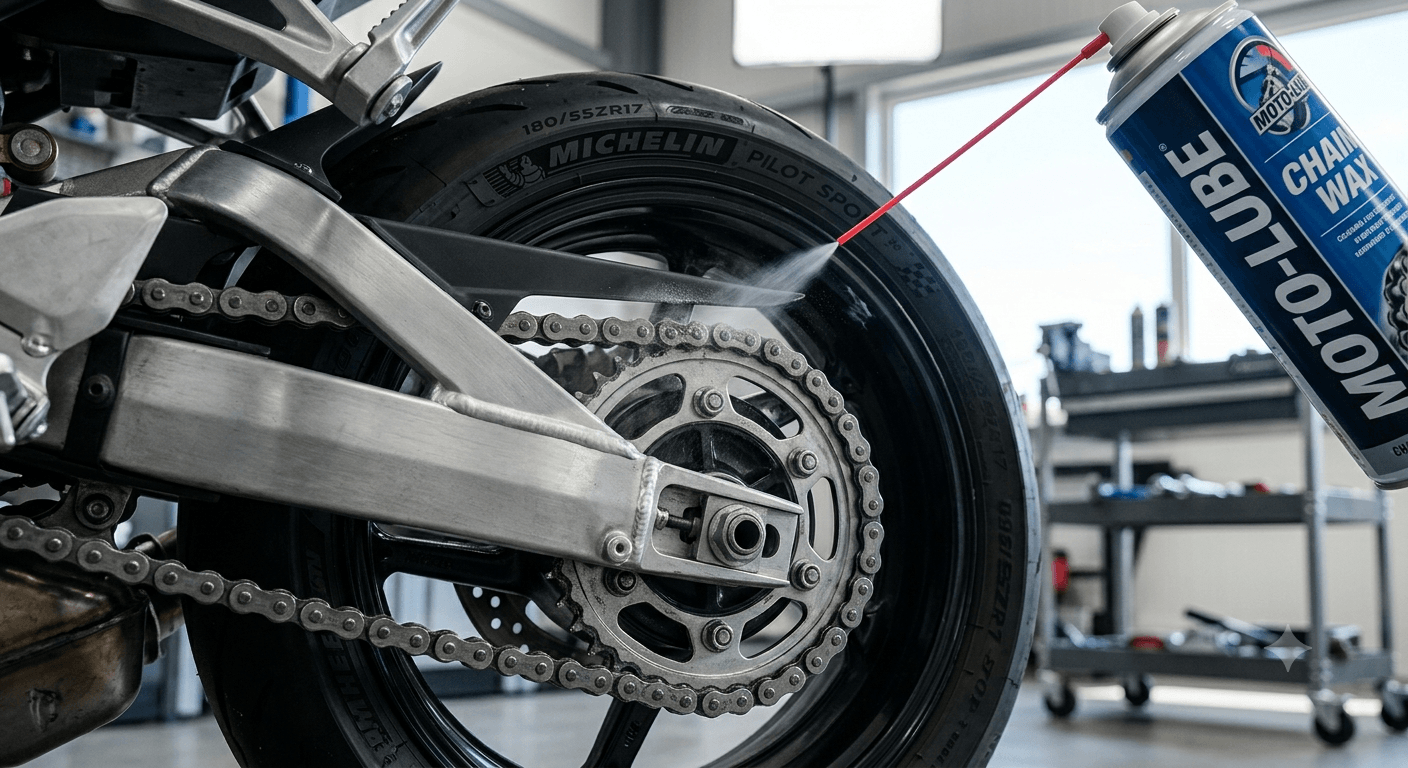
    * Lubricate: Apply a high-quality motorcycle chain lube to the inside of the chain while slowly rotating the rear wheel. This allows centrifugal force to push the lubricant deep into the rollers during your next ride.

    Pro-Tips for Chain Longevity

    Always apply chain lubricant immediately after a ride while the chain is still warm. The thermal heat expands the internal O-rings, allowing the lubricant to penetrate vital internal spaces before cooling.

    Additionally, allow the lubricant to settle or “tack up” for at least 15 to 20 minutes before riding.

    Firing up the engine immediately flings the wet oil onto your rear tire and riding gear, wasting the application and creating a traction hazard.

    Conclusion:

    Small Steps, Major SafetyChain maintenance is a fundamental ritual for every responsible rider.

    Spending ten minutes cleaning and lubricating your drive system ensures optimal throttle response, quieter operation, and total peace of mind on the road.

    Respect the physics.

    Maintain the drive.

    Ride prepared.

    [Disclaimer: This article is provided for informational and educational purposes only. Drive chain specifications, optimal slack measurements, and maintenance intervals vary significantly by motorcycle manufacturer and specific model type. Always consult your motorcycle’s official owner manual before performing mechanical adjustments, and inspect your drivetrain carefully before every ride.]

    References & Sources

    * Motorcycle Safety Foundation (MSF) — T-CLOCS Inspection Checklist — msf-usa.org

    * American Motorcyclist Association (AMA) — Drive System Maintenance Basics — americanmotorcyclist.com

    * Ingress Protection and Mechanical Standards — Drivetrain Safety Doctrine — bsigroup.com