Author: LEDJ EDEL

  • Top Motorcycle Friendly Hotels & B&Bs in Virginia (2026 Guide)

    Top Motorcycle Friendly Hotels & B&Bs in Virginia (2026 Guide)

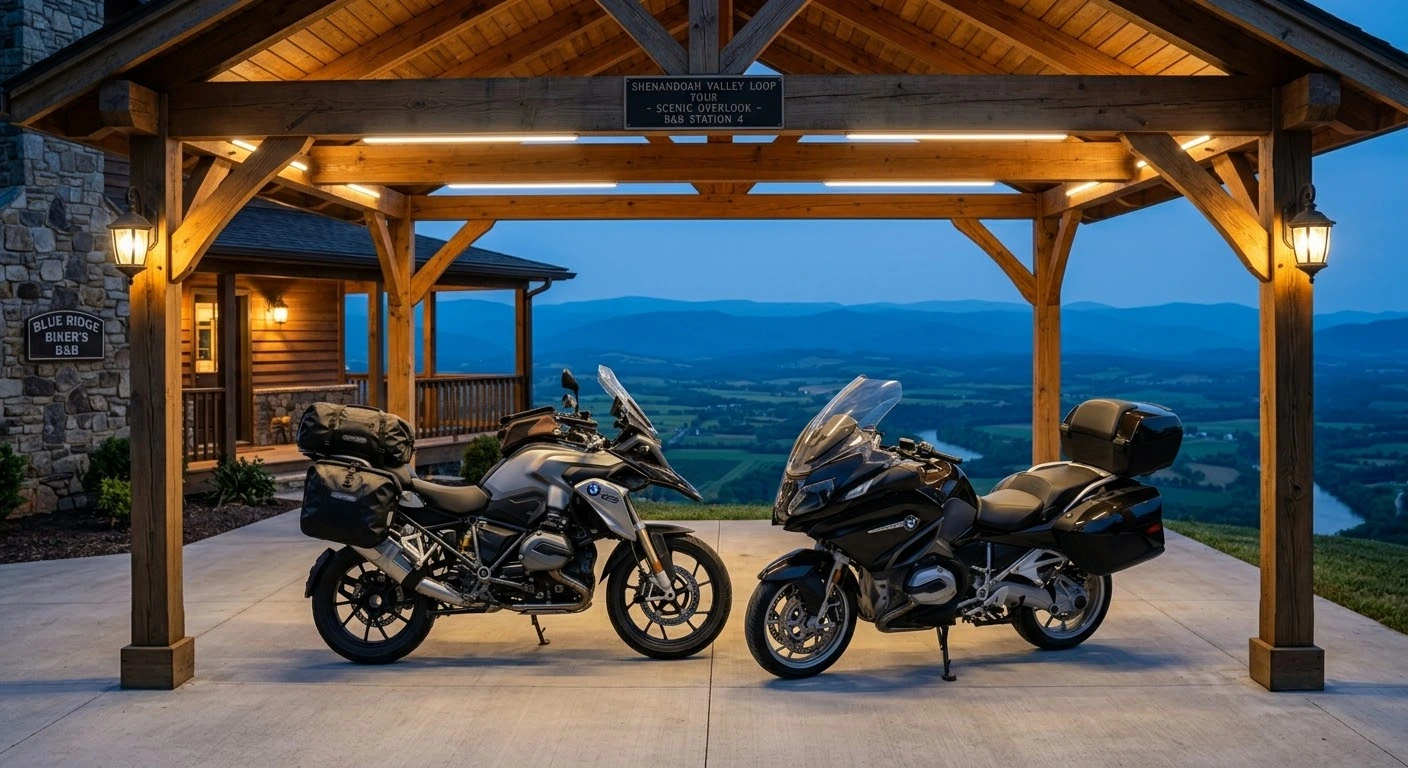
    After a long, exhilarating day of carving through the sharp switchbacks of the Blue Ridge Mountains or cruising along the windy Atlantic coastline, nothing compares to the relief of rolling into a welcoming, rider-focused retreat. Leaving your prized motorcycle exposed in a dark, distant gravel lot or worrying about secure gear storage can quickly ruin a peaceful evening. Finding the top motorcycle friendly hotels and B&Bs in Virginia is the secret ingredient to turning a great road trip into an unforgettable journey. From dedicated bike-washing stations and covered parking to kickstand-safe paved surfaces and warm local hospitality, the right lodging allows you to recharge both your mind and your machine for the miles ahead.

    ================================================================================
    RIDER LODGING EVALUATION & AMENITY PRIORITY MATRIX
    ================================================================================

    [HIGH PRIORITY] —————————————————————-

    1. COVERED & SECURE PARKING
      └─ Level Concrete / Heavy Asphalt (Kickstand Safe)
      └─ Well-Lit Areas & Security Camera Coverage
      └─ Proximity to Guest Rooms

    [MEDIUM-HIGH PRIORITY] ———————————————————
    2. ON-SITE BIKE MAINTENANCE & WASH STATIONS
    └─ Clean Water Hoses & Microfiber Towels
    └─ Degreaser Supplies & Basic Chain Lube Access
    └─ Emergency Hand Tool Availability

    [ESSENTIAL COMFORT] ————————————————————
    3. RIDER-CENTRIC AMENITIES
    └─ Heated Gear Drying Areas
    └─ Late Check-In Flexibility for Mountain Delays
    └─ Hot Breakfast & Proximity to Scenic Route On-Ramps

    ================================================================================
    LODGING SATISFACTION INDEX BY RIDER TYPE (%)
    ================================================================================
    Solo Tourers : [████████████████████████████████████████] 98% (Secure Parking Focus)
    Group Riding Packs : [████████████████████████████████████░░] 90% (Wash Stations & Space)
    Vintage/Customs : [████████████████████████████████████████] 100% (Covered Garage Focus)
    ================================================================================

    Top Recommended Rider-Friendly Accommodations Across Virginia

    Whether you are navigating the high-elevation ridges of the west or the coastal peninsulas of the east, these premier stays cater specifically to two-wheeled travelers:

    • 1. Mountain Ridge Lodges (Blue Ridge & Skyline Drive Corridors):
      Properties situated near Front Royal, Waynesboro, and Roanoke often feature dedicated motorcycle-only parking spaces right outside room doors. Many mountain lodge owners are riders themselves, providing kickstand pucks to prevent stands from sinking into warm asphalt, as well as complimentary shop towels for morning visor cleaning.
    • 2. Historic Country B&Bs (Shenandoah Valley & Piedmont):
      Nestled along quiet backroads in towns like Staunton and Lexington, historic Bed & Breakfasts offer secure private driveways and covered barns or carports. Enjoy hearty farm-to-table breakfasts before embarking on early morning mountain runs.
    • 3. Coastal Waterfront Inns (Tidewater & Eastern Shore):
      Coastal inns around Chincoteague and Cape Charles frequently provide freshwater hose stations to rinse corrosive salt spray off your chrome and wheels after a long day of coastal riding.

    Key Amenities to Look For When Booking

    To ensure a seamless stay, always confirm the following features before locking in your reservation:

    • Paved, Level Parking Areas: Avoid properties with steep gravel driveways or soft dirt lots that pose tipping hazards for heavy touring bikes.
    • Flexible Late Check-In: Mountain weather and unexpected mechanical delays can shift your arrival time. Look for inns that offer self-check-in keypads or flexible front-desk hours.
    • Proximity to Technical Corridors: Choose stays that place you minutes away from premier riding routes so you can hit the road before morning traffic builds up.

    Before locking in your overnight stops, ensure your bike is fully prepped for multi-day trips using the complete pre-trip motorcycle maintenance guide. If your itinerary includes backcountry camping alongside traditional stays, review motorcycle camping in Virginia top campsites and route planning. Furthermore, double-check that your helmet and gear conform to local state standards by reading Virginia motorcycle laws 2026 helmets lane splitting and regulations.

    Conclusion: Rest Easy, Ride Inspired

    Securing accommodations at the top motorcycle friendly hotels and B&Bs in Virginia transforms your road trip experience. When you know your motorcycle is parked safely on solid ground and protected from the elements, you can relax, enjoy local Virginia hospitality, and wake up ready to tackle the open highway.

    Legal Disclaimer: This guide is provided for travel planning and educational purposes only. Amenity availability, parking policies, and reservation rules vary by property; always contact inns directly to confirm motorcycle accommodations.

    Official & Credible Sources


    Enjoyed This Guide? Explore Related Virginia Touring Resources:

    If you are planning your overnight itinerary across Virginia, dive into these closely related touring and planning guides:

    1. Backcountry Overnight Planning: Combine boutique hotel stays with wilderness nights using our guide to motorcycle camping in Virginia top campsites and route planning.
    2. Multi-Day Route Preparation: Ensure your bike is 100% prepped for multi-day journeys with how to prepare your motorcycle for long-distance touring.
    3. Valley Tour Waypoints: Discover prime hotel hubs along the valley loop in Shenandoah Valley motorcycle loop scenic waypoints and stops.
    4. Pre-Trip Mechanical Inspections: Avoid roadside breakdowns before reaching your hotel with the complete pre-trip motorcycle maintenance guide.
    5. Mountain Route Comparison: Plan where to stay along Virginia’s famous crests by reading riding Skyline Drive vs Blue Ridge Parkway which route is better.
  • Scenic Coastal Motorcycle Routes in Eastern Virginia & Tidewater (2026)

    Scenic Coastal Motorcycle Routes in Eastern Virginia & Tidewater (2026)

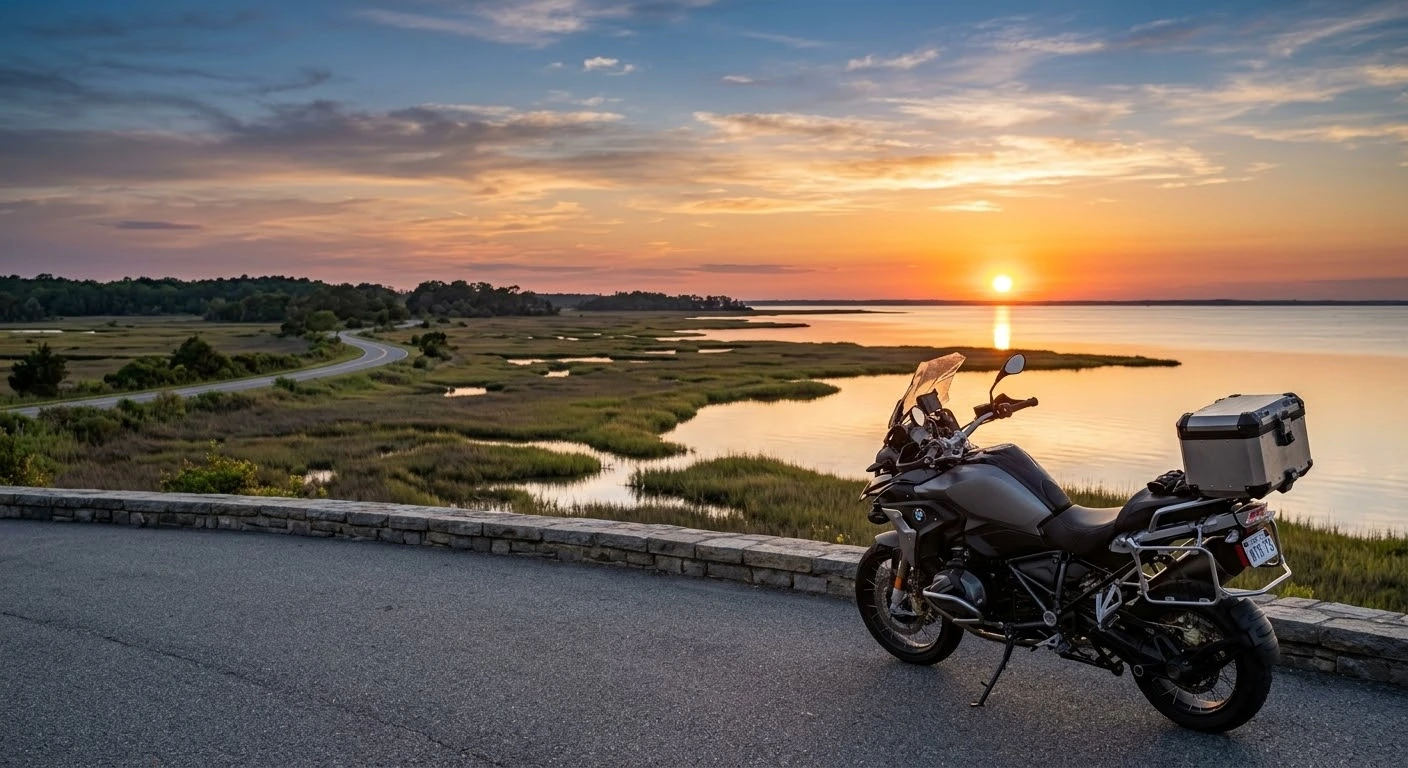
    While Western Virginia is celebrated for its towering Appalachian ridge lines and sweeping technical switchbacks, the eastern edge of the Commonwealth offers a radically different, equally mesmerizing riding experience. Exploring scenic coastal motorcycle routes in Eastern Virginia & Tidewater reveals miles of open Atlantic horizons, historic salt-marsh backroads, flat highway sweeping curves, and iconic ferry crossings. Riding through the Tidewater region isn’t about chasing extreme lean angles; it is about absorbing maritime heritage, smelling the salty Atlantic air, and enjoying stress-free coastal cruising across historic peninsulas.

    Tidewater Coastal Riding Routes & Planning Metrics

    To help you choose the best coastal run based on scenery, distance, and surface conditions, consult the comparative route table below:

    Route Name / CorridorDistance & Est. TimeKey Highlight & SceneryRoad Profile & Surface
    Colonial Parkway (Jamestown to Yorktown)23 Miles (45 Min)Historic cobble/brick, York River viewsLow speed (35 mph), historical arches, shaded
    Eastern Shore Highway (US-13 & Backroads)70 Miles (1.5 Hours)Chesapeake Bay Bridge-Tunnel, open marshesFlat long straights, coastal wind exposure
    Northern Neck Loop (US-360 / VA-3)110 Miles (2.5 Hours)Potomac & Rappahannock River vistasSweeping countryside curves, quiet maritime towns
    Jamestown-Scotland Ferry Route (VA-31)15 Miles + FerryFree scenic river ferry crossingGentle tarmac, coastal historic sights

    Top Scenic Coastal Routes in Tidewater & Eastern Virginia

    Each coastal region provides a unique blend of nautical scenery and serene backroad cruising:

    • 1. The Historic Colonial Parkway:
      Connecting Jamestown, Williamsburg, and Yorktown, this 23-mile scenic roadway features no commercial traffic, unpaved brick-like aggregate concrete, and beautiful shaded canopy riding along the York River. Keep your speed at the 35 mph limit to enjoy the riverfront turnouts.
    • 2. The Eastern Shore Peninsula (US-13 and Seaside Road):
      Crossing the famous Chesapeake Bay Bridge-Tunnel brings you to a quiet world of agricultural fields and Atlantic saltwater marshes. Skip the main highway where possible and take Seaside Road for a peaceful journey through historic fishing villages.
    • 3. The Northern Neck Peninsula:
      Bound by the Potomac River on the north and the Rappahannock River on the south, Route 3 offers gentle winding asphalt, historic lighthouse points, and fresh seafood stops at waterfront docks.
    • 4. The Jamestown-Scotland Ferry Crossing:
      Ride Route 31 down to the James River landing and drive directly onto the free state ferry. Taking your motorcycle on the water provides a brief, refreshing break with 360-degree views of the historic waterway.

    Coastal Riding Challenges: Salt Air, Crosswinds, and Sand

    Riding near the ocean requires a few specialized precautions compared to mountain touring:

    • Managing Ocean Salt Spray: Salt air accelerates metal corrosion. Rinse your motorcycle with fresh cold water after riding near ocean fronts to prevent rust on exposed chrome, fastners, and aluminum rims.
    • Handling High Crosswinds: Open bridge spans like the Chesapeake Bay Bridge-Tunnel and coastal causeways experience heavy ocean winds. Maintain a relaxed grip, lean gently into steady side gusts, and give high-profile trucks ample spacing.
    • Bridge Grating & Traction Hazards: Many historic Tidewater drawbridges use open-steel grid decks. Your tires may wiggle slightly over open metal grids; stay calm, hold a straight line, and avoid sudden braking or aggressive throttle inputs.

    Before setting out on long coastal runs, review our tips on how to prepare your motorcycle for long-distance touring, and perform a complete pre-ride check using the complete pre-trip motorcycle maintenance guide. Additionally, ensure your helmet and motorcycle setup meet state regulations by reviewing Virginia motorcycle laws 2026 helmets lane splitting and regulations.

    Conclusion: Cruise the Historic Tidewater Coast

    From the historic canopy of the Colonial Parkway to the vast open skies of the Eastern Shore, Eastern Virginia delivers unforgettable coastal motorcycle touring. Pack your sunglasses, prepare for coastal breezes, rinse your bike after the ride, and discover the rich maritime heritage of Tidewater’s waterside highways.

    Legal Disclaimer: This guide is provided for informational and route-planning purposes only. Speed limits, ferry schedules, and bridge wind restrictions change frequently; always observe local maritime and highway safety posted signs.

    Official & Credible Sources

  • Shenandoah Valley Motorcycle Loop: Scenic Waypoints & Stops (2026)

    Shenandoah Valley Motorcycle Loop: Scenic Waypoints & Stops (2026)

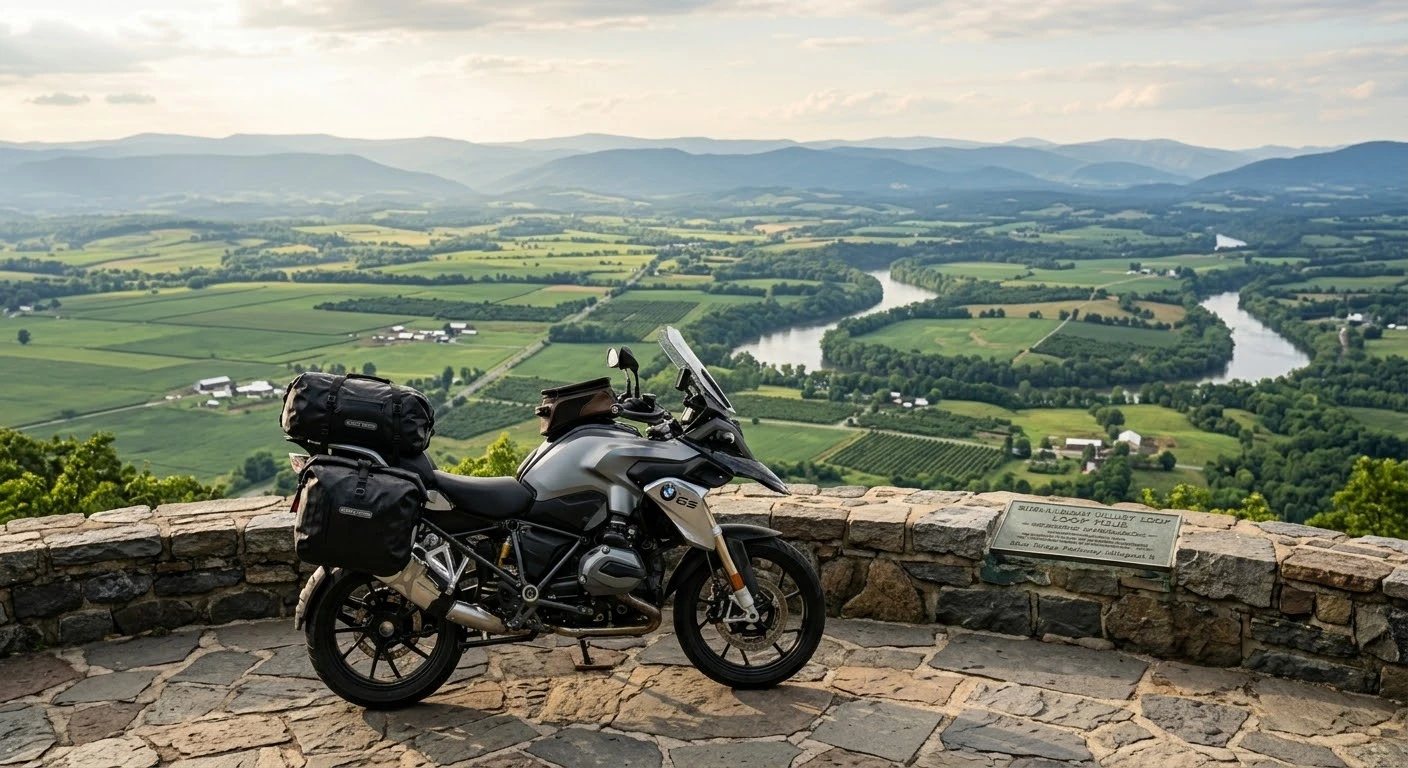
    Nestled between the rugged Blue Ridge Mountains to the east and the dramatic Ridge-and-Valley Appalachians to the west, the Shenandoah Valley offers one of North America’s most iconic motorcycle touring corridors. Riding the full Shenandoah Valley motorcycle loop scenic waypoints and stops delivers a captivating balance of historic small towns, agricultural farmland vistas, sweeping river bends, and access to mountain ridgelines. Whether you are seeking historic civil war landmarks, farm-to-table diners, or panoramic overlooks, this loop provides an unforgettable multi-day Virginia road trip.

    Shenandoah Valley Loop Waypoints & Scenic Highlights

    Plan your stops efficiently along the valley loop using the comparative waypoint guide below:

    Scenic Waypoint / Town StopRoute LocationPrimary Attraction / FeatureRecommended Stop Duration
    Front RoyalNorthern Loop Anchor (US-340 / VA-55)Entrance to Skyline Drive, historic downtown1 – 2 Hours (Coffee & Fuel Prep)
    Luray Caverns & TownCentral Valley Corridor (US-211)Underground limestone caverns, local diners2 – 3 Hours (Tour & Lunch)
    HarrisonburgCentral Hub (US-11 / I-81)Craft breweries, historic brick square, local shopsOvernight Stop / Dinner
    StauntonSouthern Loop Anchor (US-250)Woodrow Wilson Library, Victorian architecture2 Hours (Historic Walking Tour)
    Natural Bridge State ParkFar Southern Endpoint (US-11)215-foot natural limestone arch1.5 Hours (Park Trail Walk)

    Route Overview & Top Scenic Waypoints

    Executing the full loop combines smooth valley transit along historic Route 11 with elevated scenic vistas along mountain ridges:

    • 1. Northern Entry: Front Royal to Luray:
      Begin your ride in Front Royal, known as the northern gateway to the Shenandoah Valley. Heading south via US-340 takes you alongside the winding South Fork of the Shenandoah River towards Luray. Make sure to pause at the Luray Caverns overlook for panoramic views of the Massanutten Mountain range.
    • 2. Central Valley Corridor: Harrisonburg to Staunton:
      Riding along historic US-11 (the Great Valley Road) takes you through charming farmland communities like Dayton and Bridgewater. Harrisonburg offers a bustling downtown core ideal for fuel stops, while Staunton boasts beautifully preserved 19th-century Victorian architecture and independent coffee roasters.
    • 3. Southern Endpoint: Natural Bridge & Lexington:
      At the southern turn of the loop, explore Lexington’s historic brick streets before visiting Natural Bridge State Park, where Route 11 passes high above a carved 215-foot limestone archway.
    • 4. Return Ridge Options:
      To complete the loop, riders can choose between returning via the gentle farmland asphalt of Route 11 or climbing up onto high-elevation ridges via Skyline Drive or the Blue Ridge Parkway.

    Recommended Touring Gear & Preparation

    Navigating the valley loop comfortably requires preparing for variable mountain weather and maintaining proper bike checks:

    Conclusion: Experience the Heart of the Valley

    Exploring the Shenandoah Valley motorcycle loop scenic waypoints and stops captures the timeless essence of Virginia backroad touring. Take your time through small towns, respect local speed limits, stop at scenic river overlooks, and enjoy the rich heritage of this majestic mountain valley.

    Legal Disclaimer: This guide is provided for educational and trip-planning purposes only. Speed limits in small valley municipalities are strictly enforced; always observe posted signs.

    Official & Credible Sources

  • Essential Rain Gear & Wet-Weather Riding Tips for Motorcyclists (2026)

    Essential Rain Gear & Wet-Weather Riding Tips for Motorcyclists (2026)

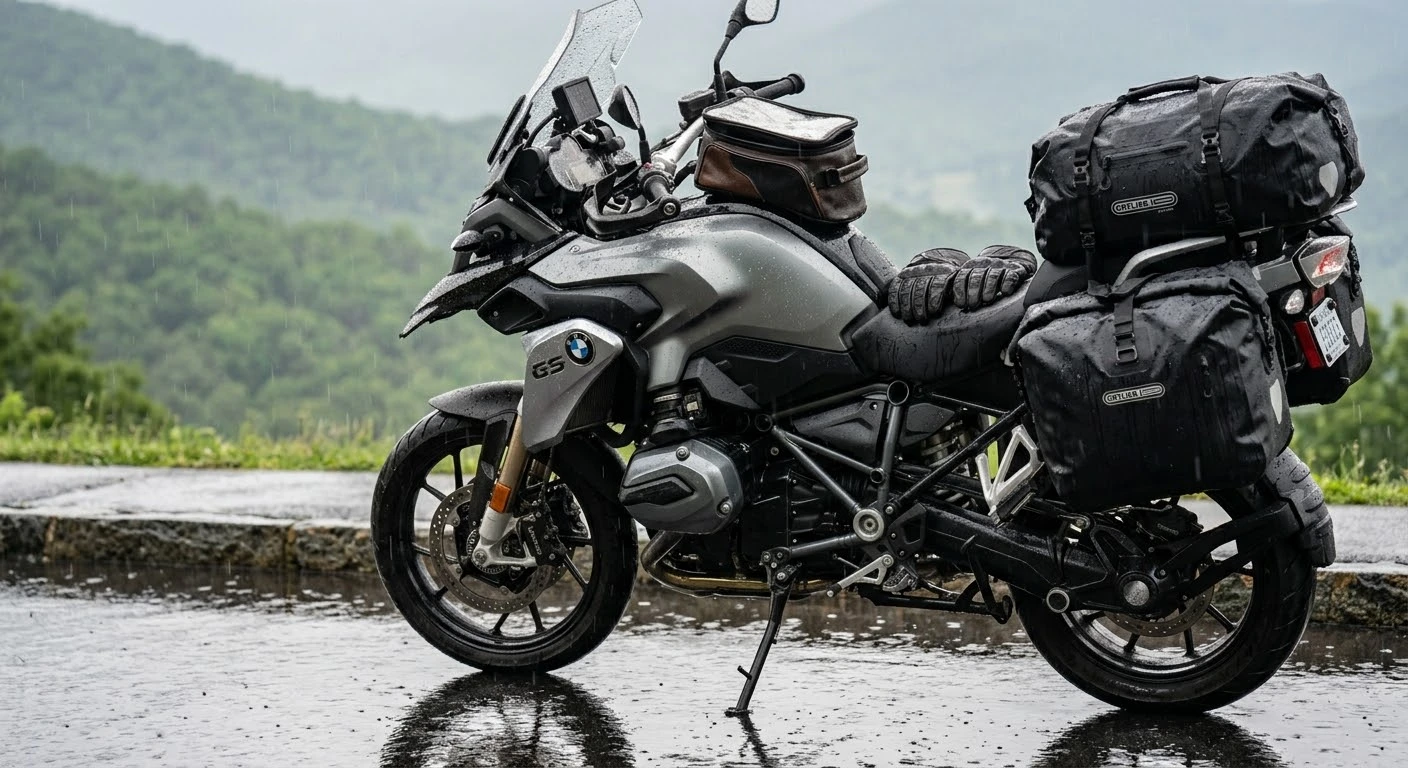
    Riding through a sudden downpour along Virginia’s winding mountain corridors or coastal highways turns an ordinary motorcycle tour into a demanding test of equipment and skill. Wet-weather touring requires more than just pulling on a waterproof jacket; it demands a thorough understanding of reduced tire traction, visor defogging, and smooth control inputs. Mastering essential rain gear & wet-weather riding tips for motorcyclists ensures that sudden summer storms or continuous spring drizzles remain manageable aspects of your journey rather than hazardous roadside emergencies.

    Wet-Weather Gear Specifications & Safety Metrics

    Before heading into rainy forecasts, review the essential waterproof ratings and wet-asphalt management strategies in the comparative diagnostic table below:

    Rain Protection Gear / TechniqueEssential Specification / StandardPrimary FunctionCommon Mistake to Avoid
    Waterproof Outer ShellGore-Tex or 10,000mm+ ratingPrevents wind chill & body saturationWearing loose fabric that flaps in high wind
    Visor Anti-Fog InsertPinlock lens or hydrophobic coatingPreserves clear optical visionWiping visor inside with dirty gloves
    Waterproof Gloves & BootsBreathable membrane & long gauntletsKeeps extremities warm & fully functionalTucking pant cuffs inside boot tops
    Smooth Control Inputs50% lighter throttle/brake pressurePrevents rear wheel spin & lockupsSudden aggressive trail-braking on wet paint

    Choosing the Right Rain Gear for Motorcycle Touring

    Staying warm and dry is directly linked to maintaining alertness and physical reaction speed on wet highways:

    • 1. High-Performance Waterproof Outer Layer:
      Invest in dedicated motorcycle rain suits or Gore-Tex jackets with sealed seams. High-visibility colors (neon yellow or reflective orange) are vital, as heavy rain drastically reduces visibility for surrounding motorists.
    • 2. Visor Clarity and Pinlock Inserts:
      Fogging visors are an immediate safety hazard. Use a dual-pane Pinlock visor lens insert to eliminate interior condensation caused by cold rain and body heat.
    • 3. Waterproof Gloves and Gauntlets:
      Wet hands rapidly lose dexterity. Choose insulated waterproof gloves with long gauntlet cuffs designed to fit over your jacket sleeves to prevent water from running down your arms.
    • 4. Waterproof Riding Boots:
      Ensure boots feature breathable waterproof linings and oil-resistant rubber soles for confident foot placement at slick traffic stops.

    Critical Wet-Weather Riding Techniques

    Adapting your riding style to slick road surfaces requires conscious adjustments to lines and braking:

    • Beware the First 15 Minutes: The initial minutes of rainfall wash up accumulated engine oil, grease, and road grime, creating exceptionally slick asphalt. Exercise extreme caution during the onset of a storm.
    • Avoid Road Markings and Tar Snakes: Painted lane lines, crosswalk markings, manhole covers, and bitumen tar snakes become extremely slippery when wet. Keep your bike upright when crossing painted pavement or metal bridge grates.
    • Smooth, Progressive Inputs: Apply throttle and brakes gradually. Abrupt braking or aggressive downshifting can easily snap tire traction on wet pavement.
    • Follow Vehicle Tire Tracks: Drive in the tire tracks left by preceding cars where water has been temporarily swept away, reducing your risk of hydroplaning.

    Before setting out on long-distance tours through unpredictable weather, inspect your tires using the complete pre-trip motorcycle maintenance guide and ensure your braking components are in top condition with our motorcycle brake pad replacement DIY step-by-step maintenance. Additionally, verify your rain gear and helmet standards meet state riding regulations by reviewing Virginia motorcycle laws 2026 helmets lane splitting and regulations.

    Conclusion: Ride Confident in All Conditions

    Equipping yourself with high-quality waterproof gear and practicing smooth, deliberate control inputs turns rainy touring days into safe, rewarding experiences. Check weather radar forecasts, respect reduced traction limits, stay visible, and enjoy the open road regardless of rainfall.

    Legal Disclaimer: This guide is provided for educational and safety training purposes only. Always pull over to a safe location if heavy rain, severe lightning, or extreme flooding compromises your safety.

    Official & Credible Sources

  • Motorcycle Brake Pad Replacement: DIY Step-by-Step Maintenance Guide

    Motorcycle Brake Pad Replacement: DIY Step-by-Step Maintenance Guide

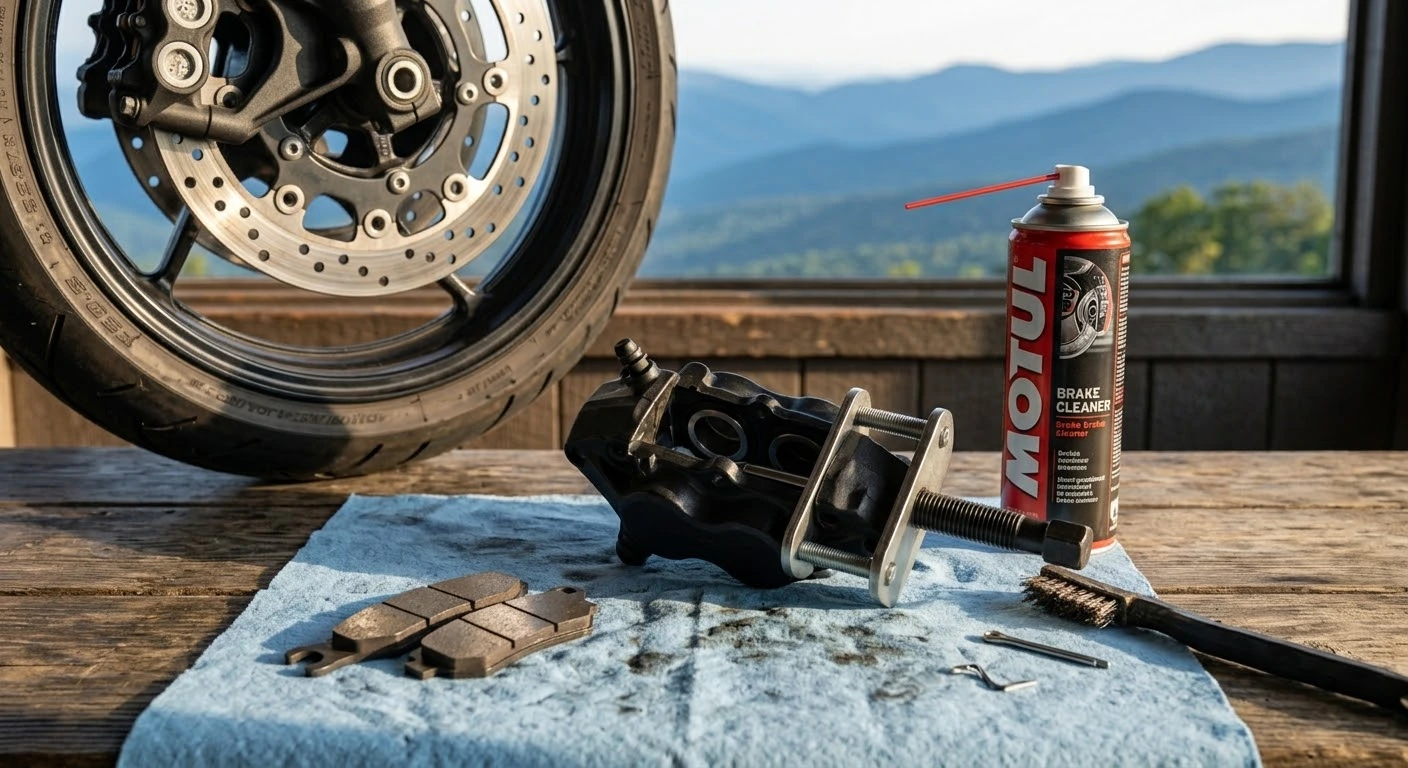
    There is a profound sense of satisfaction that comes from mastering your motorcycle’s mechanical system with your own two hands. Few DIY garage tasks impact your personal safety as directly as maintaining your stopping power. As your brake calipers clamp down on glowing steel rotors to slow you down into a sharp mountain hairpin, you rely entirely on a few millimeters of friction material. Performing a motorcycle brake pad replacement DIY step by step maintenance routine not only saves you expensive dealership labor fees but also ensures your machine responds instantly whenever danger appears on the road.

    Brake Pad Compound Comparison & Thermal Metrics

    ​Choosing the right brake pad material directly affects stopping power, thermal resistance, and replacement intervals:

    • ​1. Sintered Metallic Pads:
      • ​Lifespan: 15,000 – 20,000 miles
      • ​Thermal Fade Limit: Up to 1,000°F (537°C)
      • ​Braking Performance: Maximum initial bite and zero thermal fade under aggressive mountain riding. Best for heavy touring and sportbikes.
    • ​2. Semi-Metallic Pads:
      • ​Lifespan: 10,000 – 14,000 miles
      • ​Thermal Fade Limit: Up to 650°F (343°C)
      • ​Braking Performance: Balanced stopping feel with low rotor wear and moderate heat dispersion. Ideal for everyday street commuters.
    • ​3. Organic / Resin Pads:
      • ​Lifespan: 6,000 – 9,000 miles
      • ​Thermal Fade Limit: Up to 400°F (204°C)
      • ​Braking Performance: Soft lever feel and quiet operation, but susceptible to brake fade during long downhill mountain descents.

    Step-by-Step DIY Brake Pad Replacement Procedure

    Follow this structured workflow to safely replace your front or rear motorcycle brake pads:

    • 1. Inspect Wear Wear Indicators & Secure the Bike: Position your motorcycle on a center stand or rear paddock stand. Check the friction material thickness—if it is under 2mm (or near the indicator grooves), immediate replacement is required.
    • 2. Loosen Caliper Bolts & Pin Retainers: Before removing the caliper, break the torque on the pad retaining pins using an Allen or Torx key. Unbolt the caliper mounting bolts from the fork leg and lift the caliper clear of the rotor.
    • 3. Clean Piston Walls & Compress Pistons: Spray brake cleaner onto the exposed caliper pistons to remove accumulated road grime and brake dust. Use a piston spreader tool or plastic lever to carefully push the pistons back into the caliper housing, creating space for thick new pads.
    • 4. Install New Pads & Anti-Squeal Paste: Apply a tiny dab of high-temp copper grease or anti-squeal compound to the back of the metal backing plates (never on the friction surface). Slide the new pads into place, secure the retaining pins, and torque all mounting bolts to factory specifications.
    • 5. Pump the Brake Lever & Perform Bedding-In: Before turning the key, pump the brake lever multiple times until firm hydraulic pressure returns. Bed in your new pads by performing 10 to 15 moderate stops from 30 mph to properly transfer friction material onto the rotors.

    Taking control of your bike’s braking efficiency is essential before embarking on rigorous mountain runs like the Virginia State Route 16 complete riding guide to the Back of the Dragon. Furthermore, clean brake maintenance is vital for meeting mandatory safety inspection standards detailed in Virginia motorcycle laws 2026 helmets lane splitting and regulations. If you are gearing up for a multi-state road trip, combine your brake check with our full mechanical checklist on how to prepare your motorcycle for long-distance touring.

    Executing a motorcycle brake pad replacement DIY step by step maintenance routine empowers you as a rider while keeping your motorcycle in peak operating condition. Taking time to clean your caliper pistons, check pad thickness, and properly bed in new friction compounds guarantees confident, reliable stopping power on every ride.

    Legal Disclaimer: Brake system maintenance directly impacts vehicle safety. This guide is for educational purposes only. If you are unsure of your mechanical abilities, always have a certified motorcycle technician perform or inspect your brake service.

    Official & Credible Sources

  • Cardo vs Sena: Best Motorcycle Intercom for Group Rides (2026)

    Cardo vs Sena: Best Motorcycle Intercom for Group Rides (2026)

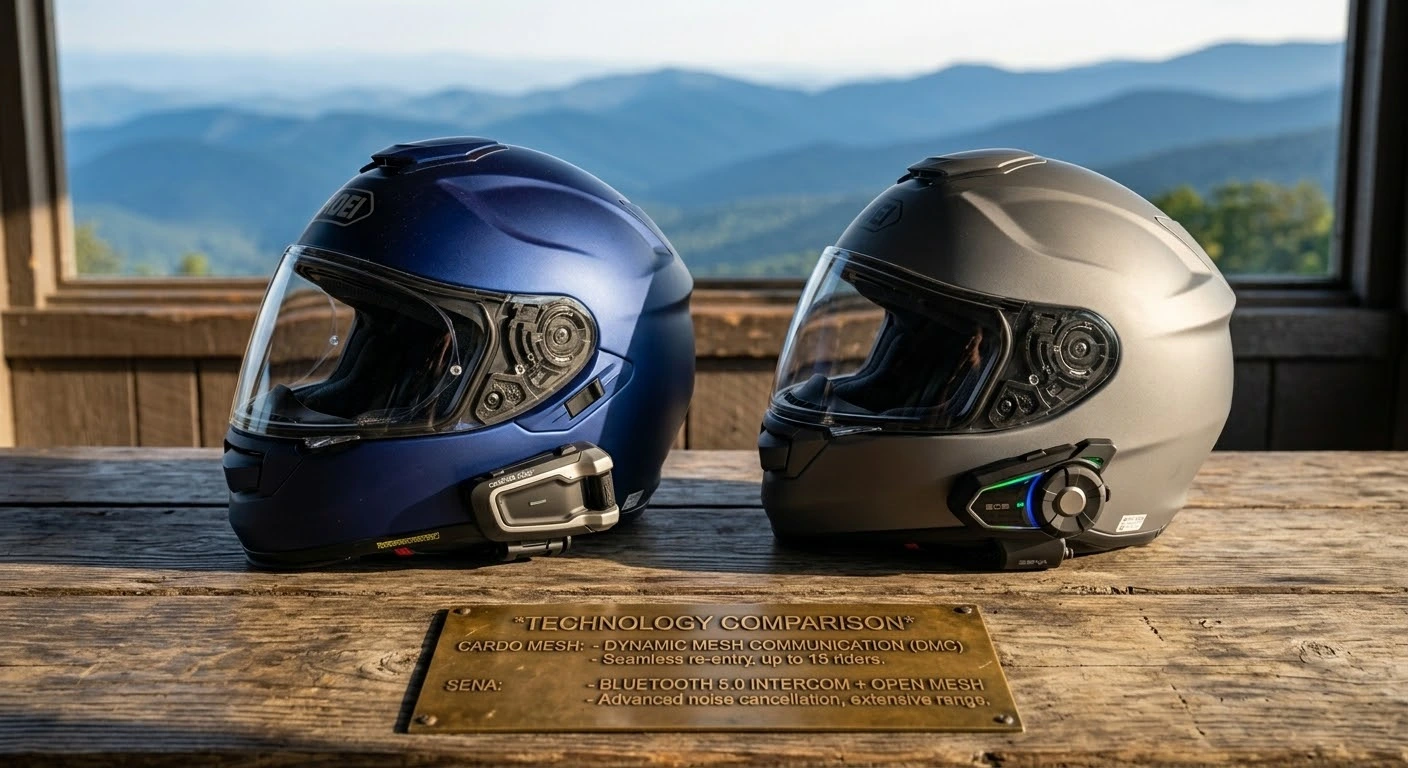
    Picture this: you are carving through the tight mountain passes of Southwest Virginia, feeling the rhythm of the road, when suddenly a sudden patch of gravel or a sharp turn appears ahead. With a quick whisper into your helmet microphone, your entire riding group instantly adjusts position without missing a beat. Communication on two wheels has evolved from clumsy hand gestures and helmet taps into seamless, crystal-clear dialogue. Choosing the best communicator comes down to a classic battle of tech giants—Cardo vs Sena choosing the best motorcycle intercom for group rides requires evaluating mesh connectivity, weatherproof durability, real-world range, and cross-brand pairing options.

    Head-to-Head Specification & Performance Metrics

    To evaluate how these leading intercom systems perform during group tours, the table below breaks down the technical specs of their flagship Mesh units (Cardo Packtalk Edge vs. Sena 50S/50R):

    Feature / MetricCardo Packtalk Series (Dynamic Mesh 2.0)Sena 50 Series (Mesh 2.0 / Open Mesh)
    Max Group CapacityUp to 15 Riders (Seamless Reconnection)Up to 24 Riders (Group Mesh) / Unlimited (Open)
    Real-World Range~1.0 Mile (Rider-to-Rider) / 5 Miles (Group)~1.2 Miles (Rider-to-Rider) / 5 Miles (Group)
    Waterproof RatingFully IP67 Waterproof CertifiedWater-Resistant (Requires Weather Precaution)
    Audio HardwarePremium JBL 45mm SpeakersSOUND BY Harman Kardon Speakers
    Battery Life & Charging13 Hours Active Talk / Fast USB-C12 Hours Active Talk / Fast USB-C Charger
    Mounting MechanismAir Mount (Magnetic Quick-Latch)Clamp Mount / Adhesive Plate System

    Deep Technical Breakdown: Connectivity, Weather, and Usability

    Choosing between these systems depends heavily on your group size, riding environment, and gear choices:

    • 1. Mesh Technology & Group Reconnection: Both brands utilize proprietary mesh networks. Cardo’s Dynamic Mesh Communication (DMC) excels at auto-reconnecting riders who drop out of range due to mountain terrain, seamlessly linking back without pressing a button. Sena’s Open Mesh shines when riding with large, spontaneous groups, allowing instant channel matching across dozens of bikes.
    • 2. Weather Resistance & Ruggedness: Cardo holds a distinct edge in wet weather. Featuring an official IP67 waterproof rating, it easily withstands heavy Appalachian downpours. If you plan to ride through unpredictable mountain weather, make sure your gear complies with safety standards outlined in our guide on Virginia motorcycle laws 2026 helmets lane splitting and regulations.
    • 3. Audio Quality & Helmet Integration: Sena’s partnership with Harman Kardon delivers crisp treble and powerful bass, ideal for listening to turn-by-turn navigation or group chat over high-speed wind noise. Cardo’s JBL integration provides balanced sound isolation that pairs seamlessly with full-face helmets.
    • 4. Route Coordination for Technical Group Rides: Clear intercom audio is invaluable when leading a pack through challenging mountain curves. Having reliable comms lets lead riders warn trailing group members about sudden pavement shifts when tackling technical runs like the Virginia State Route 16 complete riding guide to the Back of the Dragon.
    • 5. Long-Distance Battery Endurance: Both units offer fast charging, giving you up to 2 hours of talk time from a 20-minute charge. This makes them ideal companions when outfitting your bike using our checklist on how to prepare your motorcycle for long-distance touring.

    Navigating the decision of Cardo vs Sena choosing the best motorcycle intercom for group rides ultimately hinges on what your riding buddies use and your climate demands. If absolute waterproofing and automatic reconnection in mountain gaps matter most, Cardo takes the lead. If maximum group capacity and universal mesh pairing take priority, Sena remains a powerhouse.

    Legal Disclaimer: This guide is provided for educational and product comparison purposes only. Operating intercom controls while riding must be done safely without causing driver distraction. Check local jurisdiction laws regarding helmet speakers and earbud use.

    Official & Credible Sources